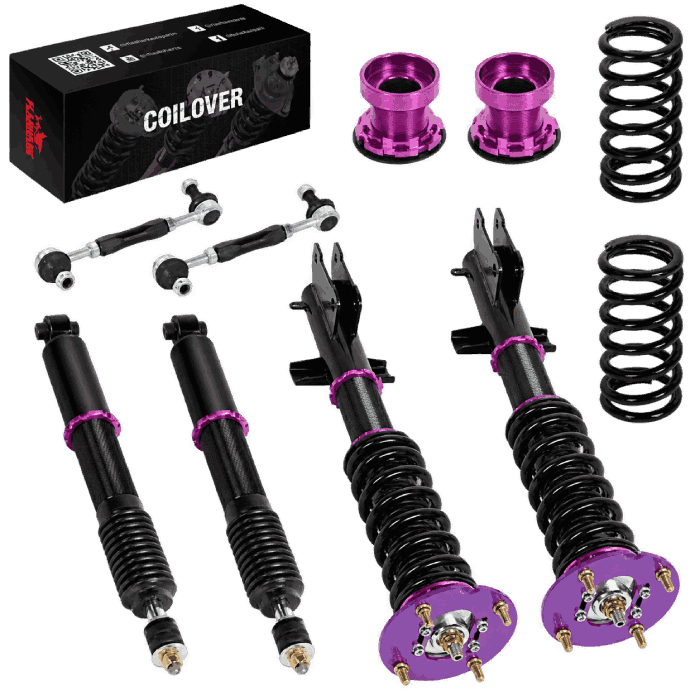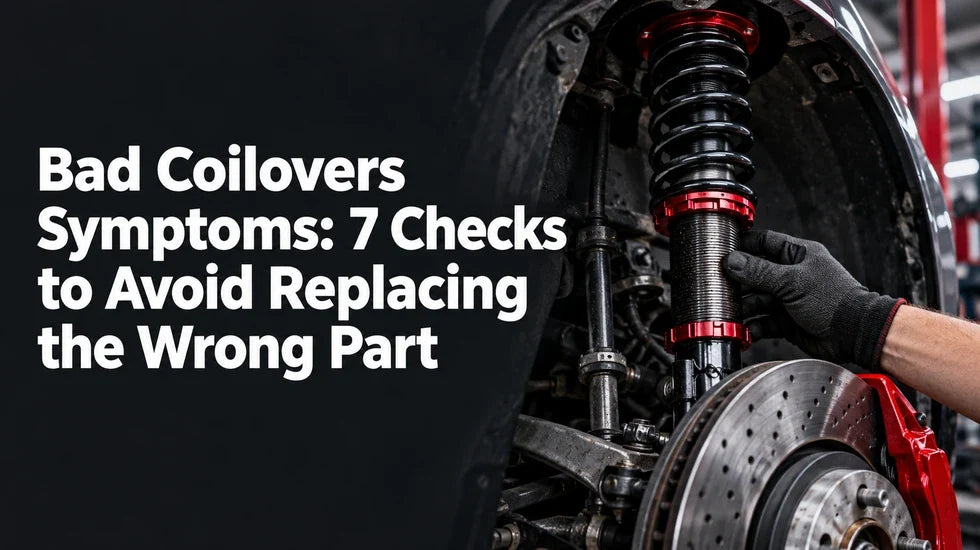
A clunk over a pothole. One corner that looks lower than it did last month. Oil on the shock body. Any of those can start the same expensive thought: “The coilovers are shot.” Slow down. A failed damper is one possibility, but a loose mount, displaced spring, worn bearing, poor adjustment, or another suspension part can make a convincing impersonation.
The useful question is not “What does a bad coilover sound like?” It is “What can I observe, measure, and repeat before I order parts?” Work through these seven checks in order.
Quick answer
- Repeated bouncing, active oil leakage, or a damaged piston rod calls for prompt inspection. A light oil film alone may not mean the damper has failed.
- A low corner usually needs more than a damper check. Measure ride height, then inspect the spring, seats, adjustment collars, tire pressure, and vehicle load.
- Clunks and clicks need a location and a trigger. Note whether the noise happens over bumps, during steering, under braking, or after an adjustment.
- A parked bounce test is a clue, not a verdict. Pair it with a visual inspection and a short, controlled road test only when the vehicle is safe to drive.
1. Make the car safe, then write down what changed
Before reaching for a spanner, look at the whole corner. Is the spring broken or out of its seat? Is a mounting point visibly loose? Is the piston rod bent? Is the tire touching the body or suspension? If you find any of those, skip the road test and have the car inspected. The same goes for a heavy fluid leak paired with poor control.
Park on level ground, set the brake, and let the suspension settle. Never work beneath a vehicle held up only by a jack. Do not loosen a spring-retaining nut or disassemble a loaded coilover to “take a quick look.” Stored spring force can hurt you badly.
Check 1: Record the corner and the trigger
Write down which corner is involved and when the symptom appears. A note such as “left front, single clunk on sharp bumps, worse after the height adjustment” is useful. “Suspension sounds bad” is not. Include recent pothole strikes, tire changes, alignment work, height changes, and damping adjustments. Take a photo of the affected corner before touching anything.
Garage tip: If the sound started immediately after installation, start with assembly and nearby hardware checks. A new noise is not proof that a new damper has failed.
2. Inspect the damper and separate oil film from leakage
Use a light and look around the rod, seal area, body, lower mount, and any remote reservoir or hose fitted to your particular kit. Trace the wet area upward. Road spray, grease, and fluid from another component can land on a coilover and look like shock oil.
Check 2: Look for a wet trail that returns
A thin film near the seal and a body that is wet far down its length are different findings. So is a fresh drop forming at the bottom. Clean the outside as directed by the coilover maker, photograph it, and inspect it again after normal use if the vehicle is otherwise safe. Persistent wetness, running oil, or dripping fluid is much stronger evidence of a leak than an old stain.

Not every coilover leaking complaint ends with a replacement. Small amounts of oil residue can be normal on some dampers; active leakage is another matter. The model-specific service guidance should settle the boundary. If oil is reaching a tire or brake component, stop driving and arrange an inspection.
Check 3: Look for physical damage
Inspect the exposed piston rod for bends, scoring, or corrosion. Look for cracked brackets, distorted mounting ears, damaged threads, and impact marks on the body. A torn dust boot calls for closer inspection, though the boot itself is not proof of internal damper failure. Damage to the rod or a structural mount deserves professional attention before another drive.
3. Measure the low corner before blaming the shock
Uneven ride height is one of the commonly cited bad coilovers symptoms. It is also one of the easiest to misread. The spring carries the vehicle’s static load. The damper controls movement. A corner that sits low may have a spring, seat, adjustment, load, or installation problem even when the damper still provides damping.
If those parts still sound interchangeable, see how coilovers differ from shocks and struts before treating a low corner as proof of damper failure.
Check 4: Measure all four corners the same way
Set tire pressures, remove unusual cargo, and park on the same level surface. Measure from the center of each wheel hub to the wheel arch directly above it. Record all four measurements and the date. This hub-to-arch method avoids changes in tire diameter confusing the comparison.

Compare left and right on the same axle, while allowing for vehicle-specific design and normal variation. Do not turn an adjustment collar until you have recorded its starting position and checked the kit instructions. If the low corner appeared after a height change, inspect the spring seat, lock rings, and any separate height-adjustment mechanism first.
Check 5: Inspect the spring, seats, lock rings, and mounts
Look for a fractured spring end, a spring that has moved out of its seat, a missing isolator, a collar that has shifted, or damaged threads. Then look at the upper and lower mounting points. A loose component can make a sharp clunk while the damper itself still works.

Do not copy another car’s preload setting or torque figure from a forum post. Coilover layouts differ, and the correct procedure depends on the kit and vehicle. If you cannot identify which collar controls spring preload and which changes ride height, stop adjusting and use the product instructions or a suspension shop.
4. Use tire wear, rebound, and noise as separate clues
A tire can tell you that a corner needs attention; it cannot name the failed part. Cup-shaped patches around the tread may accompany poor wheel control. Wear concentrated on one edge points you toward alignment and suspension geometry checks. Incorrect tire pressure and worn joints can change the pattern too.
Check 6: Read the tire and try a parked rebound check
Photograph the tread across its full width and compare it with the opposite tire. Note pressure, mileage, and whether the wear began after lowering the vehicle. If a tire has cords showing, a bulge, or severe damage, address that safety issue before any road test.

With the car parked, a gentle push at each corner may reveal a dramatic difference in how the body settles. Do not treat “one bounce” as a universal pass mark. Spring rate, vehicle weight, suspension geometry, and damper setting all affect what you feel by hand. A damper can have a problem that this check misses.
Road behavior matters more. After a moderate bump, does the body settle or keep moving? Does the wheel feel as if it skips across a series of small bumps? Does the car pitch or roll differently than it used to under the same conditions? Record the change and the corner involved. Excessive movement can point toward lost damping, but limited travel or a poor setting can also produce a rough, unsettled ride.
If the hardware is sound but the car feels too harsh or slow to settle, review how to adjust coilover damping and change only one setting at a time.
Check 7: Match the sound to the maneuver
A bad coilover noise search often starts with a clunk, but “clunk” is a symptom, not a part number. A knock on short, sharp bumps can come from a mount, link, bushing, or loose hardware. A click or spring-like ping while turning can send you toward the upper bearing and spring seat. A hard thud after a large bump may mean the suspension has run out of usable travel.
If the vehicle passed the stationary safety checks, use a short route you know well. Keep speeds modest. Try one type of input at a time: a small bump, a low-speed turn, then gentle braking. Do not use aggressive cornering or a high-speed test to diagnose a suspected suspension failure.
5. Decide whether the fix is adjustment, repair, rebuild, or replacement
The purchase decision should come after the fault is identified. A loose fastener, misseated spring, worn bearing, and leaking damper do not call for the same repair. Neither does a car that has been lowered so far that it has little usable suspension travel.
| Finding | Next check | Likely service path |
|---|---|---|
| Light, limited oil residue | Clean, photograph, and recheck against the maker’s guidance | Monitor or inspect further |
| Fresh oil running down the body or dripping | Identify the source and assess ride control | Damper service or replacement |
| Clunk after installation | Check mounts, spring seating, collars, links, and specified fasteners | Correct the confirmed assembly or hardware fault |
| One corner sits low | Measure all corners; inspect spring, seat, adjustment, load, and tire pressure | Repair or adjust the confirmed cause |
| Repeated body motion | Check settings, available travel, leakage, and other suspension faults | Professional damper evaluation; rebuild or replace if confirmed |
Fix the part that failed
Some kits allow a separate mount, bearing, spring, or damper cartridge to be serviced. Some dampers can be rebuilt by the maker or an authorized specialist. Others are replaced as assemblies. Check the exact model before ordering. A repair that changes ride height or disturbs suspension mounting may also call for a fresh alignment check.
Know when a damper has earned replacement
Active leakage, a bent or badly scored rod, structural damage, or a confirmed loss of damping is a stronger case than noise alone. Ask the service provider to explain what they found on the affected corner and what condition the opposite side is in. That makes it easier to decide whether a single-unit repair, a same-axle pair, or a full-kit change makes sense for your vehicle and budget.
If inspection confirms that replacement is the right repair, compare vehicle-specific coilover options and match the selected kit to your vehicle’s suspension layout before ordering.
There is no useful universal price for that decision. Labor, access, rebuild support, replacement-part availability, and alignment needs vary. Get the diagnosis in writing before comparing repair and replacement quotes.
6. Confirm the cause before ordering parts
The short version: document the symptom, make the car safe, inspect for damage and active leakage, measure the low corner, check the spring and mounting parts, then use rebound and a controlled road test as supporting clues. Do not buy a complete kit because one corner clunks. Do not keep driving on a visibly damaged assembly because the car still moves.
Bring clear photos, four ride-height measurements, tire-wear notes, and a description of the exact maneuver that triggers the problem to your suspension shop. Those details can save diagnostic time and help ensure the repair addresses the cause.
Frequently asked questions
Q1: What are the first signs of bad coilovers?
A1: Common clues include fresh oil leakage, repeated bouncing after bumps, new clunks or clicks, a changed ride height, poor control, and unusual tire wear. None is conclusive on its own. Record when it happens and inspect the affected corner before choosing a repair.
Q2: Does a leaking coilover always need replacement?
A2: A small amount of oil residue may be acceptable on some dampers. A body that becomes wet again after cleaning, oil running down its length, or fluid dripping calls for service. Follow the maker’s guidance for the exact unit; a rebuildable damper may have a different service path from a sealed replacement unit.
Q3: Can a top mount clunk when the damper still works?
A3: Yes. The mount, bearing, nearby links, and other suspension joints can make noise while the damper still controls movement. The maneuver that triggers the sound helps narrow the inspection.
Q4: Should I rebuild one coilover or replace a pair?
A4: Start with the kit maker’s service options and the condition of both sides of the axle. The answer depends on whether the unit is rebuildable, the age and wear of its partner, part availability, and the repairer’s findings.
Q5: Is a harsh ride proof that the damper is bad?
A5: No. Spring rate, damping adjustment, tire pressure, available travel, ride height, and worn mounts all affect ride quality. Compare the current setup with the kit instructions and with how the car behaved before the symptom began.
Q6: Why did my coilovers start clicking after installation?
A6: Check spring seating, upper bearing orientation, mounts, collars, nearby links, and fasteners using the vehicle and kit instructions. Do not tighten an unknown fastener by guesswork or loosen a loaded spring assembly.
Q7: Is it safe to adjust a coilover lock ring myself?
A7: Only if you can identify the adjustment mechanism, support the vehicle correctly, and follow the kit’s procedure. Different collars perform different jobs. If the ring is seized, damaged, or carrying unexpected spring load, stop and seek help.
Q8: Do I need an alignment after changing ride height?
A8: A meaningful ride-height change can alter alignment. Have the vehicle checked after the adjustment, especially if steering feel changes or tire wear appears. The required settings depend on the vehicle and intended use.
Q9: Can a damping adjustment fix an oil leak?
A9: No. An adjustment changes the damper setting; it does not repair a seal, rod, or body. Diagnose the fluid source and the condition of the unit before adjusting around the symptom.
Q10: How much should a coilover diagnosis cost?
A10: The price depends on inspection time, whether the unit must be removed, local labor rates, and whether the maker offers testing or rebuild service. Ask for an itemized diagnosis and a separate repair estimate.

Steven Chen
Automotive Performance Specialist | Engine & Exhaust Systems
Steven focuses on practical engine performance, exhaust fitment, and real-world upgrade paths for classic and modern enthusiast vehicles. He reviews small-block Ford, LS, truck, and street/strip applications with one goal in mind: helping builders choose parts that actually work together. His philosophy: "Good power starts with the right combination, not the biggest part."