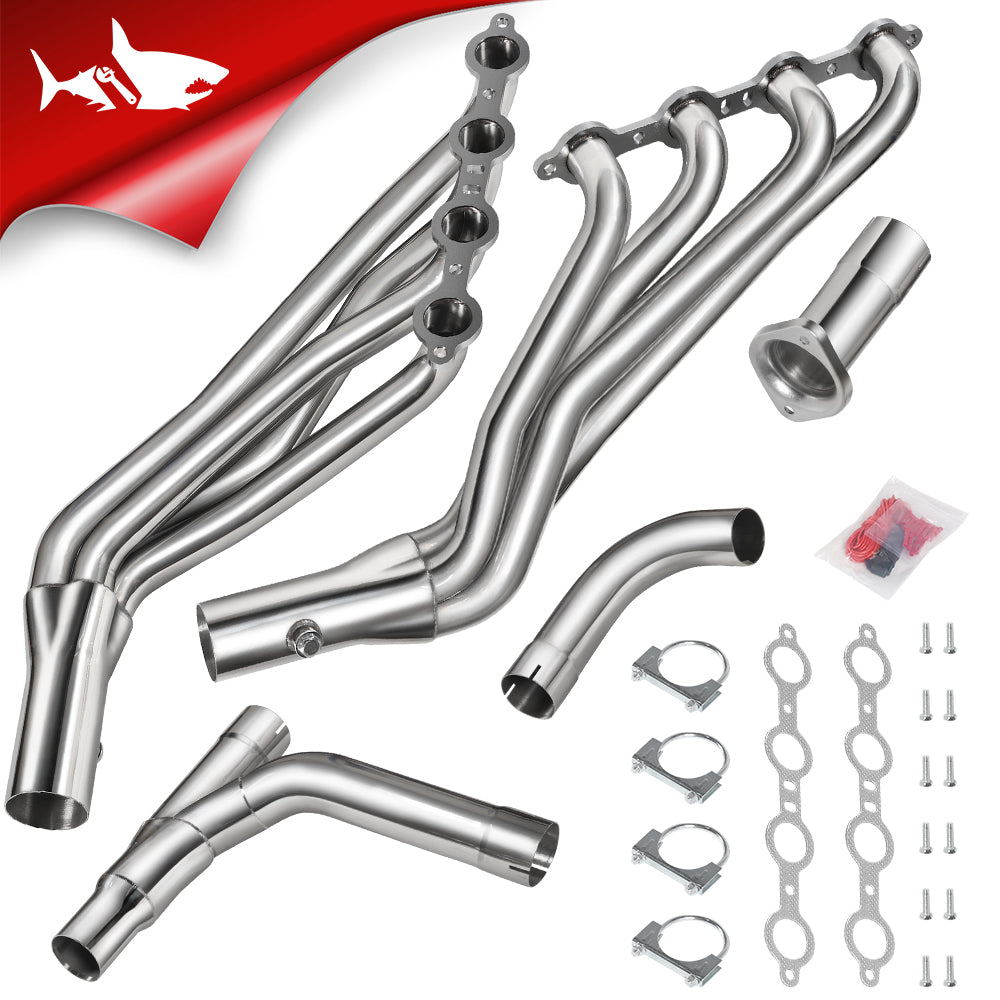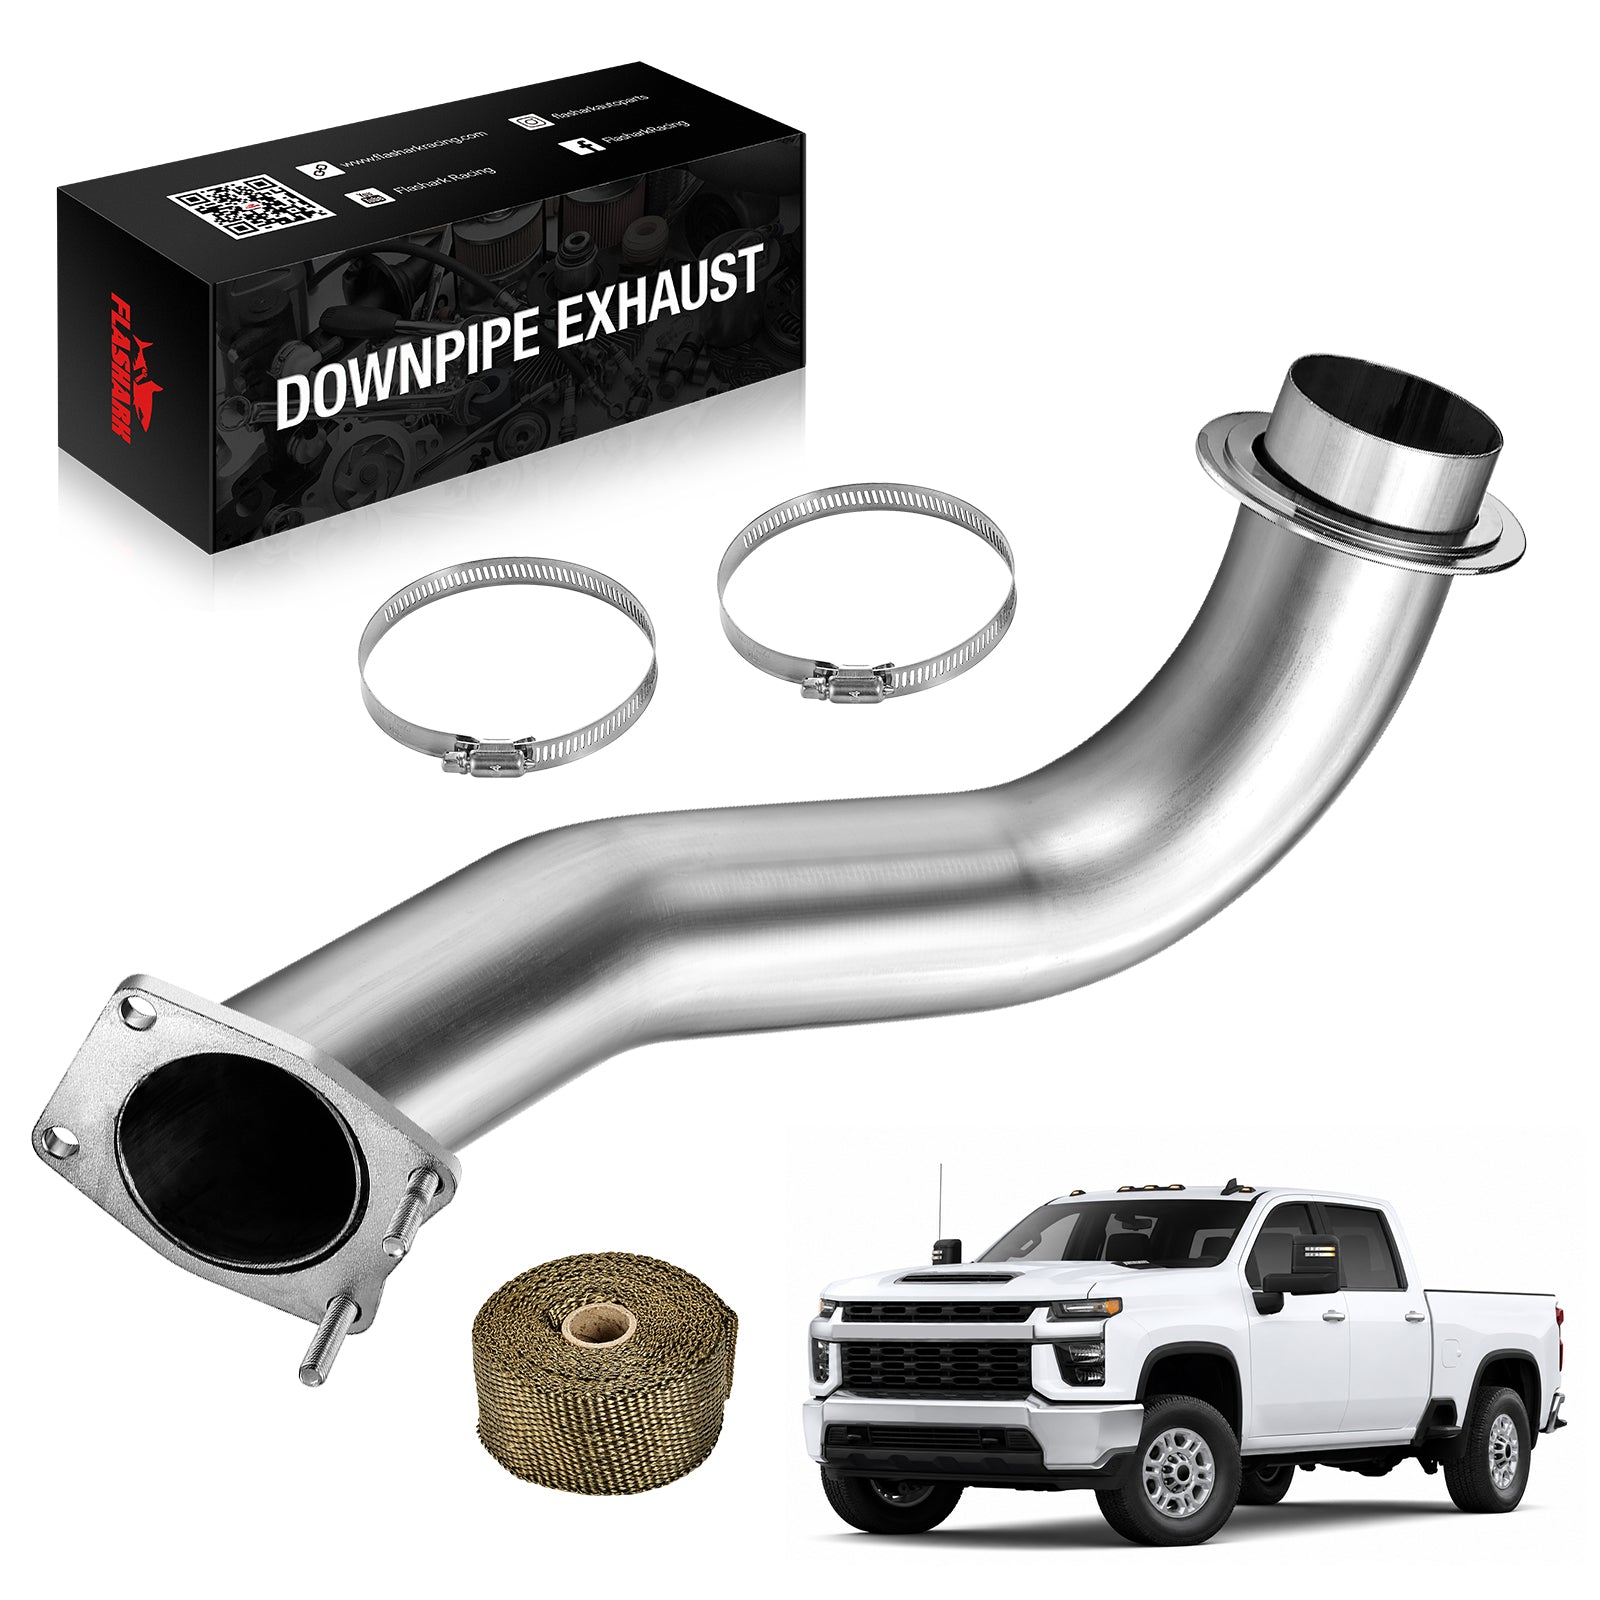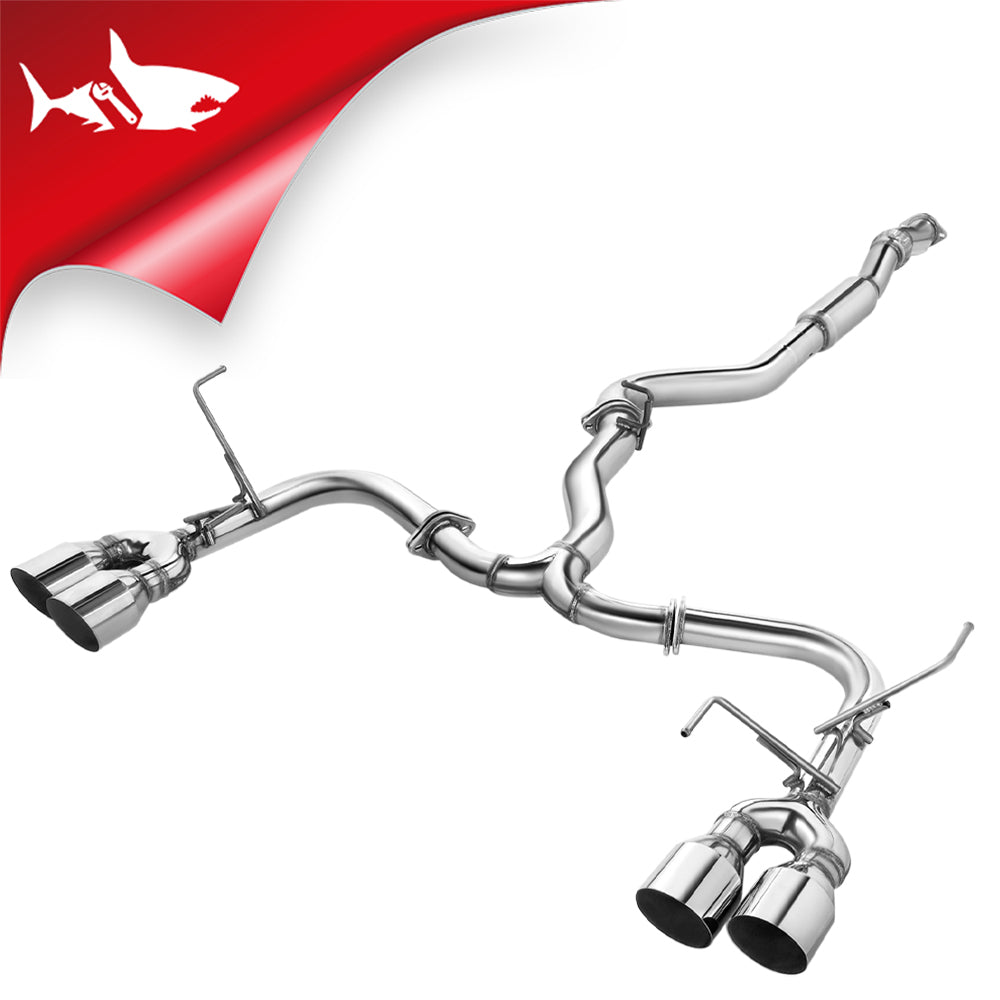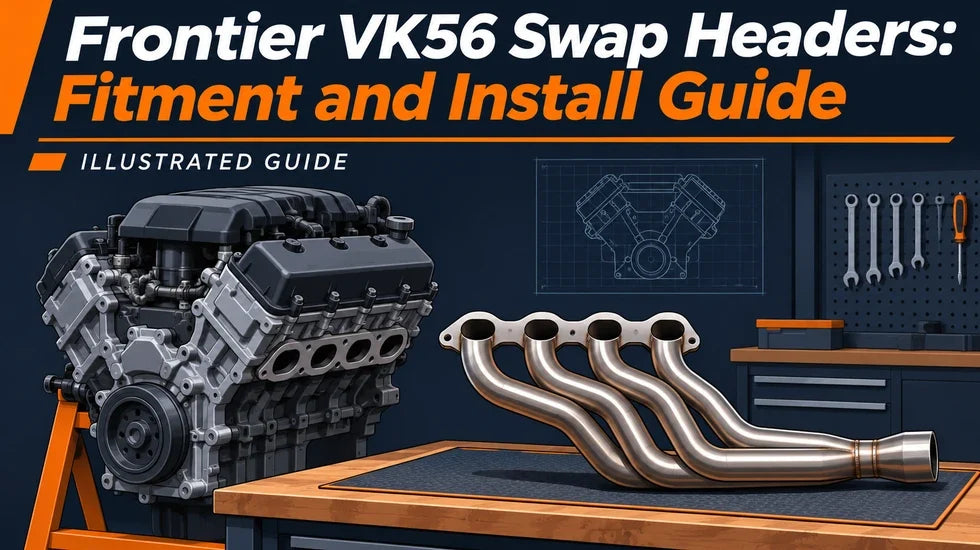
A V8 can be sitting between the frame rails while the exhaust still has several problems to solve. Choosing Frontier VK56 swap headers means checking how the tubes enter the chassis, how the fasteners go in, and where the collectors meet the rest of the system.
Lord of junk's 2006 Frontier project makes those distinctions useful. The builder introduces Flashark headers, works through a restricted stud position, and then discovers that the passenger-side Frontier B-pipe does not connect. His experience provides practical planning lessons for a custom swap.
- Check engine fit, chassis clearance, and exhaust connections separately.
- Plan header and fastener installation before final tightening.
- Measure both downstream connections; success on one side does not settle the other.
- Keep factory-application product fitment separate from custom-swap decisions.
What the Frontier Build Shows
A Useful Installation Case, Not a Universal Recipe
The source video follows a budget VK56 swap into a 2006 Frontier. Its header chapter begins around 10:10, and the supplied playback point starts at 10:36. The creator identifies the headers as Flashark and discloses his affiliate relationship. His comments about their value and construction are his assessment of the parts in his project.
Use the footage to identify questions for your own build. A successful installation in one truck does not establish the engine mounts, drivetrain arrangement, exhaust geometry, or service access in another. The same distinction applies when a product fits a factory V8 vehicle but is being considered for a chassis that originally used a different engine.
The Moments Worth Revisiting
At approximately 11:17–12:20, the builder discusses installation access after placing the engine in the chassis. Around 13:04–13:34, he revises the stud sequence because a tube blocks access. At 15:09–16:23, he distinguishes the installed header clearance from the separate B-pipe connection problem.
Those moments are more useful than judging the job from the final engine sound. The video ends with a brief first start and further work still planned. That is a project milestone, not a completed road test or a controlled horsepower comparison. Keep the installation lessons and the performance expectations separate.
Three Fitment Checks Before You Buy
Engine Flange and Chassis Clearance Are Different Questions
Start with the donor engine identification, recipient chassis, drivetrain, and mount arrangement. The cylinder-head flange determines one connection. It does not describe the space around the steering equipment, engine mounts, frame, wiring, or front drivetrain components.
Next, consider the route the header must travel during installation. A part can occupy its final location yet be difficult to move into that location with the engine and nearby components already installed. This explains why installation access and operating clearance belong on separate lines of your checklist.
Finally, inspect the complete exhaust connection. Record collector position, flange orientation, mating hardware, gasket design, and the route toward the remaining exhaust. A matching nominal pipe diameter cannot answer all those questions.

Three separate checks determine whether the whole installation works. Concept illustration.
Separate a Factory Application from a Custom Swap
Imagine two owners buying parts on the same afternoon. One has a factory 5.6L Titan with its original chassis layout. The other has a Frontier receiving a donor V8. Even with a related engine, the second owner has additional questions about mounts, nearby components, and downstream connections. This is a planning example, not a claim that both trucks accept the same kit.
Browse the Flashark exhaust header collection to compare listed applications, then narrow the options by engine and vehicle configuration. When comparing long-tube headers, check the complete installation requirements before treating tube length or finish as the deciding feature.
For Frontier VK56 swap headers, send the supplier your actual configuration and clear photos of the relevant spaces. Include any changed mounts or drivetrain components. A short description such as “VK56 truck” leaves out the details most likely to affect fit.
Plan Header Access and Fastener Order
Decide the Installation Route Before the Lift
In the video, the builder recommends installing the headers after placing the engine in the truck. He describes removing the B-pipes for access and discusses front-driveshaft removal for a four-wheel-drive arrangement. These are observations about his installation approach, not instructions to remove the same components on every vehicle.
Before starting, establish a safe support and lifting plan using the vehicle's service information. Work with a cool exhaust, support the vehicle on equipment rated for it, and never rely on a hydraulic jack alone. Disconnect and protect components according to the applicable procedure.
Walk through the proposed route with the parts loose. Identify where a second person would help, which wiring needs protection, and whether the wheel-well opening provides the necessary tool angle. Remove obstacles by a planned procedure; do not force the header against steering, hoses, or electrical connections.
Trial-Fit Every Restricted Stud Position
The most useful correction appears around 13:04. After starting several fasteners, the creator finds that a primary tube blocks one stud's insertion path. He then demonstrates arranging that stud with the loose header before moving the assembly into place.
The transferable lesson is to check every fastener's approach angle during the trial fit. Do not assume that because the flange holes align, every stud can be inserted later. Leave enough freedom to position the gasket and start the hardware correctly without pulling the flange sideways.

Plan restricted fastener positions before tightening. Concept illustration; use the procedure for your hardware.
A second hypothetical example shows the cost of skipping this check: you tighten the accessible fasteners, then discover the last stud cannot pass the tube. The assembly must come loose again. A short trial fit can prevent that repeated work without requiring a more expensive header.
Inspect threads and replace damaged or unsuitable hardware before access becomes restricted. Use the specified fastener grade, thread engagement, torque, and tightening sequence. Follow the gasket maker's instructions on coatings or sealants; the spray shown in a build video is not a universal gasket requirement.
Check the B-Pipes Before Calling the Exhaust Finished
Test Each Side Independently
Around 15:54, the creator reports that a Frontier B-pipe connected on one side. Around 16:02, he explains that the passenger-side Frontier B-pipe did not. That difference is the central purchasing lesson: an engine-side installation can work while the next connection still needs a solution.
Compare both sides before final assembly. Check where each flange sits naturally, whether its face aligns with the mating surface, and whether the pipe clears surrounding components. Support the exhaust so its weight does not disguise the true alignment or pull on the header.
Do not use flange bolts to drag a badly misaligned pipe into position. Tightening force belongs in the intended clamped joint, not in bending the system to overcome the wrong routing. Have an exhaust specialist assess the required connection while preserving the emissions equipment appropriate to the build.

The downstream joint needs its own fitment check. Concept illustration.
Recheck Clearance in the Completed Configuration
The creator also points out close spacing near an engine mount. A visible gap with the engine stopped is useful, but final assessment should account for engine movement, hot exhaust parts, and the reinstallation of anything removed for access.
Inspect hoses, wiring, sensor leads, and heat-sensitive mount components. Plan appropriate protection without using a wrap or shield to excuse physical interference. Clearance is not simply whether two parts touch while the truck is parked.
This is especially important for a build assembled in stages. If a driveshaft or other drivetrain component is absent during the header installation, check its clearance after it is fitted. An open space during assembly is not proof of room in the finished vehicle.
Budget for the Complete Installation
Compare the Whole Job, Not Just the Header Price
A budget-conscious purchase starts with the work needed to make the truck complete. Set aside separate allowances for suitable fasteners and gaskets, downstream exhaust connections, sensor wiring or replacement where required, heat protection, and professional checks.
Avoid assigning a universal labor time to a custom swap. Corroded hardware, changed mounts, previous exhaust fabrication, and access can change the job substantially. Ask an installer to distinguish straightforward assembly from additional work that can only be priced after a trial fit.
Longer primary tubes also do not promise a particular horsepower gain. Exhaust behavior depends on the engine combination, tube and collector geometry, the rest of the system, and calibration. For this project, getting a well-supported, correctly connected system takes priority over a power number inferred from a startup clip.
A Flashark Product Reference for Listed Factory Applications
The Flashark 5.6L V8 long-tube header for listed 2WD applications is a product to review when comparing factory-application hardware. Its 2WD/RWD application scope must remain separate from a custom Frontier build. Obtain configuration-specific guidance before choosing parts for a swap.

Long Tube Header for 2004-2015 Nissan Titan / Armada / NV2500 / NV3500 / Pathfinder & Infiniti QX56丨5.6L V8 2WD Only
SKU: FLES08378 · Stainless steel · Mirror-polished finish
$278.99 USD $439.99 USD
For listed factory 2WD/RWD applications. Check model-specific years and full vehicle configuration. Custom swaps require separate fitment assessment.
Check Fitment & Current PriceKeep a clear distinction between the part being sold and the entire exhaust package. Identify what you already have, what must be reused in serviceable condition, and what needs to be purchased separately. Resolve that list before the truck occupies the workspace.
Finish with System Checks, Not Just a First Start
Inspect Sealing, Routing, and Engine Operation
Before running the engine, complete the cooling, lubrication, fuel, and electrical systems and follow a suitable commissioning procedure. Remove loose tools and check that hoses and wires cannot contact hot exhaust parts or moving components.
With the system safely assembled, check for leaks using an appropriate method, inspect the joints and supports, and investigate abnormal noises. Follow the header and gasket manufacturers' instructions for any checks after heat cycling. Do not tighten hot hardware by guesswork.
Have the engine control module, transmission integration, oxygen-sensor arrangement, and calibration assessed as a system. A check engine light deserves diagnosis; so does poor running without a light. A first start cannot establish correct fueling, reliable operation under load, or finished exhaust performance.
Confirm the Emissions Configuration Before Road Use
Engine swaps and exhaust changes also need an emissions plan. Retaining a catalytic converter somewhere in the system does not, by itself, establish that the completed vehicle complies. The engine, control systems, calibration, and emissions-related components matter together.
Review the EPA engine-switching guidance and the requirements applicable in your state before making changes. Use a qualified specialist where the configuration or approval path is unclear.
The useful approach to Frontier VK56 swap headers is a sequence of decisions: establish the application, plan access, trial-fit fasteners, check both downstream connections, and inspect the finished system. That sequence turns a promising parts purchase into a better-planned build.
Frequently Asked Questions
Q1: Will Titan headers automatically fit a VK56-swapped Frontier?
A1: No. Engine-flange compatibility, chassis clearance, and the downstream exhaust connection are separate checks. A Titan application listing does not establish Frontier swap compatibility.
Q2: What is a B-pipe in this exhaust discussion?
A2: It is the intermediate exhaust section downstream of the header or manifold. Its routing, flange position, and emissions equipment must match the complete installation.
Q3: Did both Frontier B-pipes connect in the video?
A3: The creator reports that one side connected, while the passenger-side Frontier B-pipe did not. Treat that as his build experience, not a fitment rule for every swap.
Q4: Should I install the headers before lowering the engine?
A4: The creator recommends installing them after the engine is in the chassis because of insertion clearance. Plan the sequence for your engine, mounts, drivetrain, and header design before lifting the assembly.
Q5: Why check the studs before positioning a header?
A5: A primary tube can block the insertion path of a stud once the flange is against the head. Trial-fit the hardware and identify restricted positions before tightening anything.
Q6: Does the video establish compatibility for every 4WD Frontier?
A6: No. Temporary removal of a front driveshaft for installation does not prove clearance after all drivetrain components are reinstalled. Check the finished configuration separately.
Q7: Are long-tube headers worthwhile on a budget swap?
A7: They can be a reasonable choice when the complete installation suits the build. Compare the header price with hardware, exhaust connection work, heat protection, diagnostics, and applicable emissions requirements.
Q8: Does a VK56 swap with headers need calibration work?
A8: Have a qualified swap specialist assess the engine control module, transmission integration, sensor arrangement, and calibration together. A successful first start does not establish correct operation under load.
Q9: Does retaining a catalytic converter make the swap road legal?
A9: No. Physical catalyst presence alone does not establish compliance. Check the complete engine and emissions configuration against applicable federal and state requirements before changing it.
Q10: Is the listed Flashark header price the total swap cost?
A10: No. The product price covers that listed item. Budget separately for the other components and work needed to complete your particular vehicle, and check the live listing for current pricing.