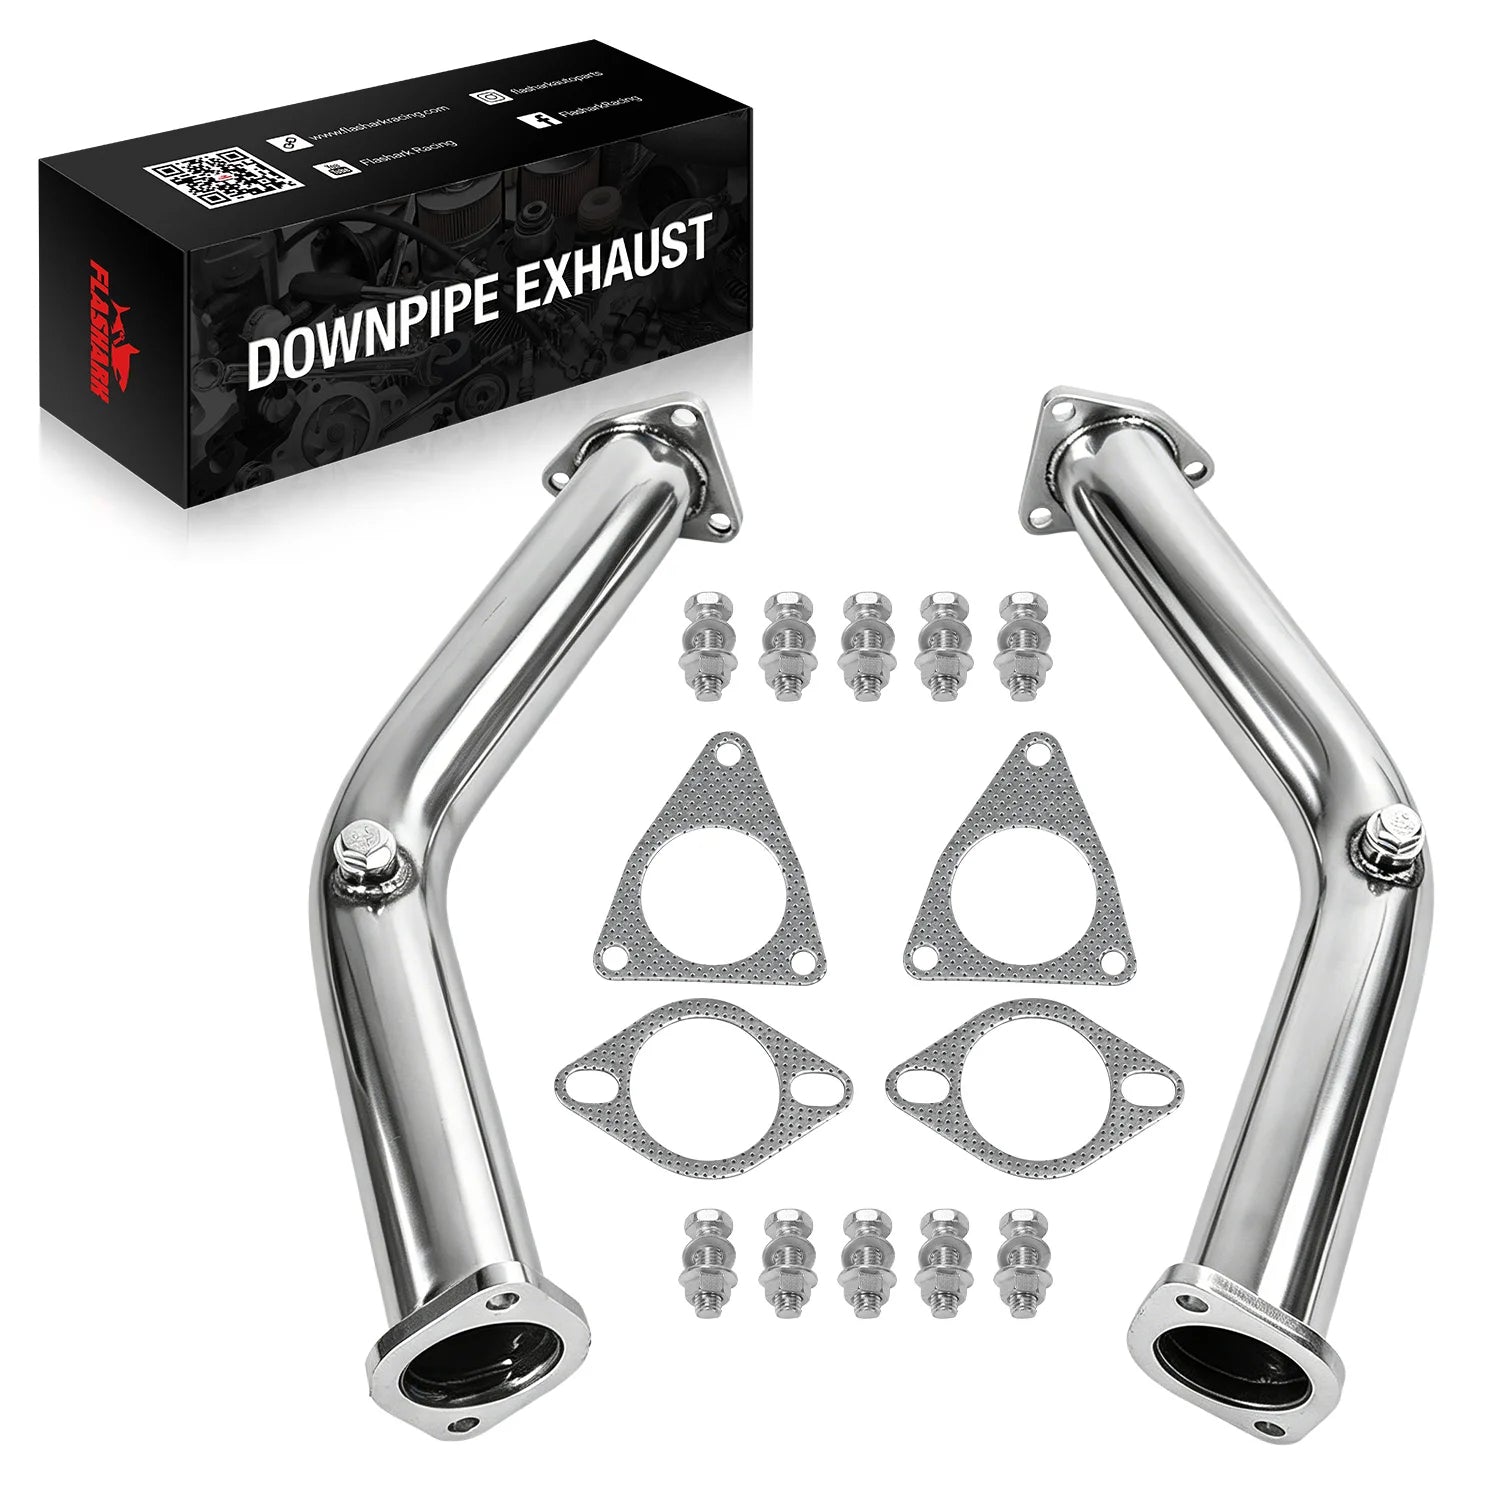
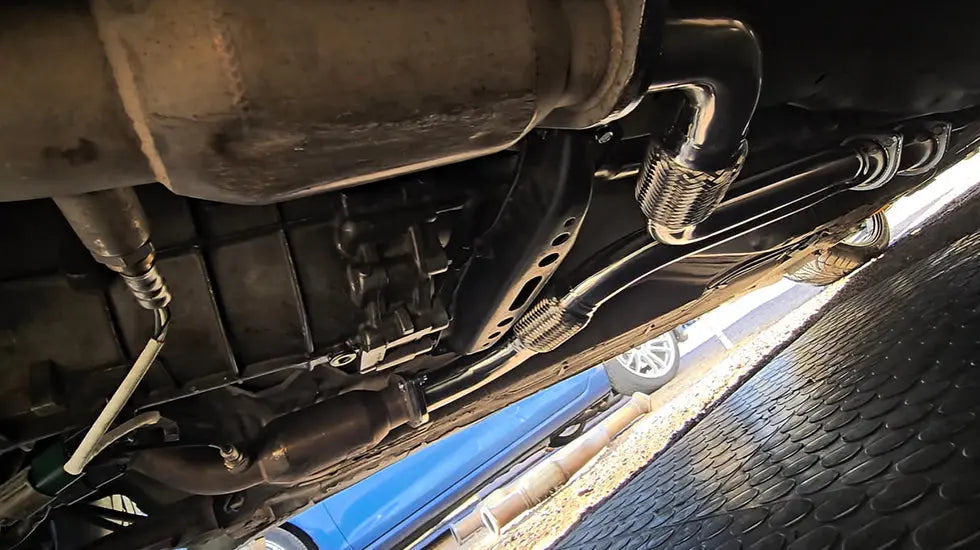
El tubo de escape es un componente esencial del sistema de escape de un vehículo. Conecta el turbocompresor con el resto del sistema de escape y desempeña un papel clave en la gestión de los gases de escape. Tanto si reemplaza un tubo de escape dañado como si actualiza su vehículo a un modelo de mayor rendimiento, comprender el proceso es crucial. Esta guía ofrece un análisis detallado del reemplazo del tubo de escape, incluyendo las señales que indican que necesita ser reemplazado, el proceso de instalación y las ventajas y desventajas de la instalación casera frente a la profesional.
¿Qué es un bajante y por qué es importante?
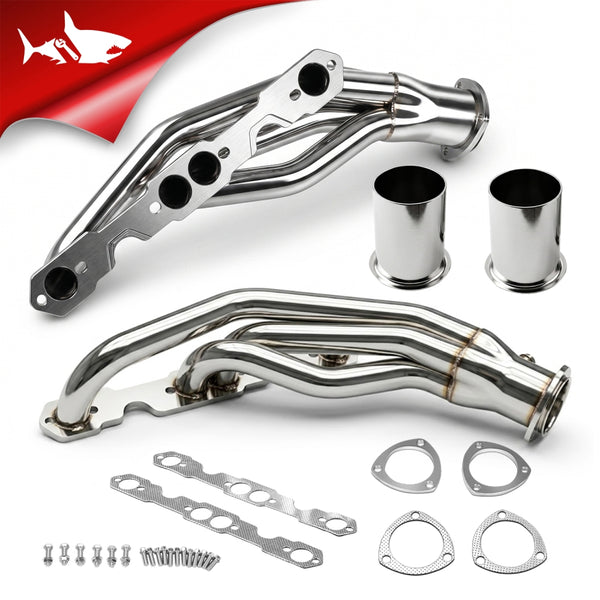
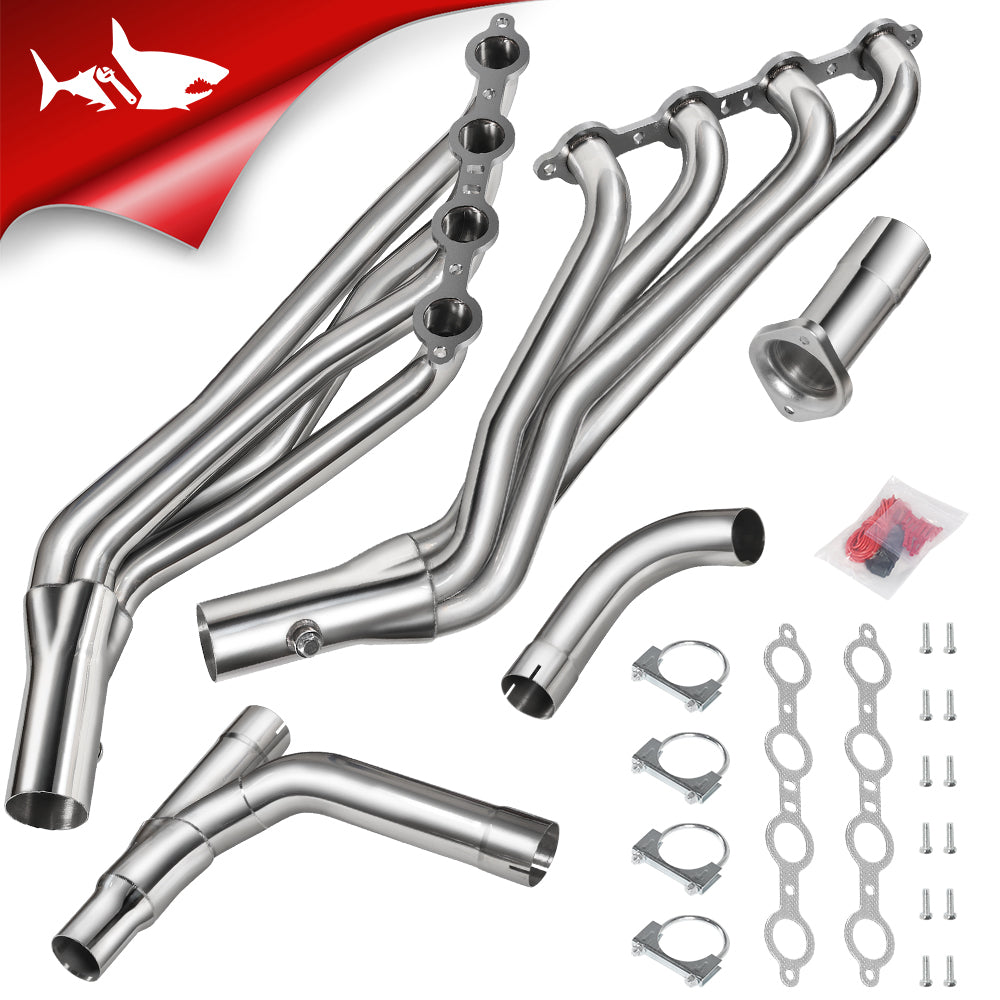
El tubo de escape es parte del sistema de escape que dirige los gases de escape desde el turbocompresor al resto del sistema. Su función principal es reducir la contrapresión del escape, lo que ayuda a mejorar el rendimiento del motor, especialmente en vehículos turboalimentados.
Cuando se reemplaza con un tubo de escape de alto rendimiento, el flujo de aire a través del sistema de escape mejora significativamente, lo que genera una mejor eficiencia del turbo, mayor potencia y una respuesta más rápida del motor.
Sin un tubo de bajada que funcione correctamente, el vehículo puede experimentar una disminución en la aceleración, un mayor retraso del turbo y una menor eficiencia del combustible.
Señales de que su bajante necesita ser reemplazado
Con el tiempo, los bajantes pueden deteriorarse debido al calor, la corrosión y el desgaste general. Estas son las señales comunes que indican que podría ser el momento de reemplazar su bajante:
-
Fugas de escape : si nota un ruido o un olor inusual en el escape proveniente del compartimiento del motor, podría indicar una fuga en el tubo de bajada.
-
Aumento del ruido : Un tubo de bajada agrietado o suelto puede causar un fuerte traqueteo al acelerar. Un tubo de bajada defectuoso también puede producir un ruido metálico.
-
Disminución del rendimiento del motor : un flujo de escape deficiente produce una reducción de la eficiencia del motor, lo que se manifiesta como una aceleración lenta o incluso una caída en la potencia general del motor.
-
Reducción del consumo de combustible : Un tubo de escape obstruido o dañado puede aumentar la contrapresión del escape, lo que reduce el consumo de combustible. Si el consumo de combustible aumenta repentinamente, esta podría ser la causa.
¿Es el reemplazo del bajante de agua usted mismo adecuado para usted?
Al considerar reemplazar un bajante, la primera pregunta es si intentarlo usted mismo o contratar a un profesional. Estas son las ventajas y desventajas de ambas opciones:
Ventajas del bricolaje:
-
Ahorro de costos : hacerlo usted mismo significa evitar los costos de mano de obra, lo que lo convierte en una solución más rentable.
-
Desarrollo de habilidades : si se siente cómodo con el mantenimiento básico del automóvil, esta podría ser una excelente oportunidad para ampliar sus habilidades mecánicas.
-
Control sobre el proceso : con el bricolaje, puede tomarse su tiempo para asegurarse de que el trabajo se haga bien, sin atajos.
Desventajas del bricolaje:
-
Herramientas especializadas necesarias : El reemplazo del bajante suele requerir herramientas específicas, como una llave dinamométrica, soportes de gato y, a veces, una herramienta de corte para escapes. Sin estas, el trabajo puede resultar frustrante.
-
Espacio limitado : algunos vehículos tienen espacio restringido alrededor del tubo de bajada, lo que dificulta trabajar en ellos. Si no tiene experiencia, intentar meter las manos en espacios reducidos puede causar más daño que bien.
-
Riesgo de daño : si el reemplazo se realiza de manera incorrecta, puede correr el riesgo de dañar otros componentes de su sistema de escape, lo que podría terminar costándole más en reparaciones.
Si no está seguro, la instalación profesional suele ser la mejor opción, especialmente si su vehículo tiene un sistema de escape complejo.
Herramientas y equipos necesarios para el reemplazo de bajantes
Si decide hacerlo usted mismo, aquí tiene una lista de herramientas y equipos esenciales que necesitará para reemplazar el bajante con éxito:
-
Llave de tubo y dados : para quitar pernos y asegurar el nuevo bajante.
-
Gatos y soportes de gato : para levantar el vehículo de forma segura y darle espacio para trabajar debajo de él.
-
Llave dinamométrica : para apretar los pernos según las especificaciones correctas y garantizar que todo esté seguro.
-
Sellador y juntas de escape : son esenciales para crear un sello hermético y a prueba de fugas cuando se coloca el nuevo tubo de bajada.
-
Herramienta de extracción del sensor de oxígeno : En algunos vehículos, es necesario desconectar los sensores de oxígeno del tubo de bajada. Esta herramienta especializada facilita esta tarea.
Tener las herramientas adecuadas hace que el trabajo sea más fácil y eficiente, reduciendo las posibilidades de cometer errores.
Guía paso a paso para reemplazar su bajante
A continuación le presentamos una guía sencilla sobre cómo reemplazar su bajante.
Paso 1: Preparación
-
Asegure el vehículo : Comience usando un gato para levantar el auto y asegúrelo con soportes. Asegúrese de que el auto esté estable antes de trabajar debajo.
-
Desconecte la batería : por seguridad, desconecte la batería del automóvil para evitar problemas eléctricos mientras trabaja cerca del sistema de escape.
-
Reúna las herramientas y los materiales : asegúrese de tener todas las herramientas necesarias y el bajante de repuesto listo antes de comenzar el trabajo.
Paso 2: Retire el bajante antiguo
-
Afloje los pernos y desconecte los componentes : Comience aflojando los pernos que sujetan el tubo de bajada al turbo y a otros componentes del escape. Si el tubo de bajada está conectado a sensores u otras piezas, desconéctelos con cuidado.
-
Retirada del tubo de bajada antiguo : Una vez desconectado todo, retire con cuidado el tubo de bajada antiguo. Dependiendo del vehículo, puede que sea necesario moverlo un poco para extraer la pieza.
Paso 3: Instale el nuevo bajante
-
Coloque el nuevo bajante : Coloque el nuevo bajante en la misma posición que el anterior. Asegúrese de que encaje correctamente y esté alineado con los componentes del escape.
-
Apriete los pernos : Asegure el bajante apretando los pernos con el par de apriete correcto. Una llave dinamométrica le ayudará a asegurar un apriete correcto.
-
Sellado de conexiones : Aplique sellador de escape en las zonas que requieran sellado para evitar fugas. Asegúrese de reemplazar las juntas si es necesario.
Paso 4: Pruebe y verifique si hay fugas
-
Arranque el vehículo : una vez completada la instalación, arranque el motor y verifique que no haya fugas de escape alrededor del tubo de bajada.
-
Supervise el rendimiento : Conduzca el vehículo con cuidado para comprobar si funciona como se espera. Preste atención a cualquier ruido inusual o revise las luces de advertencia en el tablero.
Si ha seguido estos pasos y está listo para reemplazar su bajante, asegúrese de contar con piezas de la mejor calidad para garantizar un rendimiento duradero. ¡Explore nuestra colección de bajantes y encuentre el ajuste perfecto para su vehículo hoy mismo!
Errores comunes que se deben evitar durante el reemplazo de bajantes
Al reemplazar un bajante, pueden ocurrir algunos errores comunes. Aquí te explicamos cómo evitarlos:
-
Ignorar selladores y juntas : Un error común es olvidar usar sellador o no reemplazar las juntas. Esto puede provocar fugas en el escape, lo que puede reducir el rendimiento y dañar el motor.
-
No apretar los pernos correctamente : si los pernos no se aprietan con el torque correcto, pueden aflojarse y provocar que el tubo de bajada se desprenda o tenga fugas.
-
Uso de piezas incompatibles : Asegúrese de que el nuevo bajante se ajuste a las especificaciones de su vehículo. Usar una pieza que no encaje correctamente puede provocar un rendimiento deficiente y costos de reparación adicionales.
-
Descuidar la reconexión de los sensores : Si desconecta algún sensor, asegúrese de reconectarlo correctamente después de instalar el nuevo tubo de bajada. De lo contrario, podrían producirse códigos de error en el motor o un rendimiento reducido.
Reemplazo de bajante profesional o casero: ¿cuál es el adecuado para usted?
Al decidir entre reemplazar el bajante por uno mismo o por un profesional, la clave está en su comodidad y experiencia. El bricolaje ofrece la ventaja de ahorrar mano de obra y le da control total sobre el proceso. También es una excelente manera de aprender más sobre su vehículo. Sin embargo, requiere herramientas especializadas y puede ser físicamente exigente, especialmente en espacios reducidos o sistemas de escape complejos.
Por otro lado, una instalación profesional garantiza que el trabajo se realice de forma rápida y correcta. Los mecánicos cuentan con las herramientas y la experiencia necesarias para evitar errores, lo que la convierte en una opción más segura para quienes tienen dudas o poca experiencia. El servicio profesional suele incluir una garantía, lo que ofrece tranquilidad en caso de que algo salga mal.
Si confías en tus habilidades y tienes las herramientas necesarias, hacerlo tú mismo puede ser una opción satisfactoria y rentable. Pero si quieres asegurarte de que todo se haga correctamente con las mínimas complicaciones, recurrir a un profesional es una decisión inteligente.
Mejoras de rendimiento después de reemplazar el bajante
Reemplazar el tubo de escape puede mejorar notablemente el rendimiento. Al reducir la contrapresión del escape, un nuevo tubo de escape permite una aceleración más rápida del turbo, mayor potencia y una respuesta del acelerador más ágil.
-
Eficiencia turbo mejorada : un tubo descendente de alto rendimiento puede aumentar la eficiencia de su sistema turbo, lo que genera más potencia.
-
Eficiencia de combustible mejorada : con un mejor flujo de escape, su motor puede funcionar de manera más eficiente, mejorando potencialmente el ahorro de combustible.
-
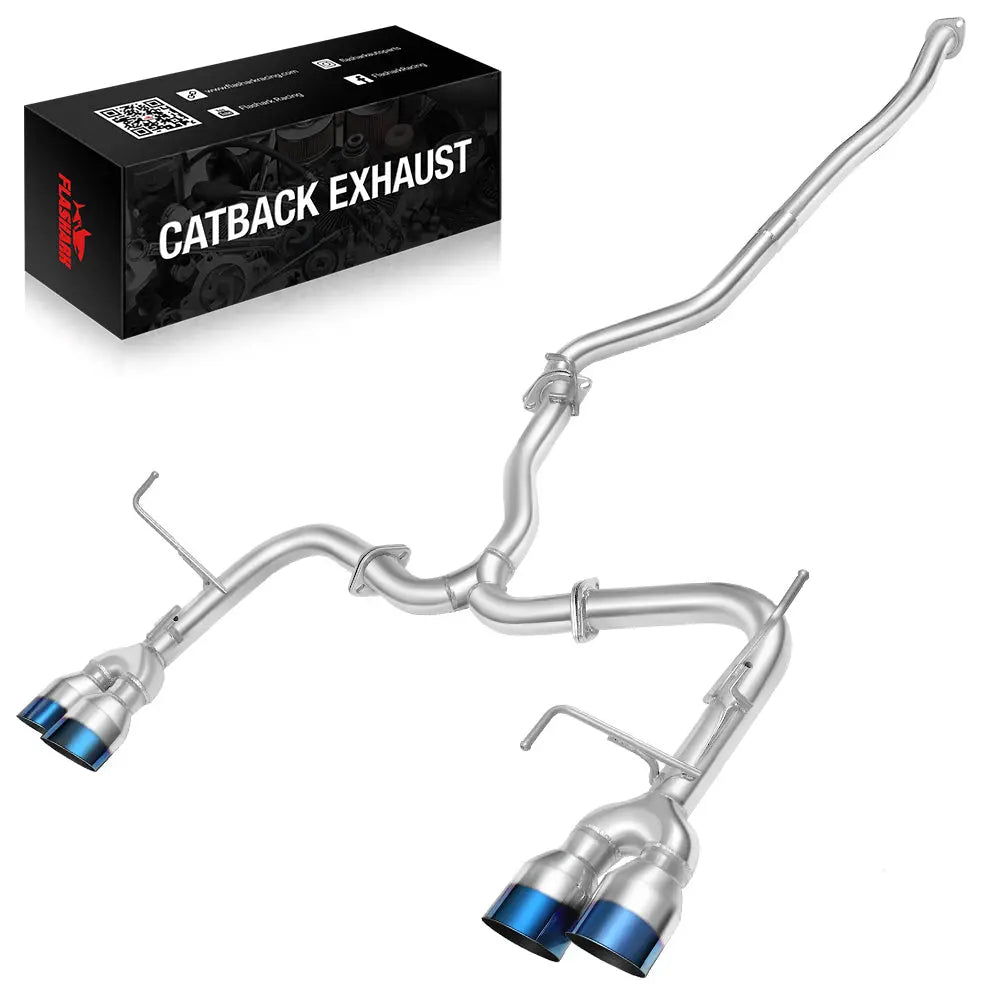
Sonido de escape más fuerte : dependiendo del tubo de escape que elija, el sonido del escape puede volverse más fuerte, lo que le da a su vehículo un sonido más deportivo.
Cómo elegir el bajante adecuado para su vehículo
Elegir el bajante adecuado es fundamental para lograr las mejoras de rendimiento deseadas. A continuación, le explicamos cómo asegurarse de elegir el adecuado:
-
Elección del material : El acero inoxidable es el material más común para los bajantes debido a su durabilidad y resistencia a la corrosión.
-
Tamaño y caudal : El diámetro del tubo de escape debe ajustarse al rendimiento de su vehículo. Un diámetro mayor mejora el flujo de aire, pero puede reducir el par motor a bajas revoluciones.
-
Compatibilidad : asegúrese de que el tubo de bajada que elija sea compatible con el sistema de escape y la configuración del turbo de su vehículo.
Conclusión
Reemplazar el tubo de escape es una excelente manera de mejorar el rendimiento de su vehículo, especialmente si tiene un turbo. Ya sea que decida reemplazarlo usted mismo o contratar a un profesional, comprender el proceso y elegir el tubo de escape adecuado son pasos cruciales. Si no se siente cómodo con la instalación, buscar ayuda profesional siempre es una opción segura. En cualquier caso, un tubo de escape nuevo ayudará a mejorar la respuesta del motor, la eficiencia del turbo y el ahorro de combustible.
¿Listo para actualizar tu bajante? Si te animas a hacerlo tú mismo o necesitas ayuda profesional, explora nuestra gama de bajantes de alto rendimiento y encuentra el que mejor se adapta a tu vehículo hoy mismo. Tanto si necesitas ayuda con la instalación como si prefieres hacerlo tú mismo, tenemos todo lo que necesitas para optimizar el rendimiento de tu coche.