¿Estás pensando en darle a tu 350Z un sonido de escape más potente y fluido? Cambiar los convertidores catalíticos de serie por tubos de escape es una de las primeras modificaciones que muchos propietarios de un 350 Z realizan, y con razón. Los tubos de escape no solo mejoran el flujo del motor, sino que también le dan a tu VQ35DE ese sonido crudo y agresivo que se merece.
En esta guía, le mostraremos paso a paso cómo instalar tubos de prueba en un 350Z. Ya sea que esté en su garaje con herramientas básicas o simplemente esté haciendo los preparativos antes del trabajo, este tutorial cubre todo lo que necesita: herramientas, consejos y los problemas comunes a tener en cuenta.
¿ Qué son los tubos de prueba y por qué instalarlos en un 350Z?
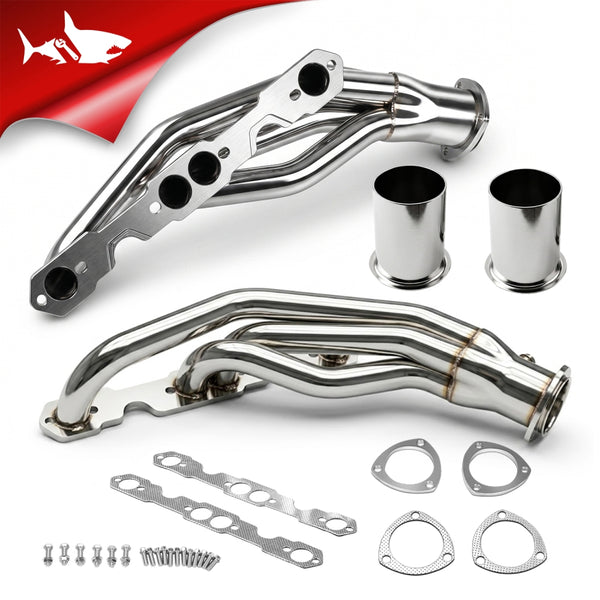
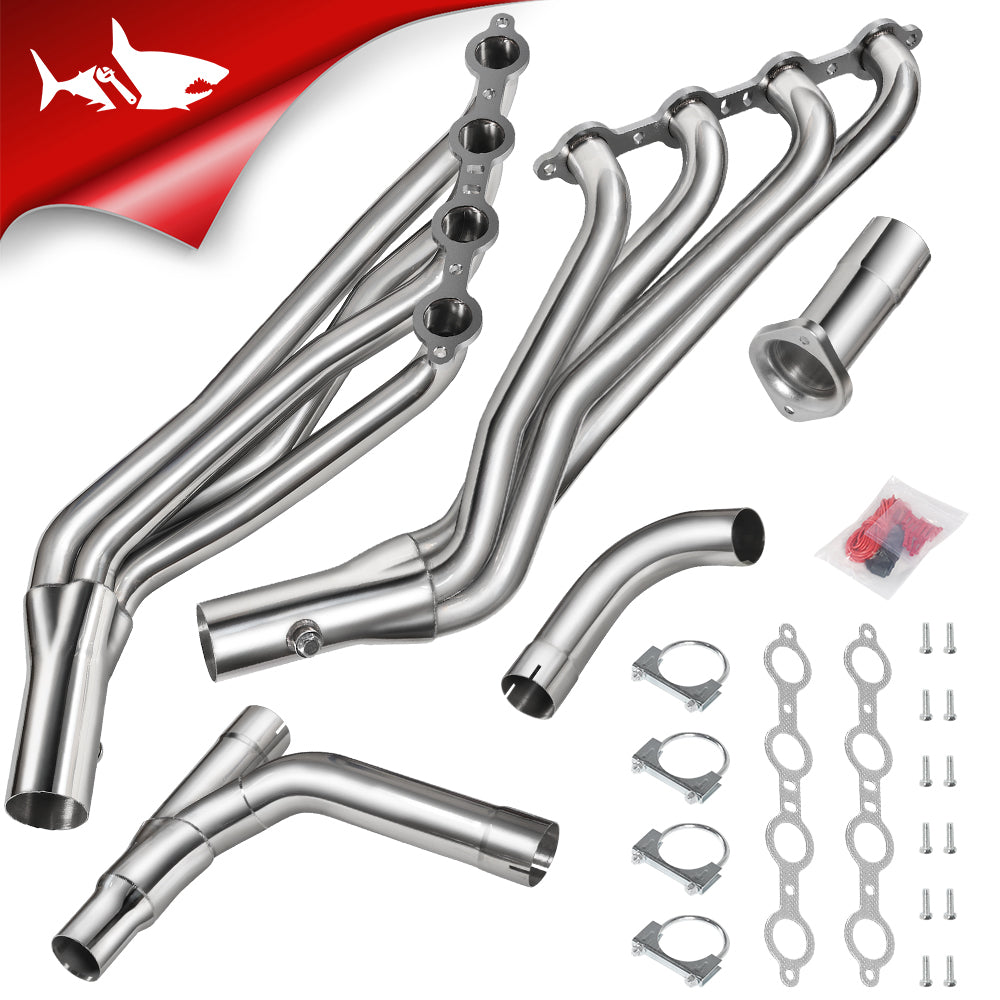
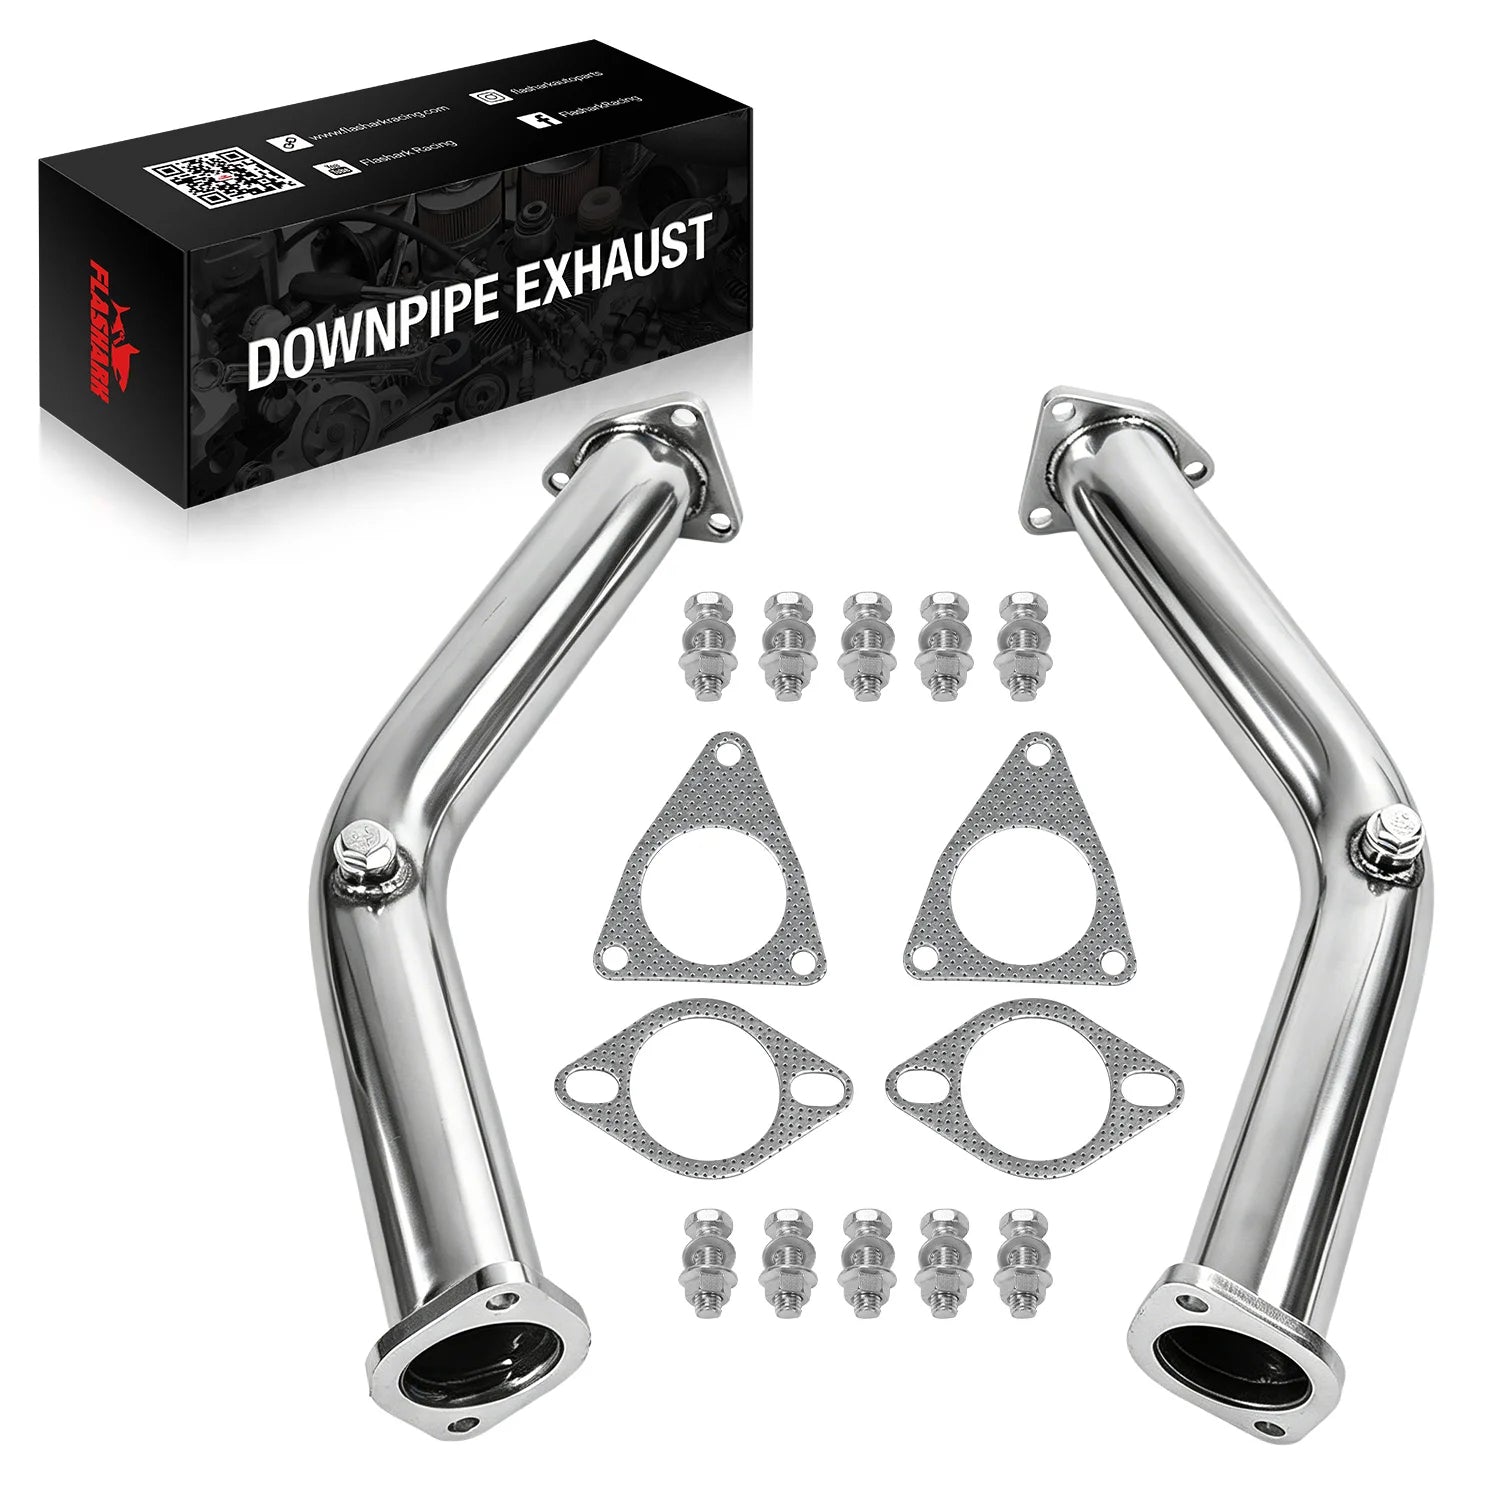
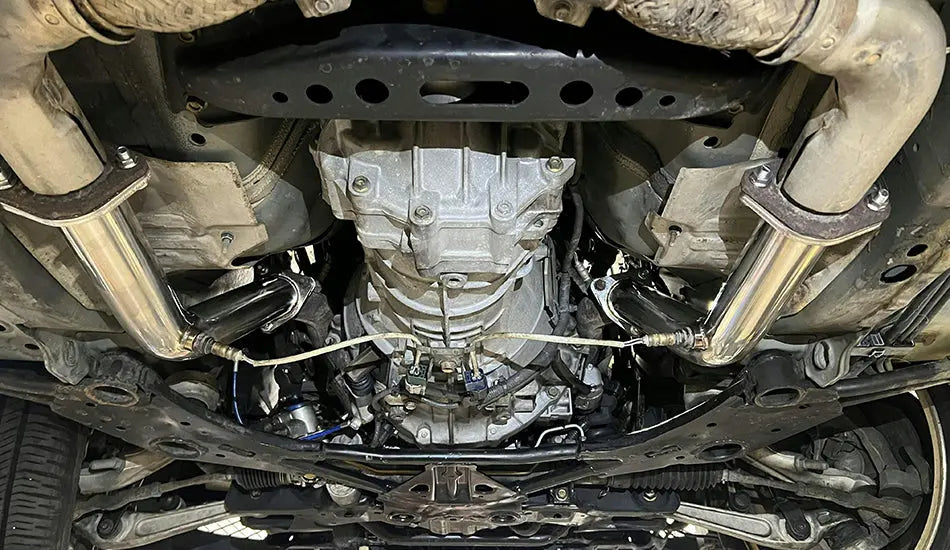
Los tubos de prueba son tubos rectos que reemplazan los convertidores catalíticos originales . Reducen la restricción del escape , permitiendo que el motor VQ35 respire y gire con mayor libertad.

Muchos propietarios del 350Z instalan tubos de prueba para:
-
Respuesta mejorada del acelerador
-
Aumento del volumen de escape
-
Pequeñas ganancias en caballos de fuerza y torque.
Sin embargo, los tubos de prueba no son legales en muchos estados. Además , pueden activar la luz de verificación del motor ( CEL) . debido a las lecturas del sensor de O2 trasero .
Cuando se combinan con un sistema de escape completo, los tubos de prueba de alta calidad pueden generar un aumento de alrededor de 6 a 10 caballos de fuerza al mejorar el flujo de escape y reducir la contrapresión.
Herramientas y piezas que necesitará
Antes de comenzar la instalación, reúna todo lo necesario :
Herramientas esenciales :
-
Lubricante penetrante
-
Juego de trinquete y dado ( preferiblemente con entrada de ⅜” )
-
Toma del sensor de oxígeno
-
Barra rompedora o llave dinamométrica
-
Gatos y soportes de gato o rampas
Herramientas opcionales :
-
Extensores de sensor de O2 ( desincrustantes)
-
Compuesto antiadherente
-
Pistola de calor o soplete ( para pernos rebeldes )
Piezas necesarias:
-
Juntas nuevas
-
Pernos y tuercas de escape de repuesto
Preparación antes de comenzar
Trabajar debajo de su automóvil requiere seguridad y planificación.
Comience por estacionar el 350Z en terreno nivelado . Deje que el motor se enfríe por completo. Luego, rocíe aceite penetrante en todos los pernos del escape , especialmente los que conectan los catalizadores de serie a los colectores. Deje que el aceite actúe durante varias horas o toda la noche.
Desconecte la batería para evitar errores en los sensores al retirar los sensores de O2 . Este pequeño paso puede evitar que se activen códigos de error .
Instalación de tubería de prueba paso a paso para 350Z
Instalar tuberías de prueba no es muy complicado, pero requiere paciencia, las herramientas adecuadas y un espacio de trabajo seguro. A continuación, se detalla cada paso del proceso. Si es la primera vez que lo hace, tómese su tiempo y revise todo a medida que avanza.

Paso 1: Levante el coche
Utilice rampas o un gato hidráulico con soportes para elevar y sujetar el vehículo de forma segura . Nunca trabaje debajo de un vehículo que solo esté apoyado en un gato .
Paso 2: Desconecte los sensores de oxígeno
Localice y desconecte los sensores de O2 conectados a los convertidores catalíticos . Use una llave de tubo para sensores de oxígeno para aflojarlos y retirarlos . Tenga cuidado, ya que estos sensores son frágiles y costosos de reemplazar.
Paso 3: Retire los catalizadores de fábrica o el tubo en Y
Desatornille los convertidores catalíticos originales . Algunos pernos pueden estar oxidados o agarrotados, especialmente en los 350Z más antiguos . Un soplete o una barra rompedora ayudan con los tornillos atascados .
Conserve las juntas y los tornillos viejos sólo si están en buenas condiciones , pero se recomienda reemplazarlos .
Paso 4: Instale los nuevos tubos de prueba
Alinee los tubos de prueba con las bridas e inserte juntas nuevas entre las juntas. Inserte los pernos y apriételos a mano . Luego, ajuste el torque según las especificaciones.
Asegúrese de que ambos lados estén alineados uniformemente y no en contacto con el marco o la parte inferior de la carrocería.
Paso 5: Reinstale los sensores de O2
Conecte los sensores de oxígeno a los nuevos tubos de prueba . Si no utiliza una ECU optimizada, puede instalar extensores de O2 ( desincrustantes ) para evitar la luz de verificación del motor (CEL).
Vuelva a conectar los arneses del sensor después de apretar los sensores.
Paso 6: Verifique todo dos veces
Compruebe que todos los tornillos estén bien apretados y que ninguna junta esté pinchada. Baje el coche, vuelva a conectar la batería y arranque el motor.
Después de la instalación: qué tener en cuenta
Arranque el coche y escuche si hay fugas o traqueteos en el escape . Si oye un tictac , revise las bridas y las juntas .
Conduzca con normalidad durante unos días . Notará un tono más alto y profundo , y una sensación de aceleración ligeramente mejor .
Sin embargo, si la luz de verificación del motor Se enciende, probablemente se deba a los sensores de O2 traseros . Puedes :
-
Instalar desincrustantes del sensor de O2
-
Utilice una ECU optimizada
-
Ignorar la CEL ( no recomendado)
Problemas comunes durante la instalación de tuberías de prueba
Incluso con planificación, pueden surgir problemas . Estos son los más comunes :
-
Pernos agarrotados : Suelen ser causados por el calor y la corrosión. El calor y el PB Blaster ayudan a aflojarlos .
-
Pernos rotos : son especialmente comunes en vehículos antiguos . Quizás tengas que taladrar o acudir a un taller .
-
Daños en el sensor de O2 : retírelos siempre con cuidado y evite utilizar herramientas de impacto .
-
Desalineación : puede provocar fugas de escape o ruidos de golpes debajo del automóvil.
Reflexiones finales
Instalar tubos de prueba en un 350Z puede mejorar drásticamente el sonido y el rendimiento del escape . Es un proyecto gratificante para el aficionado con experiencia práctica .
Aunque el trabajo se puede realizar con herramientas básicas , requiere paciencia , especialmente al trabajar con pernos o sensores oxidados . Priorice siempre la seguridad y recuerde que las tuberías de prueba no son legales para su uso en la vía pública en todas las zonas .
Si no tienes experiencia trabajando con automóviles , considera pedirle ayuda a un amigo o consulta con un profesional.