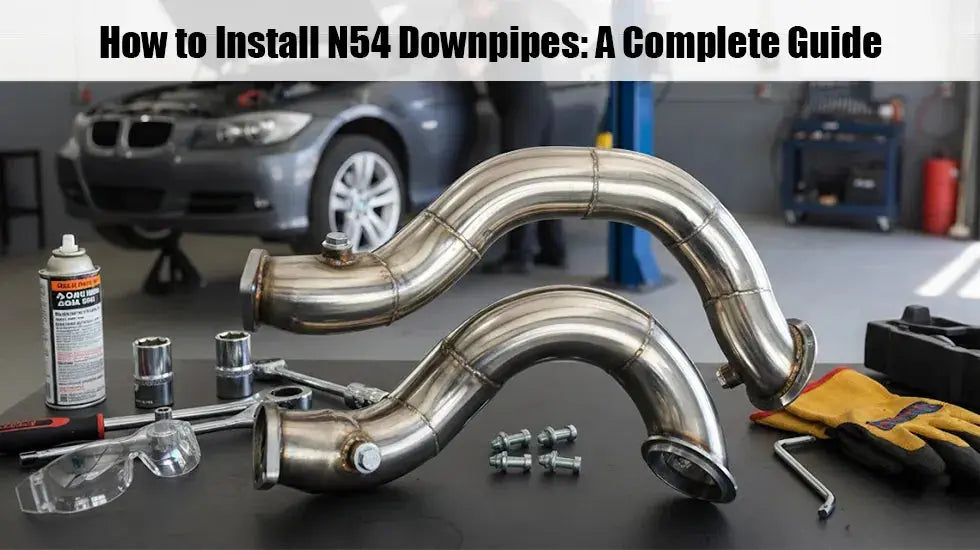
Actualizar el motor de tu BMW N54 con bajantes de escape de repuesto es una de las maneras más efectivas de mejorar el rendimiento. Los bajantes de alto flujo no solo permiten una salida más eficiente de los gases de escape, sino que también ayudan a reducir el retardo del turbo y a mejorar la respuesta del acelerador. En esta guía, te guiaremos en la instalación completa de un bajante de escape N54 , abarcando desde la preparación y las herramientas hasta las comprobaciones finales, para que puedas afrontar la actualización con seguridad y confianza.
Introducción a los bajantes N54
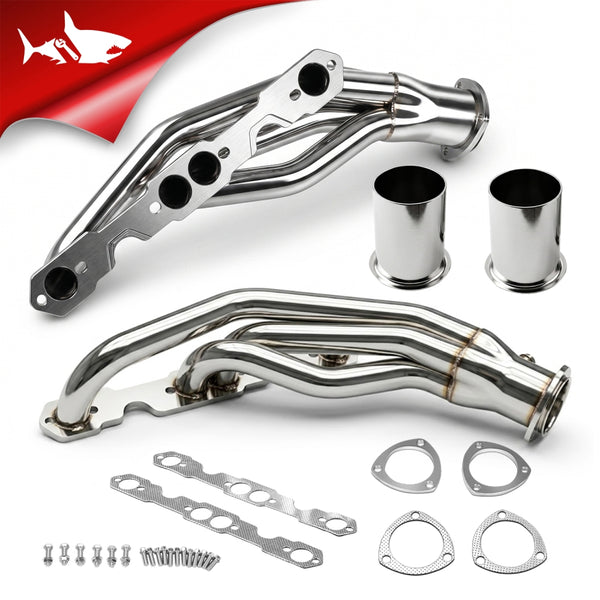
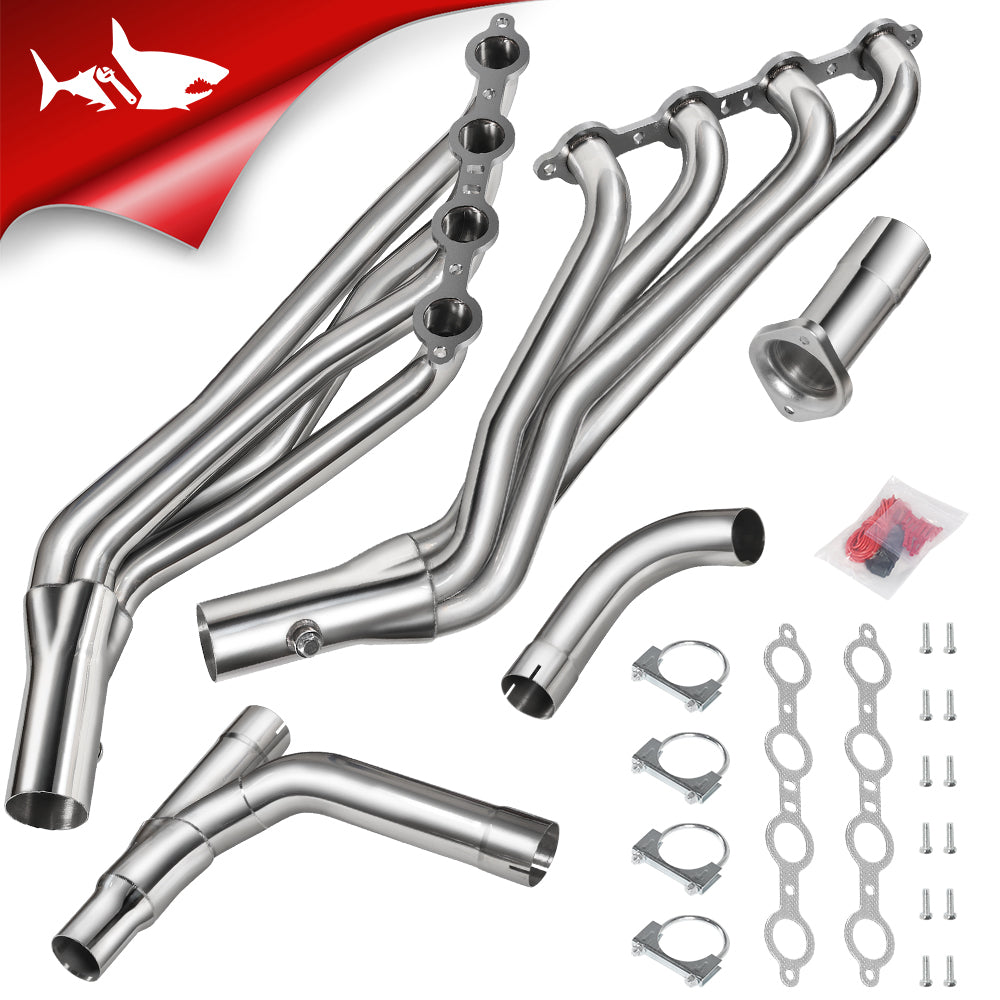
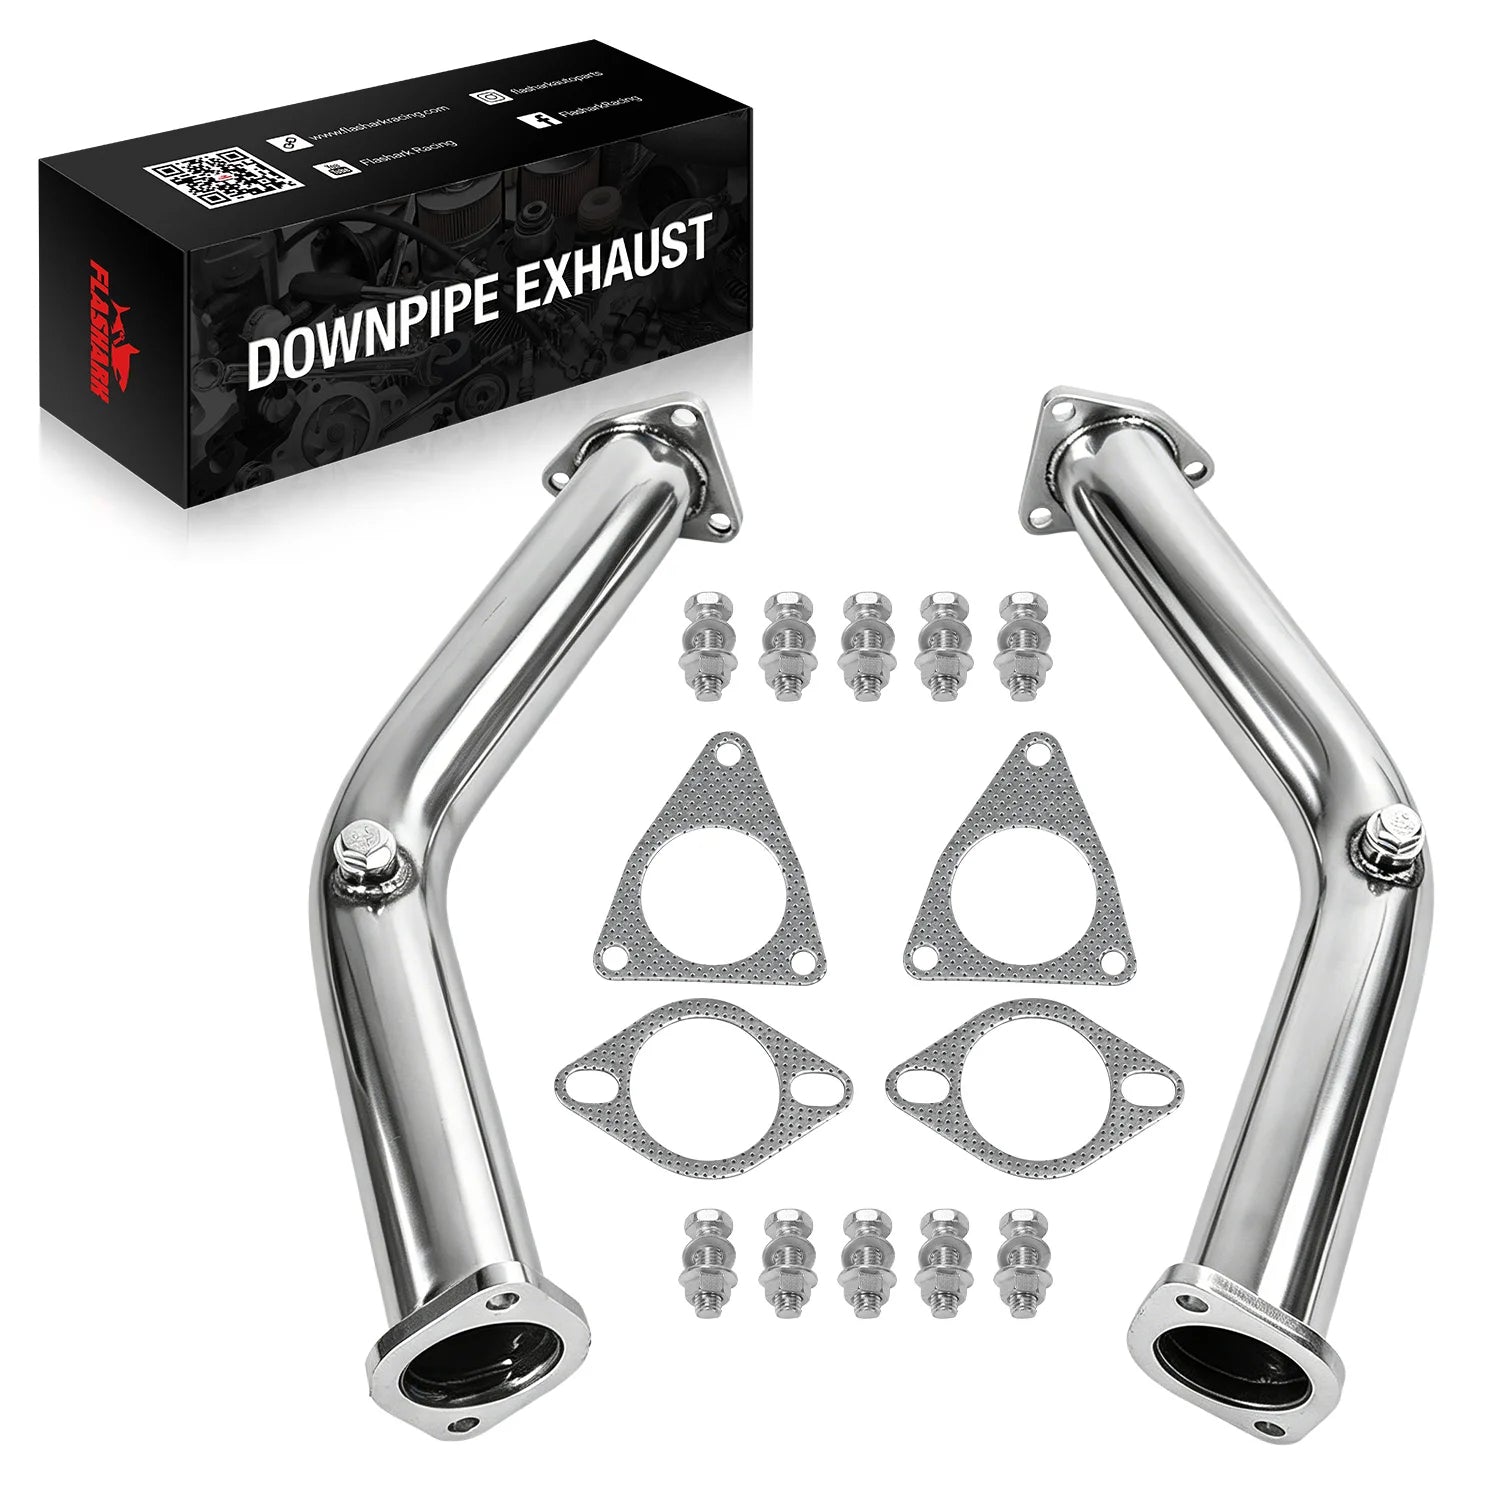
Los tubos de escape son una parte esencial del sistema de escape del N54. Conectan la salida del turbocompresor con el resto del escape, alejando los gases del motor. Los tubos de escape de serie suelen contener convertidores catalíticos restrictivos que limitan el flujo y reducen el rendimiento general. La instalación de tubos de escape de alto flujo abre el paso del escape, lo que resulta en un flujo de gases más suave, mayor potencia y una mejor eficiencia del turbo.
Los componentes clave involucrados en la instalación de un tubo de bajada N54 incluyen sensores de O2, abrazaderas, juntas y conectores de banda V. Comprender estas piezas y cómo interactúan le ayudará a evitar problemas comunes como fugas de escape o errores de sensores.
Lista de verificación de herramientas y materiales
Aquí hay una lista completa para asegurarse de tener todo lo necesario para una instalación exitosa del bajante N54:
-
Juego de llaves de vaso (8 mm–17 mm)
-
Llaves Torx (E10, E12)
-
Toma de sensor de O2 de 22 mm
-
Trinquetes y extensiones
-
Aceite penetrante o PB Blaster
-
Guantes resistentes al calor y gafas de seguridad.
-
Abrazaderas de banda en V, arandelas y juntas
Tener todas las herramientas listas antes de comenzar garantiza que el proceso de instalación se desarrolle sin problemas y de manera eficiente.
Seguridad y preparación antes de la instalación
Antes de meterse debajo de su coche, la seguridad debe ser su máxima prioridad. Trabajar debajo de un vehículo puede ser arriesgado, así que tome estas precauciones:

-
Apoye su vehículo correctamente: utilice soportes de gato o rampas, y coloque siempre calzos en las ruedas. Ponga el freno de mano para evitar que se mueva.
-
Prepare su espacio de trabajo: Asegúrese de que haya suficiente iluminación y espacio alrededor del vehículo. Retire cualquier obstáculo que pueda interferir con su trabajo.
-
Reúna herramientas y materiales: las herramientas esenciales incluyen juegos de vasos (de 8 mm a 17 mm), llaves Torx (E10, E12), un vaso para sensor de O2 de 22 mm, trinquetes, aceite penetrante y guantes resistentes al calor.
-
Manipule los sensores de O2 con cuidado: etiquete cada sensor según su ubicación (delantero o trasero) para evitar errores durante la reinstalación.
Una preparación adecuada no solo garantiza su seguridad, sino que también hace que el proceso de instalación sea más sencillo y rápido.
Extracción del bajante N54 paso a paso
Retirar los bajantes de fábrica es el primer paso importante. Aquí te explicamos cómo hacerlo de forma eficiente y segura:

-
Retire los paneles inferiores de la carrocería y los protectores térmicos: esto expone el sistema de escape y las salidas del turbo.
-
Afloje las abrazaderas y soportes del escape: utilice los enchufes correctos y tenga cuidado de no dañar las roscas.
-
Mueva los componentes que obstruyen si es necesario: algunos modelos requieren aflojar partes de la cremallera de dirección o los soportes para obtener acceso.
-
Desmontaje de los sensores de O2: Identifique los sensores delantero y trasero, generalmente codificados por colores (negro = delantero, gris = trasero). Usar un dado de 22 mm para sensores de O2 evita dañar la rosca.
-
Saque los bajantes viejos: sáquelos con cuidado del compartimento del motor e inspeccione las juntas. Reemplazar las juntas desgastadas es crucial para evitar fugas.
Adoptar un enfoque sistemático en este caso hará que la instalación de nuevos bajantes sea mucho más sencilla.
Preparación de bajantes nuevos para su instalación
Antes de comenzar a instalar cualquier elemento, la preparación es clave:

-
Verifique el ajuste: asegúrese de que los nuevos tubos de bajada se alineen correctamente con las bridas del turbo y la sección media del escape.
-
Coloque previamente los herrajes: coloque las juntas, arandelas y abrazaderas de banda en V sin apretar para poder realizar ajustes.
-
Instalación del sensor O2: Conecte los sensores a los bajantes y verifique dos veces la orientación del cableado (delantero vs. trasero).
Realizar estas comprobaciones de antemano evita frustraciones y garantiza un proceso de instalación sin problemas.
Instalación del bajante N54 paso a paso
Instalar bajantes nuevos requiere paciencia y una alineación cuidadosa. Siga estos pasos:

-
Primero, instale el tubo de bajada trasero: fíjelo sin apretarlo a la brida del turbocompresor trasero. Se pueden realizar pequeños ajustes más adelante.
-
Instale el tubo de bajada delantero: alinéelo con la sección media del escape mientras garantiza la distancia adecuada desde el chasis y los protectores térmicos.
-
Ajustar las posiciones: Asegúrese de que los bajantes no estén en contacto con el cableado, los componentes plásticos o el marco.
-
Apriete gradualmente las abrazaderas y los pernos de la banda en V: comience por la brida del turbo y continúe aguas abajo. No apriete completamente hasta que la alineación sea perfecta.
-
Vuelva a conectar los sensores de O2: asegúrese de que los sensores delantero (negro) y trasero (gris) estén instalados correctamente y completamente apretados.
-
Reinstale los protectores térmicos y los paneles inferiores: proteja el cableado y los componentes de plástico del calor. Además, vuelva a colocar los componentes de la dirección o del chasis que se hayan aflojado.
Siguiendo este enfoque, garantizará una instalación de calidad profesional y reducirá el riesgo de fugas o ruidos en el escape.
Comprobaciones finales y mejores prácticas
Una vez instalados los bajantes , se realizan algunas comprobaciones finales para garantizar que todo sea seguro y funcional:
-
Verifique que todos los pernos, abrazaderas y sensores de O2 estén correctamente apretados.
-
Inspeccione que haya el espacio libre adecuado para evitar daños por contacto o calor.
-
Arranque el motor y escuche cualquier ruido inusual que pueda indicar una desalineación o una fuga.
-
Verifique nuevamente que los protectores térmicos estén colocados de forma segura para proteger los componentes sensibles.
Los controles de rutina posteriores a la instalación mantendrán un rendimiento óptimo y prolongarán la vida útil de su sistema de escape.
Conclusión
Instalar bajantes de repuesto en el motor N54 es una forma muy eficaz de mejorar la eficiencia del turbo, la respuesta del acelerador y el rendimiento general. Una instalación meticulosa del bajante N54, desde la preparación hasta la inspección final, garantiza resultados óptimos y una fiabilidad a largo plazo. Siguiendo los pasos descritos anteriormente, utilizando las herramientas adecuadas y tomando las precauciones de seguridad adecuadas, los entusiastas pueden lograr resultados de calidad profesional, manteniendo la integridad de su motor y sistema de escape.
Preguntas frecuentes
P1: ¿Qué son los bajantes N54 y por qué debería actualizarlos?
A1: Los tubos de escape N54 son parte integral de su sistema de escape. Instalar tubos de escape de alto flujo mejora el flujo de escape, reduce el retardo del turbo y optimiza el rendimiento general del motor.
P2: ¿Es necesario reemplazar los sensores de O2 al instalar bajantes nuevos?
R2: Sí, es fundamental reutilizar o reemplazar los sensores de O2. Estos monitorean los gases de escape y ayudan a mantener una relación aire-combustible adecuada, lo que previene errores del motor o una reducción del rendimiento.
P3: ¿Cómo sé si mi bajante está correctamente alineado?
A3: Antes de apretar, asegúrese de que los tubos de bajada se ajusten de forma segura en las bridas del turbo, tengan espacio suficiente respecto del chasis y no estén en contacto con otros componentes del motor.
P4: ¿Puedo instalar bajantes N54 yo mismo?
A4: Sí, con las herramientas y los conocimientos adecuados, puede instalar bajantes N54 usted mismo. Sin embargo, el trabajo requiere una alineación cuidadosa y las debidas precauciones de seguridad.
Q5: ¿Cómo puedo evitar fugas de escape después de instalar los bajantes?
A5: Utilice siempre juntas nuevas y asegúrese de que todos los pernos, abrazaderas y sensores estén bien apretados. Además, evite reutilizar juntas viejas, ya que podrían no ser herméticas.
P6: ¿Qué herramientas necesito para la instalación del bajante N54?
A6: Las herramientas esenciales incluyen juegos de vasos (8 mm a 17 mm), llaves Torx (E10, E12), vaso para sensor de O2 de 22 mm, trinquetes, aceite penetrante y guantes resistentes al calor.
P7: ¿Cuánto tiempo se tarda en instalar bajantes N54?
A7: En promedio, la instalación puede tomar entre 3 y 5 horas, dependiendo de la experiencia, la disponibilidad de herramientas y el estado de su sistema de escape.
Q8: ¿Necesito quitar la cremallera de dirección para la instalación?
A8: Dependiendo del modelo, es posible que necesite mover la cremallera de dirección u otros componentes para acceder mejor al sistema de escape. Esto es común en espacios reducidos.
P9: ¿Debo reemplazar las juntas del turbocompresor al instalar bajantes?
A9: Sí, es muy recomendable reemplazar las juntas del turbocompresor al instalar nuevos bajantes para evitar fugas de escape y garantizar un sellado adecuado.
P10: ¿Qué debo hacer si el bajante no encaja?
A10: Si el tubo de bajada no encaja, revise si hay problemas de alineación, holgura con los componentes circundantes o si la brida del turbo está mal colocada. Podrían ser necesarios pequeños ajustes.
P11: ¿Puedo utilizar bajantes de repuesto en una configuración N54 estándar?
A11: Sí, se pueden instalar bajantes de escape de repuesto en un motor N54 de serie. Sin embargo, las mejoras de rendimiento serán más notables con mejoras adicionales en el motor.
P12: ¿La instalación de bajantes afectará la garantía de mi vehículo?
A12: Sí, las modificaciones posteriores, como los bajantes, podrían anular ciertos aspectos de la garantía de su vehículo. Consulte siempre con el fabricante o el concesionario.
P13: ¿Cómo instalo nuevamente los sensores de O2 después de reemplazar los bajantes?
A13: Al reinstalar los sensores de O2, asegúrese de que estén etiquetados (delantero = negro, trasero = gris), correctamente roscados y bien ajustados para evitar fallas en el sensor.
P14: ¿Cuáles son las señales de que mis bajantes necesitan ser reemplazados?
A14: Las señales incluyen fugas de escape, pérdida de potencia, respuesta deficiente del acelerador o ruidos extraños en el motor. Reemplazar los bajantes viejos, obstruidos o dañados puede mejorar el rendimiento del motor.
P15: ¿Cómo puedo realizar una verificación de fugas después de la instalación?
A15: Arranque el motor y observe si hay ruidos o traqueteos inusuales. Compruebe si hay fugas de escape palpando el flujo de aire alrededor de las conexiones y verificando si hay humo o gases.