Jack up a coilover-equipped car and you may find a main spring that rattles between its seats. Set the car down and the rattle disappears. That change tells you more about the suspension than another turn of the adjustment collar will.
A helper spring addresses a specific problem: keeping the main spring seated as the damper extends. Choosing one still takes measurements. A short spring that fills the gap at full droop also occupies space when it collapses. Ignore either end of the stroke and you can trade one problem for another.
Quick Answer
- A helper spring keeps the main spring seated near full droop. Its value depends on whether the main spring otherwise develops an axial gap.
- A typical low-rate helper is fully collapsed at static ride height. Check the selected spring’s rate and the load at that corner.
- Free length helps cover the droop gap; solid height consumes installed space. Both dimensions matter.
- A helper does not add damper stroke. Check remaining bump travel, main-spring compression and component clearance.
- A seated main spring may need no helper. Measure the assembly at full extension before ordering parts.
What Coilover Helper Springs Actually Do
The Main Spring Supports the Car; the Helper Keeps It Seated
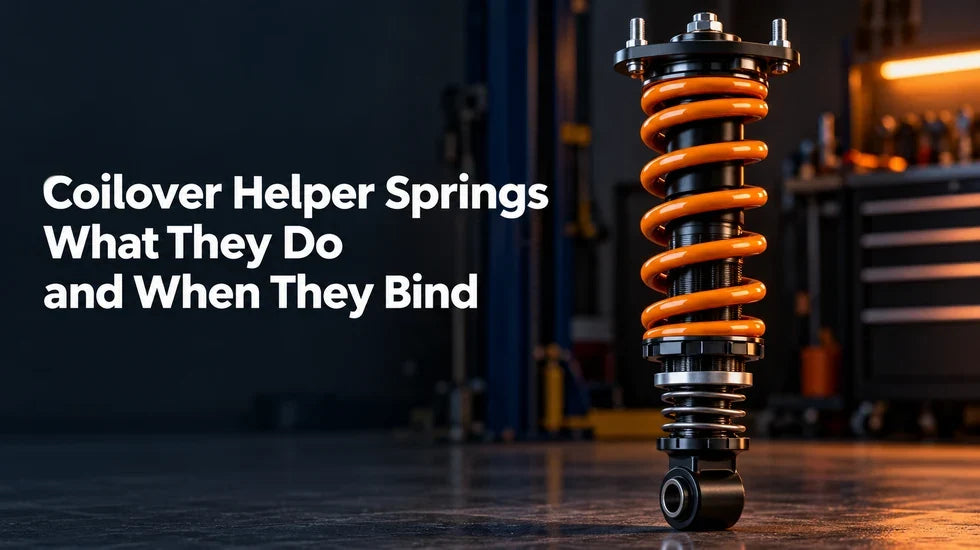
The main spring carries the vehicle’s working suspension load. A low-rate helper spring sits in series with it, separated by a properly matched divider. As the damper reaches full extension, the helper expands and maintains contact through the spring stack. That contact helps prevent the main spring from lifting away from its seat.
Think of the helper as a spring-positioning part, not a shortcut to a softer ride. Eibach describes its helper springs as having minimal effect on the main spring rate, while Hyperco identifies full-droop spring seating as their primary job. A tender spring is a different tuning tool; we will get to that distinction in a moment.
What Changes Between Ride Height and Full Droop
At normal ride height, a typical low-rate helper has already collapsed to its solid height. The main spring then controls the spring response. Raise the chassis and the damper extends. As load comes off that corner, the helper opens and continues to press the main spring against its seat.

Here is how I check a car with a loose spring on a lift: I look for axial movement between the seats, then lower and raise that corner slowly while watching how the spring returns. A spring that rotates by hand under little load is one observation. A spring that can move up and down, tilt, or miss its seat is a more serious one. I also check whether the top mount, divider and lower seat guide the spring throughout that movement.
Garage tip: Full droop is the position to inspect, even if the car feels quiet on a smooth road. A lift makes the problem easy to see; a crest or raised wheel can unload the same corner in use.
Helper vs. Tender vs. Main Springs on Coilovers
Two springs on one damper do not automatically make a dual-rate suspension. The springs’ rates and working positions decide what the assembly does.
| Spring | Primary job | Typical state at ride height | What to check |
|---|---|---|---|
| Main spring | Supports the corner through its intended working travel | Partly compressed | Rate, free length, usable compression and clearance to solid height |
| Helper spring | Keeps the main spring seated as the assembly extends | Usually fully collapsed in a correctly selected low-rate setup | Rate, free length, solid height, inside diameter and divider fit |
| Tender spring | Contributes to a deliberate two-stage spring response | Depends on the system design and crossover point | Rate, travel, transition point and matching hardware |

Why a Tender Spring Can Change the Effective Rate
A tender spring carries meaningful load while it remains open. During that part of the stroke, both springs compress in series. Once the tender reaches its solid height, the main spring governs the remaining spring travel. That transition creates the two-stage behavior builders seek from a tender-and-main arrangement.
A very soft helper normally closes under the car’s static corner load. It does its useful work during unloading, close to full extension. Calling every short secondary spring a “helper” hides a real setup difference: one part mainly keeps the spring stack together; the other deliberately changes the working spring response.
How to Identify the Spring You Already Have
Look for the manufacturer’s spring marking and match it to the rate, inside diameter, free length and solid height. Measure the divider and both seats as well. For example, a spring marked for a 2.5-inch inside diameter needs hardware shaped and sized for that spring; a similar-looking metric spring does not establish compatibility by appearance alone.
Watch the assembly at ride height. If the secondary spring remains visibly open, find out whether the system was designed as a tender setup before changing collars. A collapsed helper and an active tender call for different calculations.
Free Length, Solid Height, and the Full-Droop Gap
Measure the Gap at Full Extension
Support the vehicle securely at the manufacturer’s approved lift points. Let the suspension reach its true full-extension position, then inspect the main spring’s contact with both seats. Measure any axial gap that appears. Measure seat-to-seat distance along the spring axis, rather than guessing from how much thread remains on the damper body.
Pay attention to what actually stops droop. The damper may reach its extension limit, or another suspension component may limit wheel travel first. A measurement taken with a control arm still supported by the jack is not a full-droop measurement.
Compare Helper Free Length With Its Collapsed Height
Free length is the spring’s unloaded length. Solid height is its length when the coils have fully closed. The difference indicates how much length the helper can take up as the suspension extends. Solid height also tells you how much space the helper occupies when the car is sitting on its wheels.
For a simple arithmetic example, imagine a helper with a 4.0-inch free length and a 0.8-inch solid height. Its change in length is 3.2 inches. That figure is not a universal allowable droop gap: spring rate, installed preload, divider thickness and the actual seat positions still determine whether that helper fits a particular assembly.

Check the Whole Spring Stack, Not One Measurement
Add the main spring, helper, divider and seats to your sketch of the assembly. Check the stack at full extension and near maximum compression. At full extension, both springs must remain properly guided and seated. At compression, the main spring needs sufficient travel before its own solid height.
A helper’s ability to cover a gap does not excuse a main spring that is too short for the available bump stroke. The damper, bump stop and spring each have limits. Use the tightest applicable limit when assessing the setup.
When Do Helper Springs on Coilovers Fully Compress?
Follow the Load From Full Droop to Ride Height
Start with the wheel hanging. The helper is extended enough to keep the spring stack in contact. Raise the wheel toward the body and load builds through both springs. A low-rate helper compresses rapidly relative to the much stiffer main spring. By static ride height, a typical helper-and-main arrangement has the helper at solid height.
“Starts to compress” and “fully compressed” describe different points. Check the installed assembly instead of assigning either event to a fixed number of inches of wheel movement. Suspension motion ratio, corner load and the selected spring rate all affect where the transition occurs.
What a Collapsed Helper Does—and Does Not—Change
Once the helper is solid, the main spring provides the working spring rate. The helper does not create extra damper travel or correct poor damping. Its solid height and divider still occupy room in the assembly, so the spring stack must clear its surroundings through the intended stroke.
One common mix-up deserves a direct answer: tightening the perch on a linear main spring does not change that spring’s rated pounds per inch. Preload changes its starting compression and can change where the car sits within the damper stroke, depending on the coilover design and load. Judge the result by measured ride height and travel, not by calling the spring “stiffer.”
Preload, Shock Travel, and Installation Limits
Why More Preload Is Not Always the Answer to a Loose Spring
A lot of builders see a loose spring at full droop and immediately wind up the perch. I would first measure the gap. If the main spring needs substantial extra compression just to stay seated at extension, that adjustment can alter the static position of the damper and the balance between bump and droop travel.
On a setup with an independently adjustable lower mount, the lower mount and spring perch serve different purposes. On another design, changing the perch may also change ride height. Follow the adjustment method for the exact assembly. Flashark’s coilover spring preload guide covers the basic adjustment process; measure the resulting spring seating and travel on your own car.
My check after any perch change is straightforward: set the car on its wheels, record hub-to-fender height, then inspect available extension and compression again. That sequence catches a “fixed” loose spring that cost too much droop or left too little room before the bump stop.
Fit the Divider, Seats, and Spring Inside Diameter
Match the helper and main spring to the divider’s specified diameters and seating profiles. Check that the divider slides freely where the manufacturer intends, stays centered and cannot foul the damper body. Inspect lock rings, upper seats and lower perches for damage before reassembly.

When I find a spring leaning at full extension, I do not blame the helper rate first. I inspect the divider orientation, spring inside diameter and seat shape. A divider that sits crooked can guide the main spring back onto its seat crooked. Correct hardware matters as much as spring length.
- Record the existing ride height and collar positions before disassembly.
- Support the chassis and suspension as specified for the vehicle; control stored spring energy during removal.
- Measure spring and divider dimensions, then assemble them in the manufacturer’s stated order.
- Check seating at full extension and through controlled compression.
- Set collars and fasteners to the instructions for the exact coilover, then recheck ride height and clearance.
Protect Bump Travel and Avoid Main-Spring Coil Bind
Check the main spring’s remaining compression before its coils touch. Check where the bump stop engages and whether the tire, arm, axle or spring stack contacts nearby parts first. A helper that closes correctly at ride height still occupies its solid height. Include that height and the divider in your installed-length calculation.
Damper stroke is fixed by the damper’s construction. Changing springs redistributes how you use that stroke; it cannot lengthen the shaft. If a short main spring reaches coil bind before the suspension reaches its intended bump limit, choose a suitable spring and setup rather than asking the helper to solve it.
Setup tip: Check the spring at both ends of travel. Full droop tells you whether it stays seated; controlled compression tells you whether the assembly runs out of room.
Do You Need Helper Springs on Your Coilovers?
Setups Where a Helper Can Solve a Real Problem
Helper springs for coilovers make sense when a correctly configured main spring develops a measurable gap at full extension and the assembly has room for a compatible helper and divider. Short, stiff main springs can make that situation more likely, especially when the builder wants usable droop without adding substantial main-spring preload.
Take measurements at the actual ride height. The same vehicle can produce a different answer after a spring-length change, a damper change or a major height adjustment.
Setups Where You May Not Need One
A main spring that remains properly seated through full droop does not need another spring merely because two springs look more sophisticated. A helper also cannot repair a worn top mount, incorrect spring seat, inadequate bump travel or a damper that does not suit the intended height.
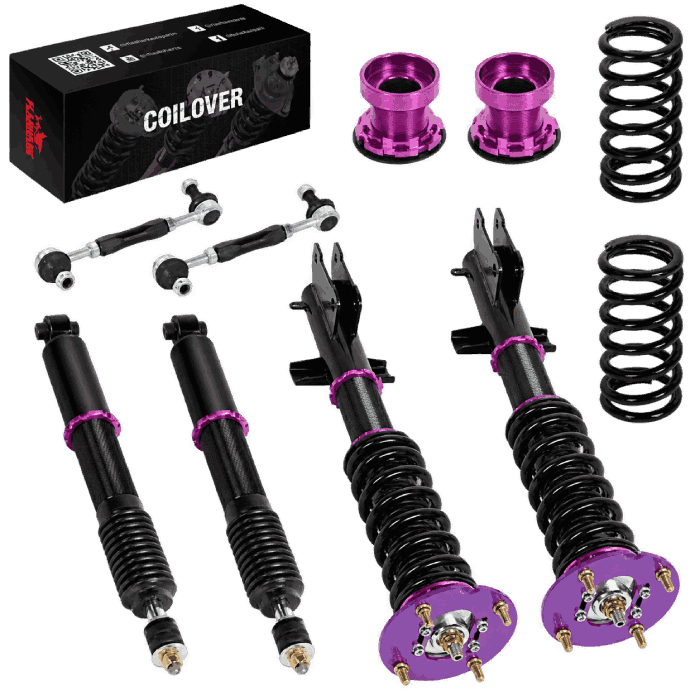
Flashark offers vehicle-specific options in its coilover suspension collection. Select the vehicle first, then inspect the chosen kit’s spring layout, adjustment method and included hardware. Do not assume a helper spring or divider comes with every kit.
A Five-Check Decision Before You Order Parts
- Full-droop gap: Measure axial movement between the main spring and its seats.
- Spring dimensions: Record main-spring and proposed helper inside diameters, free lengths and solid heights.
- Hardware fit: Match the divider, spring seats and damper body to the selected springs.
- Ride-height state: Check whether the proposed helper will be collapsed under normal static load.
- Compression margin: Confirm main-spring travel, bump-stop position and surrounding clearance.
Stop if the dimensions do not work at both ends of travel. A longer main spring, a different main-spring rate or a damper setup change may be the appropriate answer for a particular car.
Bottom line: Coilover helper springs earn their place when they keep a properly sized main spring seated at full droop without compromising the rest of the stroke. Measure the gap, check the solid stack and confirm the hardware fit. Then decide.
Frequently Asked Questions
Q1: What do helper springs do on coilovers?
A1: A low-rate helper spring expands as the suspension approaches full droop and helps keep the main spring against its seats. At normal ride height, the helper is usually fully collapsed. The main spring then supplies the working spring rate.
Q2: Are helper springs fully compressed at normal ride height?
A2: A correctly selected low-rate helper usually reaches solid height under the car’s static corner load. Check the selected spring’s rate and observe the assembly at ride height. A secondary spring that remains open may be a tender spring or part of a different spring strategy.
Q3: Do I need a helper if my main spring stays seated?
A3: Usually not for spring retention. Check the main spring at true full extension, including whether it can move axially or leave its seat. If the spring remains properly guided and seated, adding another spring may provide no useful benefit.
Q4: Should I choose a longer main spring instead?
A4: Compare the longer spring’s free length, rate, available compression and solid height with the damper’s space and stroke. A longer main spring can address a droop gap in some setups, but it must still have room to compress safely.
Q5: Can a helper fix too little droop travel?
A5: A helper can keep the main spring seated in a setup that uses less main-spring preload, which may permit a better droop arrangement. It cannot extend the damper or remove limits imposed by mounts, arms or the selected ride height.
Q6: Do helper springs need a spring divider?
A6: Stacked coilover springs generally need the divider or coupler specified for that spring and damper combination. Match the seating shapes and diameters. A divider with the wrong fit can let a spring sit crooked or interfere with movement.
Q7: Why is my main spring loose when the car is on a lift?
A7: At full extension, the distance between spring seats can exceed the main spring’s installed free length. Measure the axial gap and inspect how the spring is guided. Also check the top mount and seats before deciding that a helper is the only solution.
Q8: Are helper springs street legal in my state?
A8: Road-use requirements depend on location and the complete suspension setup. Check the rules and inspection requirements that apply where you register and drive the vehicle. Correct fit, secure spring retention and adequate clearance matter regardless of location.
Q9: Do I need an ECU tune or a new alignment after adding helpers?
A9: A helper spring does not call for an engine control unit; ECU; calibration change. Check alignment if the installation changes ride height or suspension geometry. Measure the final height before driving normally, then follow the vehicle and coilover maker’s alignment guidance.
Q10: Can I mix helper springs and dividers from different brands?
A10: Match the actual inside diameters, seating profiles, free length, solid height and manufacturer compatibility instructions. A shared nominal diameter alone does not prove that two parts work together. Check the complete stack through its intended travel.

Steven Chen
Automotive Performance Specialist | Engine & Exhaust Systems
Steven focuses on practical engine performance, exhaust fitment, and real-world upgrade paths for classic and modern enthusiast vehicles. He reviews small-block Ford, LS, truck, and street/strip applications with one goal in mind: helping builders choose parts that actually work together. His philosophy: "Good power starts with the right combination, not the biggest part."