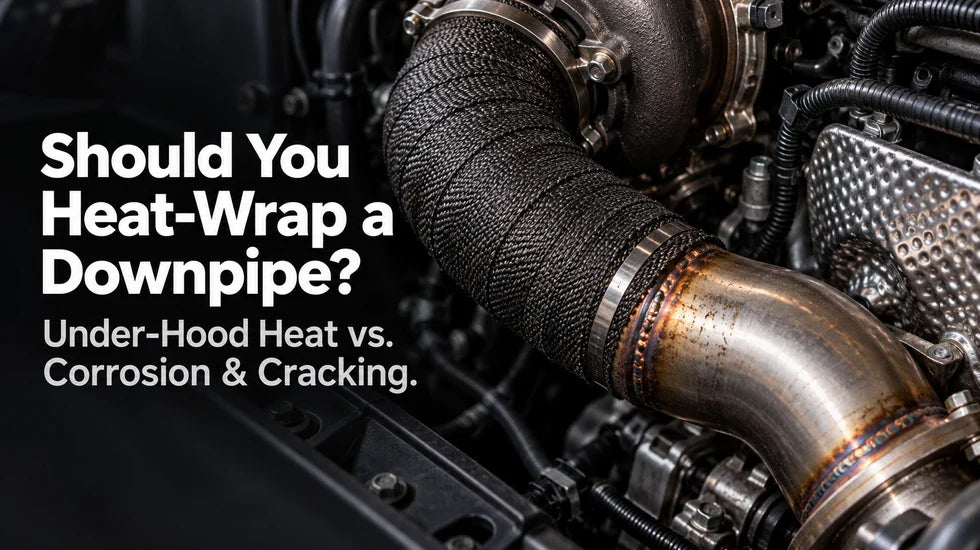
A turbo downpipe can sit close enough to an oxygen-sensor wire, coolant hose, or firewall to make heat control a real job. Wrapping the pipe looks simple: cover the hot metal, keep heat away from nearby parts, and drive. The difficult part comes later. The same wrap that shields a wire can hide moisture, corrosion, or a developing crack beneath it.
Here is how I would make the call in a garage: identify the part getting too hot, inspect the pipe itself, and decide whether the pipe needs insulation at all. A wire that runs too close to a downpipe may need a better route or a heat sleeve. A broad surface facing the firewall may call for a shield. Full pipe wrap deserves a reason stronger than “the engine bay feels hot.”
Quick Answer: Should You Wrap a Downpipe?
- Consider wrap when a sound downpipe radiates heat toward nearby parts and clearance leaves few practical shielding options.
- Favor a shield or local sleeve when one wire, hose, or panel is the actual problem; those parts remain easier to inspect.
- Think twice on a wet, salted-road daily driver. Wrap can hold contamination against the pipe and hide what happens underneath.
- Do not cover a crack, exhaust leak, oil leak, or loose bracket. Repair the fault before adding insulation.
- Plan to inspect the installation. Check after its first heat cycle and after rain, road salt, track use, or exhaust work.
Start With the Heat Problem, Not the Wrap
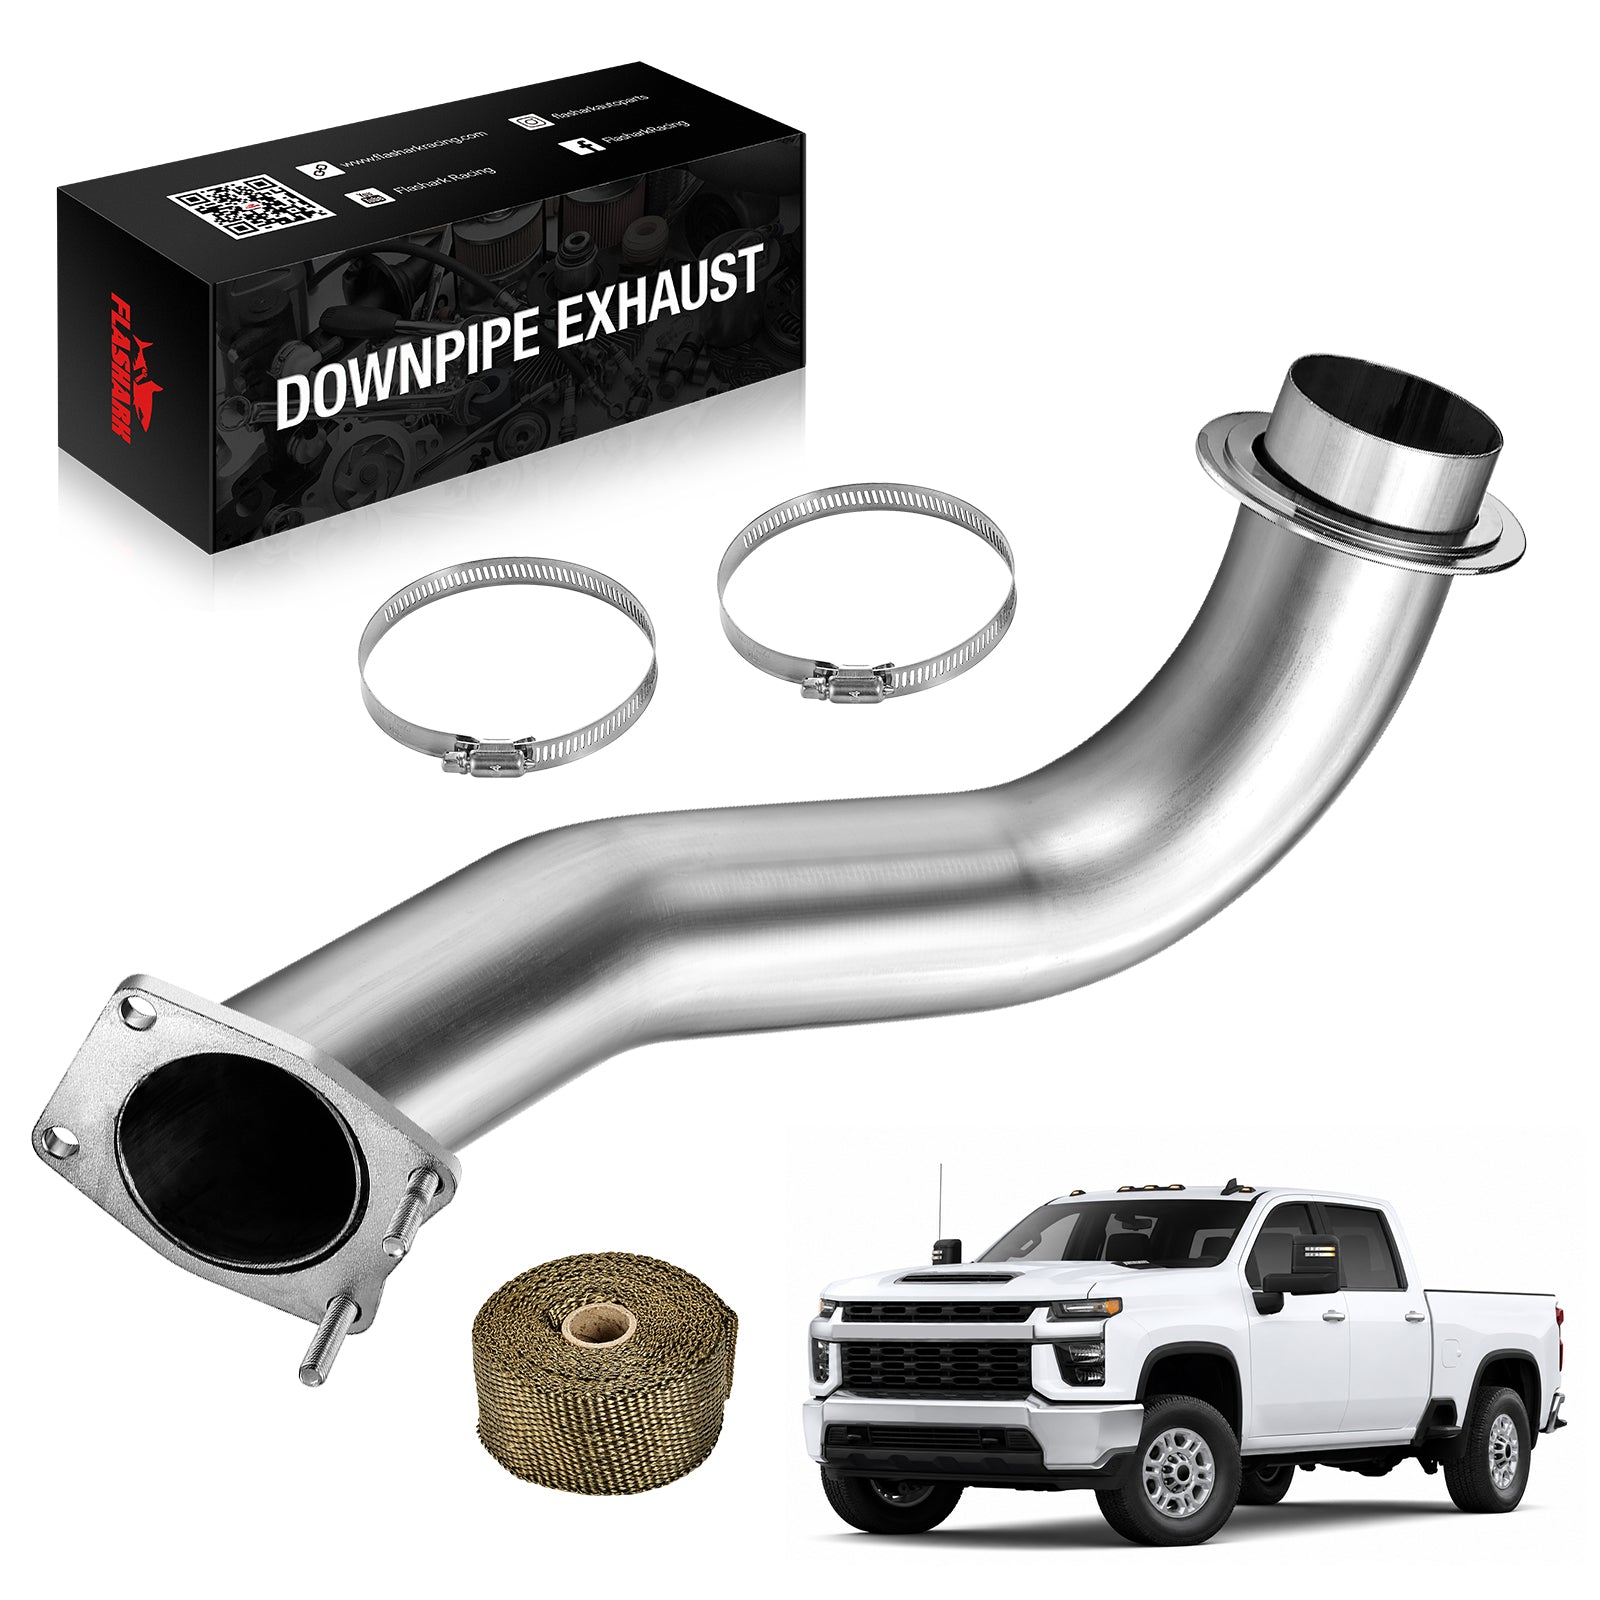
A downpipe carries exhaust away from a turbocharger toward the next exhaust section. That puts its upper end near one of the hottest assemblies under the hood. If you want a closer look at the part and its connections, Flashark's guide to what a downpipe does explains the layout.
Before reaching for insulation, look at the space around your own pipe. Trace the oxygen-sensor wires. Follow nearby coolant and vacuum hoses. Check the firewall, steering components, intake plumbing, and any factory shield. A few millimeters of extra clearance can matter more to one vulnerable wire than covering an entire exhaust section.
Which Parts Actually Need Protection?
I start with the nearest vulnerable part, then follow its route with a light. A wire may clear the downpipe at idle yet move closer when an engine mount loads up. A hose may sit safely above the pipe but touch a bracket after an earlier repair. Neither problem calls for wrapping first. Secure the component, restore its intended route, and check clearance through the area it can move.

Look for hardened insulation, brittle plastic clips, discolored loom, heat marks on a shield, and contact polished into a bracket. Those clues tell you more than the temperature you feel when you open the hood. Exhaust parts can burn skin; let the car cool fully before touching or moving anything.
Garage tip: Photograph the pipe, wire routes, brackets, and factory shields before disassembly. A clear “before” photo makes missing clips and changed clearances easier to spot during reassembly.
Measure the Problem You Want to Fix
Separate three measurements: pipe surface temperature, temperature at the threatened component, and general air temperature under the hood. They answer different questions. A cooler exposed wrap surface does not, by itself, prove that every component under the hood runs cooler.
Use the same measurement points before and after a change. Record ambient temperature, drive length, load, and the time between stopping and taking each reading. Compare an idle reading with another idle reading; compare a post-drive reading at the same delay. Infrared thermometers can give misleading comparisons across shiny metal, dark coating, and fabric because their surfaces emit radiation differently. Keep the measurement method consistent.
Flashark's exhaust header temperature guide also explains why exhaust-gas temperature and outside surface temperature are different numbers. That distinction matters when choosing material rated for the job.
What Downpipe Heat Wrap Can Actually Improve
Heat wrap for downpipe applications reduces heat leaving the covered section toward surrounding parts. That can help when the pipe passes close to a heat-sensitive target. It does not create space where none exists, repair poor wire routing, or make a leaking exhaust safe.
The benefit also depends on where you place it. Covering the lower section will do little for a sensor wire beside the upper bend. Wrapping a short upper section may address that wire while leaving the rest of the pipe exposed for inspection. Match coverage to the actual heat path.
Radiant Heat, Parking Heat Soak, and Wiring
Radiant heat travels from the hot pipe toward parts that can “see” it. An air gap and a solid shield can interrupt that path. A sleeve protects a wire or hose locally. Wrap changes the outside of the heat source. Each approach solves a slightly different problem.
Parking changes the picture. Airflow falls when the car stops, while the turbo and exhaust remain hot. That is why a wire that survives highway driving can suffer near a parked, heat-soaked engine. Check both the loaded driving condition and the period immediately after shutdown.
Do Not Buy Wrap for a Promised Horsepower Number
Keeping exhaust energy in the pipe has a plausible performance explanation, especially around a turbo system. A specific wheel-horsepower gain is another claim altogether. Turbo setup, calibration, intake temperature, exhaust restriction, and test conditions can all move the result.
If power is your reason for the job, compare repeated runs under matched conditions. Record intake-air temperature, ambient conditions, fuel, and engine calibration along with the dyno result. Without that context, an “8–12 whp from wrap” claim tells you little about your car.
The Durability Trade-Off: Moisture, Metal, and Welds
Wrap changes the pipe's working environment. Metal beneath an insulating layer can stay hotter during operation, while the layer can also collect water, salt, oil, and road grime. The risk depends on the material, the welds, the exposure, and how easily you can inspect the finished installation.
A dry track car and a year-round street car in salted winter traffic do not face the same maintenance problem. Treat “I have run wrap for years without rust” and “wrap destroyed my pipe” as accounts of different conditions, not universal rules.
What Moisture Can Hide Beneath the Wrap
Water can enter at an exposed edge, a loose tie, or a section struck by road spray. Salt and dirt can remain where you cannot see them. Mild steel deserves particular caution because surface corrosion can progress out of sight. Stainless steel improves corrosion resistance, but its grade, weld quality, and exposure still matter.
When I examine an older wrapped pipe, I do not judge it by how tidy the fabric looks. I check the wrap edges, low points, clamps, and any place water can collect. Rust staining, a damp section that stays wet, or a new exhaust smell calls for removal and a direct look at the metal. A fresh layer of wrap would only hide the clue.

Mild Steel, Stainless Steel, and Titanium Need Different Decisions
Start with the downpipe maker's material and care instructions. A mild-steel pipe used through wet winters presents a different corrosion case from a stainless pipe on a dry-weather car. Stainless is not a single material or a guarantee against damage; fabrication and service conditions still count.
Do not assume a wrap marketed as “titanium” belongs on a titanium exhaust pipe. That word often describes the wrap's appearance or fiber type. Some wrap manufacturers advise against wrapping titanium exhaust components. Read the instructions for both the pipe and the insulation before combining them.
Why Welds and Brackets Deserve a Closer Look
The downpipe expands when hot and contracts as it cools. Brackets, flanges, welds, and bends constrain that movement. Vibration adds another load. More heat retained in the metal can change the conditions at those already demanding spots; it does not mean every wrapped weld will crack.
Inspect the weld toes, sensor bungs, support brackets, and flex section before installation. Look for soot tracks, hairline marks, or a bracket pulling the pipe out of alignment. Fix a leak or fitment problem first. Wrap is insulation, not a repair sleeve.
Wrap, Ceramic Coating, or an Air-Gap Shield?
Choose the smallest effective fix. Protecting one oxygen-sensor lead differs from shielding a whole firewall-facing bend. A ceramic coating, fabric wrap, and formed shield also leave very different access for future checks.
| Decision point | Factory-style air-gap shield | Aftermarket wrap | Ceramic coating |
|---|---|---|---|
| Heat-control method | Places a barrier and air gap between the pipe and nearby parts | Insulates the covered pipe surface | Adds a bonded thermal layer to the pipe surface |
| Pipe visibility | Often accessible after shield removal | Covered metal requires wrap removal for inspection | Coated surface remains visible |
| Installation work | Needs suitable mounting and clearance | Needs clean pipe, secure ends, and follow-up checks | Usually requires pipe removal and surface preparation |
| Best question to ask | Can the shield protect the threatened part without contact? | Can the pipe tolerate covering, and can I inspect it later? | Does the coating suit this pipe and its operating temperature? |

When a Sleeve or Shield Makes More Sense
A single wire near a downpipe is a good place to start with routing and a properly rated sleeve. Check that the sleeve does not rest directly on the pipe and that its ends stay clear of moving parts. If a broader area faces the exhaust, a fitted shield can protect that area while leaving space around the pipe.
Keep an original shield when it fits and remains securely mounted. If an aftermarket downpipe changes the pipe shape, check every shield edge and fastener before driving. A shield that rattles against the pipe or presses on a sensor lead has created a new problem.
When Coating or Wrap Earns Its Place
Ceramic coating suits an owner willing to remove the pipe and pay for proper surface preparation. Wrap suits a more accessible installation when the pipe is sound, the product is rated for the application, and inspection remains practical. Neither choice corrects a bad mount, an exhaust leak, or insufficient clearance.
Check the instructions before layering products. A coating supplier may restrict additional wrap, and a pipe manufacturer may limit modifications under its warranty. Do not assume that stacking two thermal treatments automatically produces a better or longer-lasting result.
Install Wrap Without Hiding a Future Failure
Installation starts with a cold exhaust and a sound pipe. If the car has an exhaust tick, soot near a flange, an oil leak above the pipe, or a loose bracket, stop and address it. Flashark's step-by-step downpipe replacement guide covers the connection and clearance checks involved when the pipe must come out.
Prepare the Pipe and Preserve Service Access
I lay out the wrap and fasteners before taking a wrench to the car. Then I mark the sensor bungs, flange hardware, flex joint, and places where a clamp or shield must be serviced. That simple pass keeps fabric away from components that need movement or access.
Clean the pipe and inspect the full section you intend to cover. Photograph welds and brackets while you can still see them. Replace damaged hardware and correct poor alignment. If you must remove the pipe, use suitable vehicle support; a jack alone is not a safe support while working underneath.
Mechanic securing downpipe heat wrap while keeping the sensor and flex joint accessible](https://cdn.shopify.com/s/files/1/0293/4423/5619/files/downpipe-heat-wrap-installation-sensor-clearance.webp?v=1793166783)
Use the Wrap Maker's Overlap and Fastening Method
Follow the chosen wrap's instructions for overlap, tension, pre-wetting, and fasteners. More layers are not automatically better. Excessive overlap can hold more heat in the metal and add bulk where clearance is already tight.
Secure both ends with the fasteners specified for exhaust heat. Keep loose tails away from belts and moving parts. Recheck every fastener after the first full heat cycle, once the system has cooled. Some wraps smoke or smell during initial curing; stop and inspect if you see persistent smoke from oil contamination or a new leak.
Keep Oil, Fuel, Sensors, and Moving Parts Clear
Wrap can absorb leaked fluids. Find and repair oil or fuel leaks before fitting it, and remove contaminated wrap rather than trying to burn it clean. Route oxygen-sensor wiring away from the pipe and secure its connectors where they belong. Check the entire assembly again after the engine moves under load and after any exhaust adjustment.
Inspect the Result, Then Make the Call Again
Heat wrap for downpipe use is a maintenance decision as much as an installation decision. The benefit belongs to the nearby components you protect; the long-term risk belongs largely to the pipe you cover. Keep checking both sides of that trade.
What to Check After the First Drive and Each Season
- After the first heat cycle: let the exhaust cool, then check wrap tension, ties, clearance, and signs of leakage.
- After heavy rain or salted-road driving: inspect exposed edges, low points, and areas hit by road spray.
- After track use or exhaust service: check for shifted shields, rubbed fabric, loose brackets, and changed sensor-wire routing.
- Whenever symptoms change: investigate a new tick, exhaust smell, soot stain, rust mark, or persistent smoke. Remove the wrap where a direct pipe inspection is needed.
No single mileage interval fits every climate and vehicle. A dry-weather car that sees occasional track days needs a different schedule from a commuter driven through winter salt. Build inspections into the way you actually use the car.
A Five-Point Decision for Street and Track Cars
Ask five questions before ordering material: Which nearby part is getting too hot? Can routing or a local shield protect it? Is the downpipe free of leaks, cracks, and alignment problems? How often will water and salt reach the covered section? Can you inspect the pipe later without turning the job into a major teardown?
If those answers point to a real radiant-heat problem, a healthy pipe, and manageable inspection access, wrap can be a reasonable tool. If the issue is one wire or the car lives in wet winter conditions, a sleeve or air-gap shield deserves the first look. That is the call I would make before buying a roll of fabric.
Downpipe Heat Wrap FAQs
Q1: Does heat wrap for downpipe use lower the whole engine bay temperature?
A1: Wrap reduces heat leaving the covered pipe section toward nearby parts. A lower reading at one wire or panel does not establish a lower temperature everywhere under the hood. Compare the same measurement points under matched driving conditions.
Q2: Does wrapping a downpipe add horsepower?
A2: Do not count on a fixed horsepower gain. Heat management and measured wheel horsepower are different outcomes. A power claim needs repeated tests with the same fuel, calibration, load conditions, and measurement method.
Q3: Should a daily driver use a shield or wrap?
A3: Start with the threatened component. A sound air-gap shield or local sleeve often preserves easier pipe access. Wrap may suit a tight location where other protection cannot address the heat path and regular inspection is practical.
Q4: Will wrap rust a stainless-steel downpipe?
A4: Stainless steel resists corrosion better than mild steel, but material grade, weld quality, trapped contamination, and road-salt exposure still matter. Remove wrap to inspect the metal if you find persistent dampness, staining, or an exhaust leak.
Q5: Is ceramic coating better than wrap?
A5: The better choice depends on clearance, the heat-sensitive target, budget, pipe removal, and inspection access. Coating leaves the pipe surface visible; wrap covers it. Check the selected product's temperature and care instructions.
Q6: Should I remove the factory heat shield before wrapping?
A6: Keep a secure factory shield when it fits the installed downpipe without rubbing or blocking service points. After changing the pipe, inspect shield clearance and mounting; do not force a shield onto a different shape.
Q7: Can I wrap over an oxygen-sensor bung, flex joint, or cracked weld?
A7: Keep sensor connections serviceable and follow the wrap maker's instructions around flex joints and moving connections. Repair a cracked weld or exhaust leak before adding insulation.
Q8: Does wrapping a downpipe require an ECU tune?
A8: Adding external insulation alone is different from replacing the downpipe or changing emissions hardware. Calibration needs depend on the vehicle and installed hardware. Follow the vehicle and component instructions for your exact configuration.
Q9: Does wrap make a catless downpipe legal for street use?
A9: No. Thermal insulation does not change the emissions configuration or road-use status of a vehicle. Review applicable emissions requirements before modifying a catalytic converter, sensor, or other emissions-related component.
Q10: What should I compare before buying downpipe wrap?
A10: Check the material's stated continuous temperature rating, width, required length, fastening method, installation instructions, and restrictions for your pipe material. Measure the section you intend to cover rather than buying by appearance alone.

Steven Chen
Automotive Performance Specialist | Engine & Exhaust Systems
Steven focuses on practical engine performance, exhaust fitment, and real-world upgrade paths for classic and modern enthusiast vehicles. He reviews small-block Ford, LS, truck, and street/strip applications with one goal in mind: helping builders choose parts that actually work together. His philosophy: "Good power starts with the right combination, not the biggest part."