





 Product Specifications
LMM EGR Delete Kit with High-Flow Intake Elbow for 2007.5–2010 Duramax
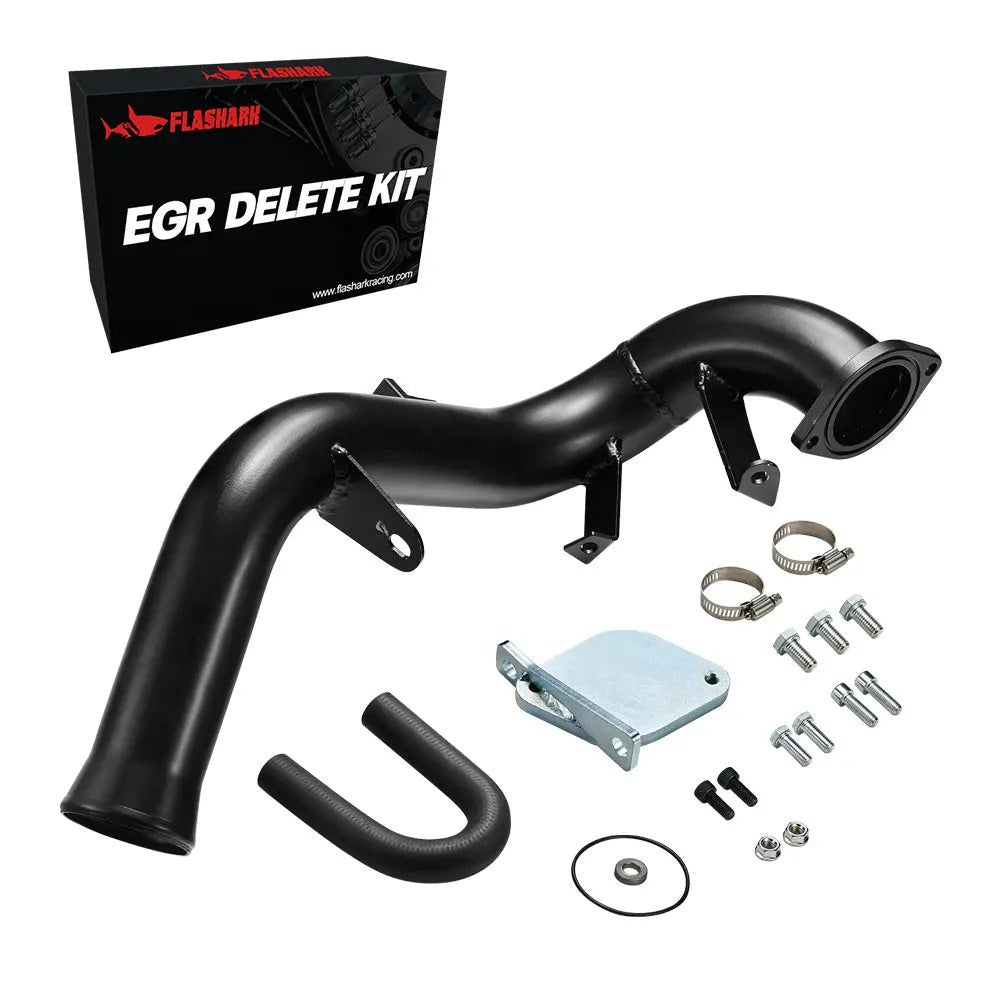
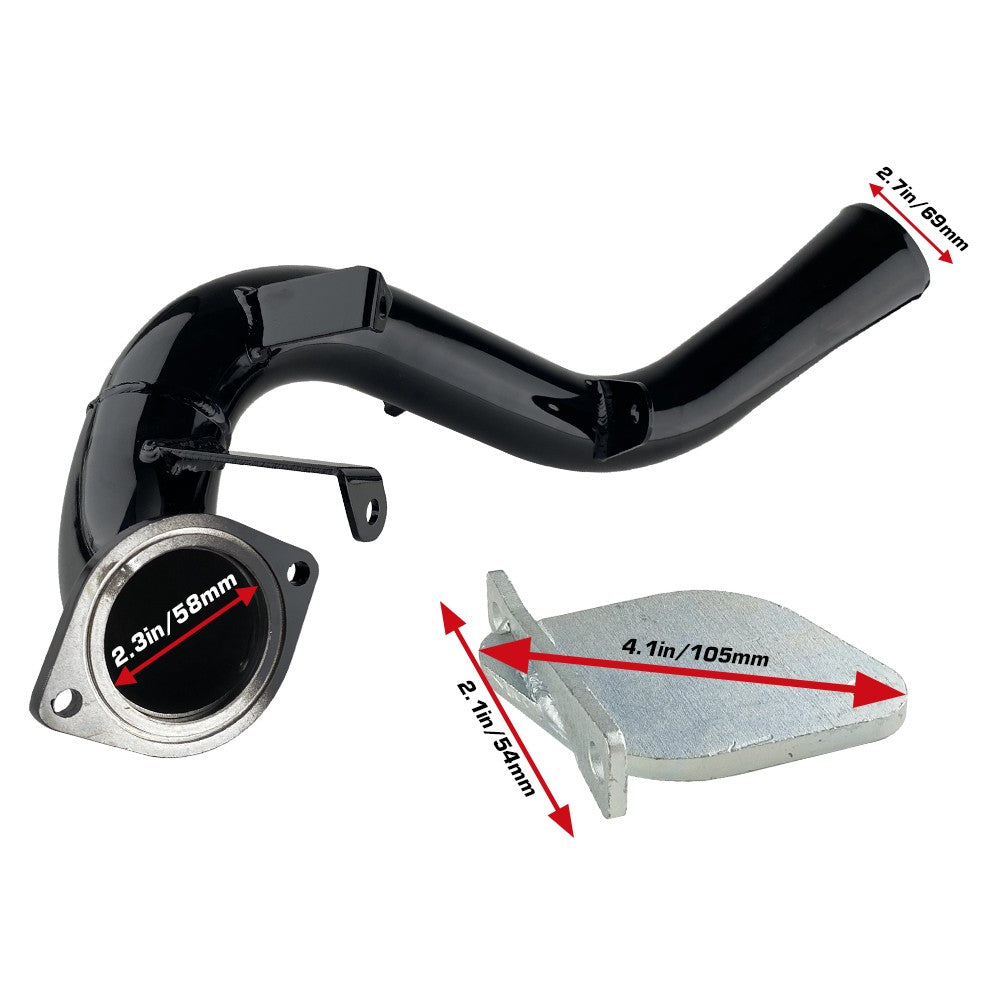
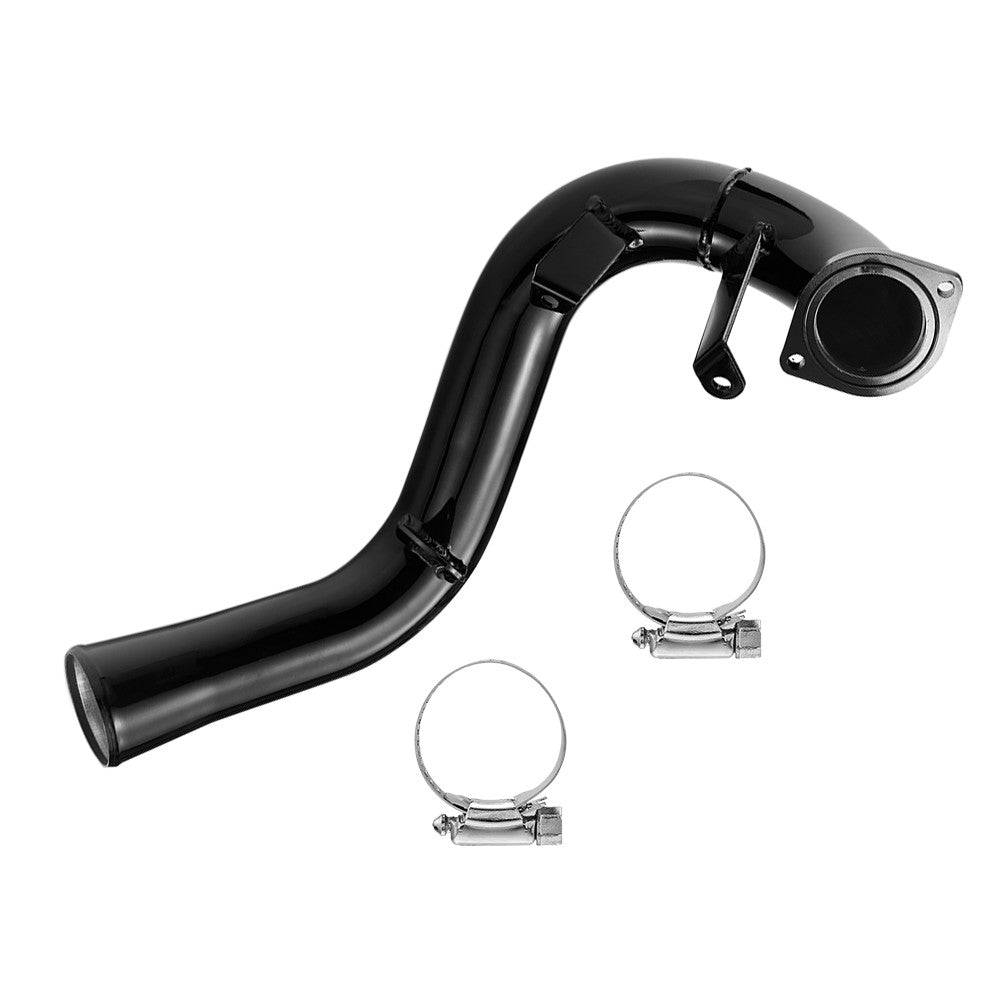
Clear out the crowded factory EGR hardware and replace the restrictive stock charge-air section with a cleaner, more serviceable setup. This upgraded kit is built for 2007.5–2010 Chevrolet Silverado and GMC Sierra 2500HD/3500HD trucks equipped with the 6.6L LMM Duramax diesel engine. It combines the EGR valve and cooler removal hardware with a high-flow intake elbow, coolant-routing tube, sealing parts, clamps, and installation hardware.
Check Your Truck Before Ordering
| Make | Model | Model years | Engine |
|---|---|---|---|
| Chevrolet | Silverado 2500HD / 3500HD | 2007.5–2010 | 6.6L Duramax LMM diesel |
| GMC | Sierra 2500HD / 3500HD | 2007.5–2010 | 6.6L Duramax LMM diesel |
The mid-year cutoff matters. Do not order by “2007 Duramax” alone; verify that the truck has the LMM engine rather than an earlier LBZ configuration. If the engine code or emissions layout is uncertain, confirm it from the vehicle information label or VIN before disassembly.
Looking for other parts for this platform? Browse the 6.6L Duramax collection.

The graphic above includes general performance statements. Actual power, fuel use, intake temperature, coolant temperature, and exhaust temperature depend on the truck's condition, calibration, load, ambient temperature, and complete emissions configuration. No fixed horsepower, fuel-economy, or temperature reduction is promised by this hardware alone.
What the Upgraded Version Changes
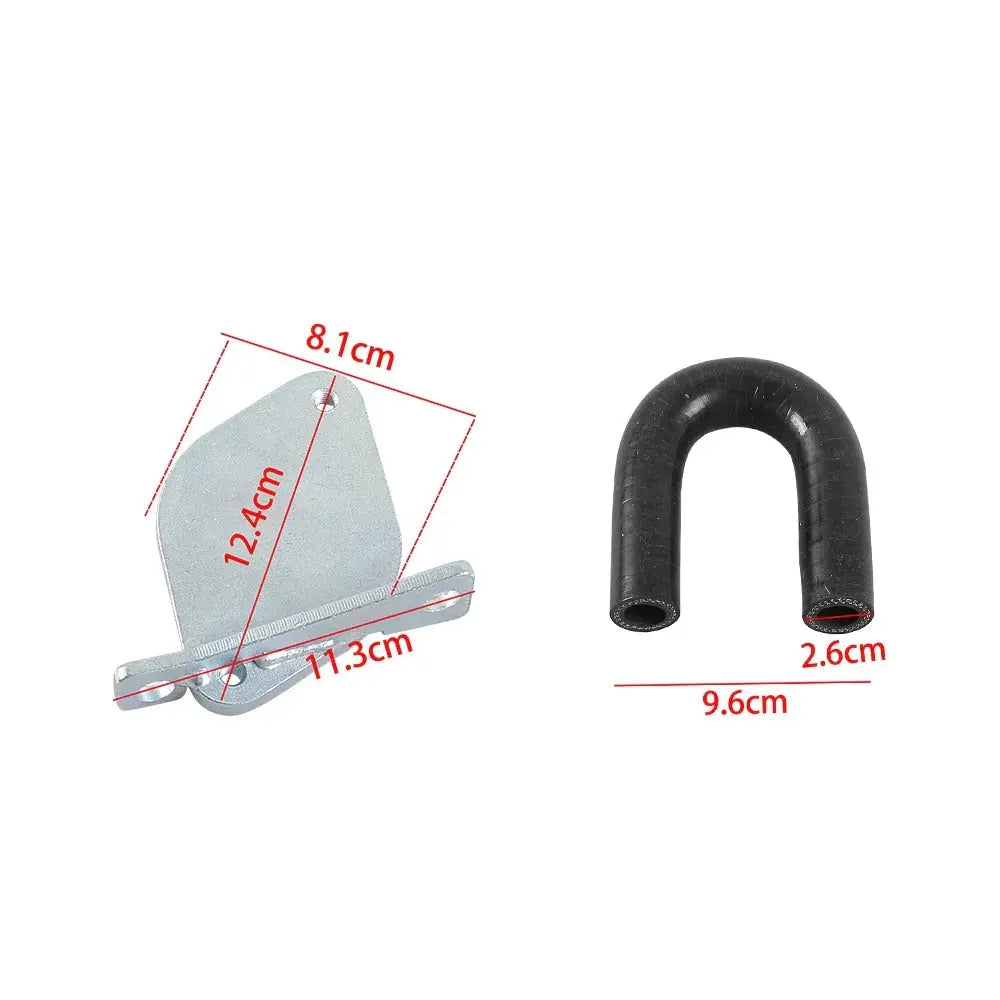
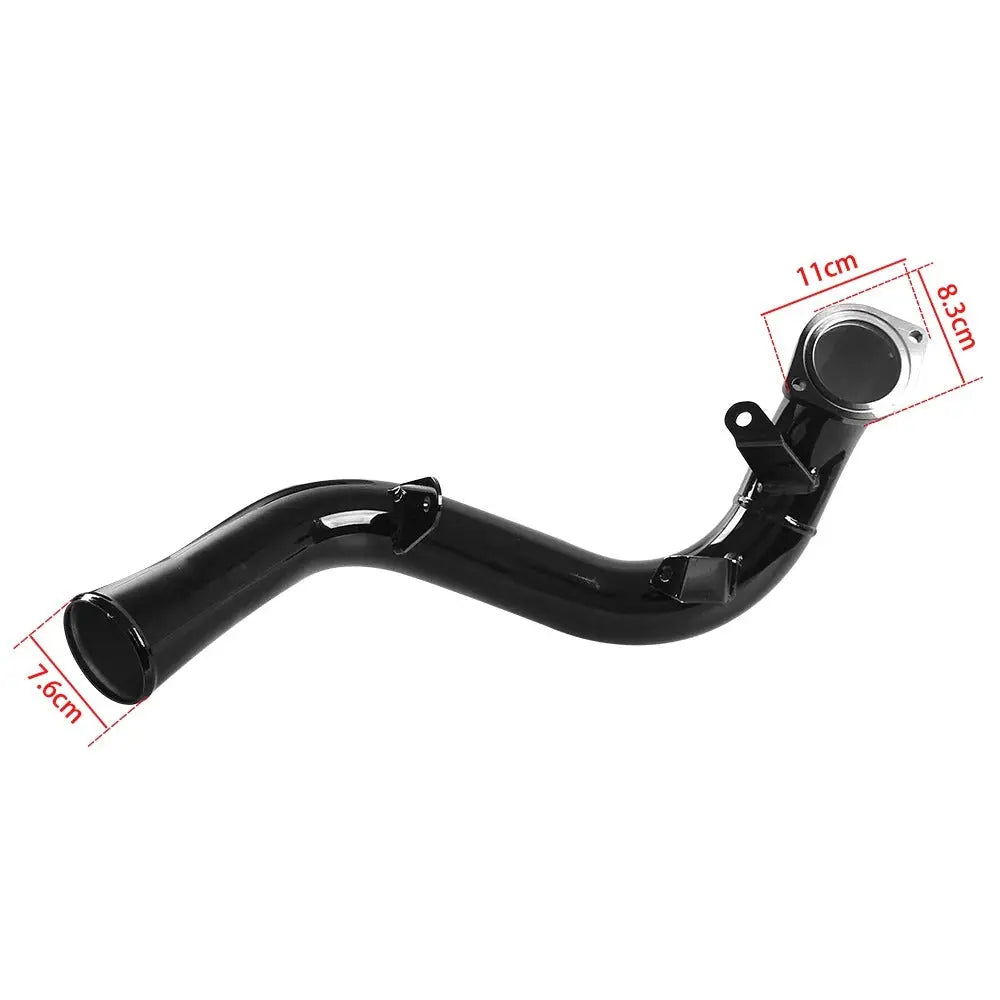
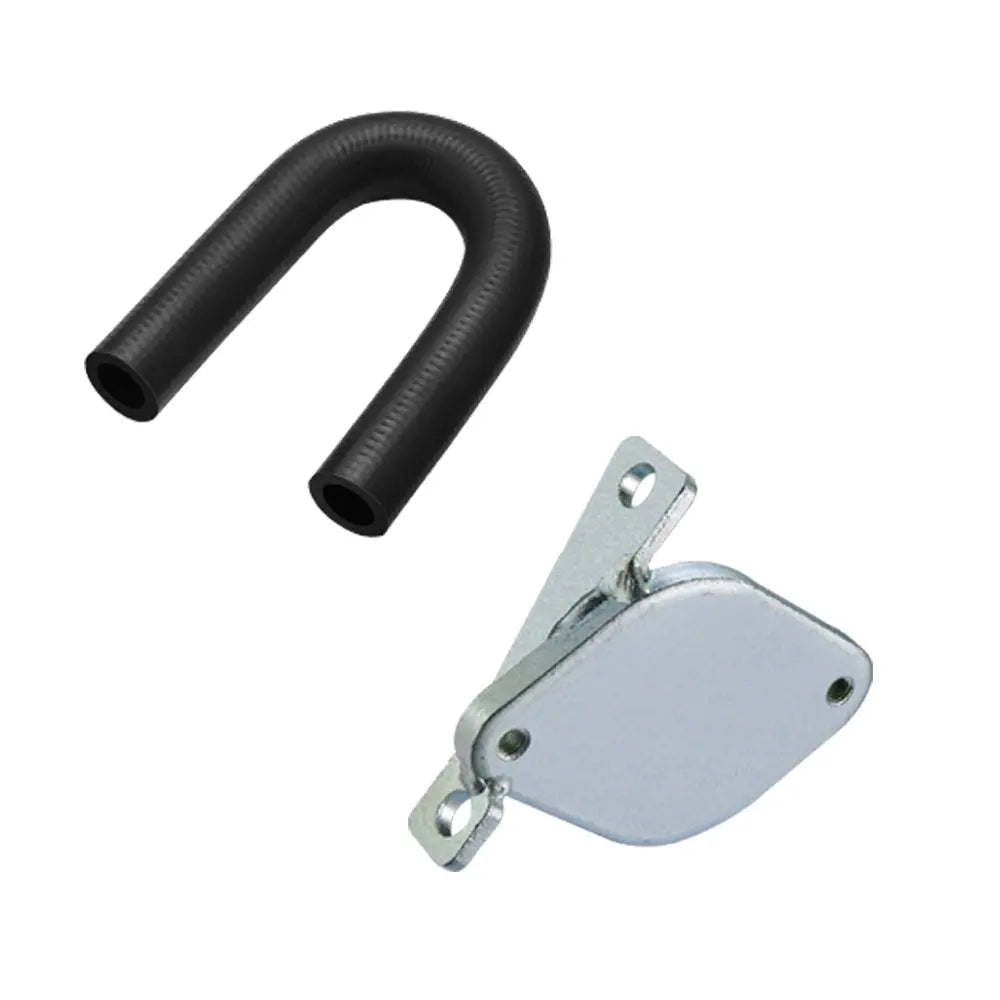
The kit allows removal of the factory EGR valve and EGR cooler hardware while providing a U-shaped tube for the affected coolant connections. The intake side uses the included high-flow elbow in place of the factory charge-air section shown in the instructions. The coolant tube and intake elbow serve different systems: the U-shaped tube routes coolant, while the elbow carries intake air.
- Removes the EGR valve and EGR cooler hardware from the installed configuration.
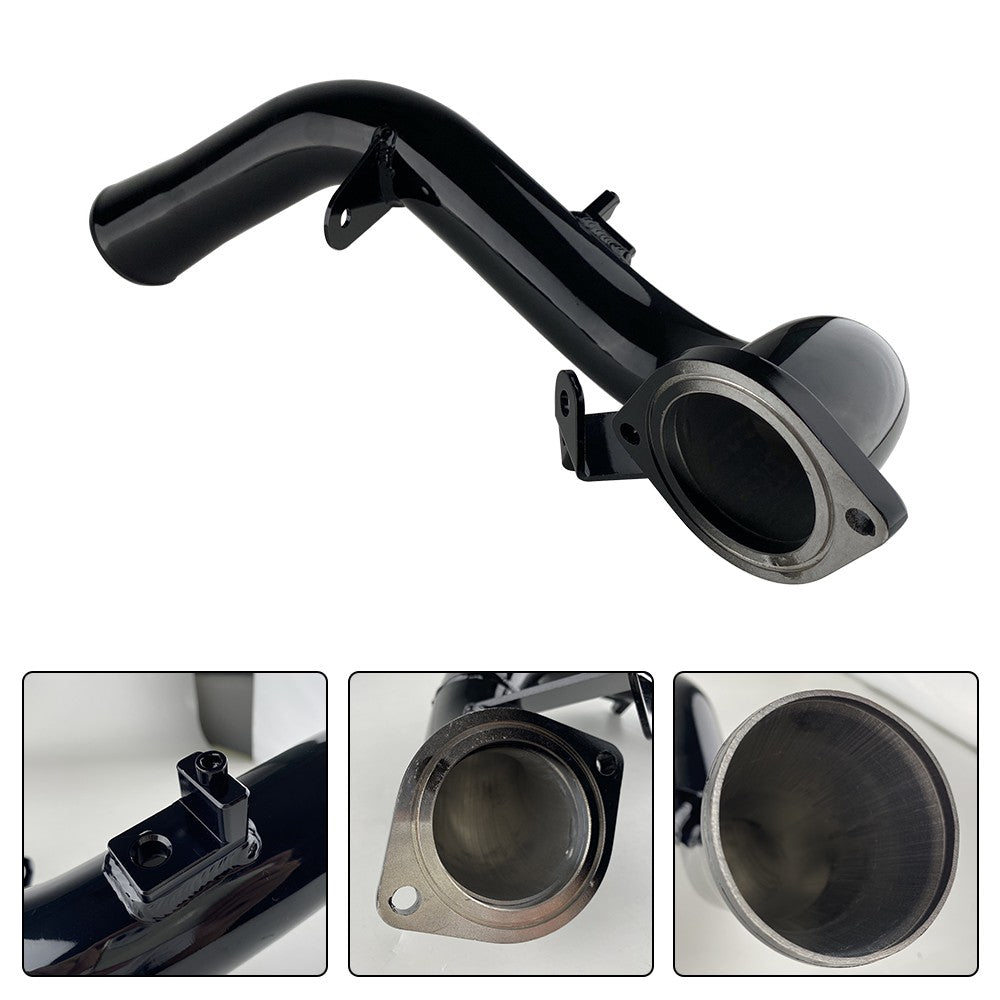
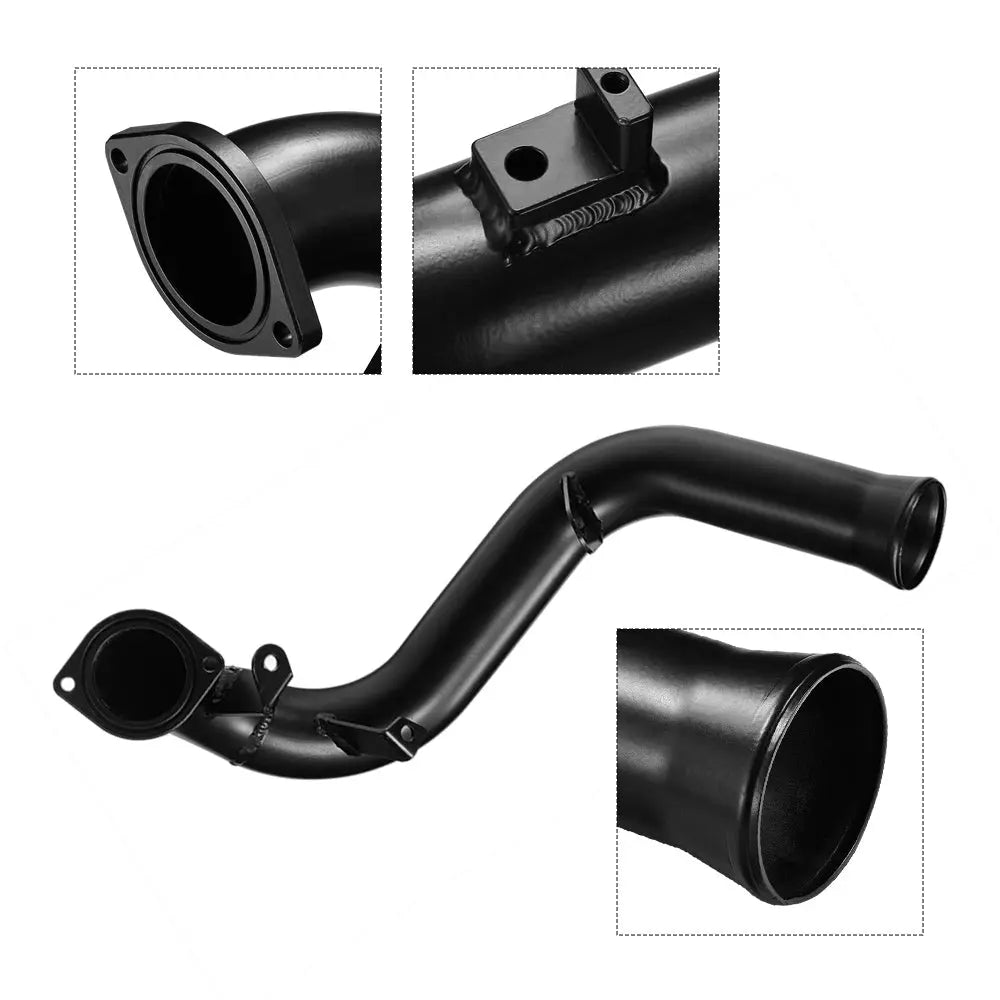
- Includes a high-flow intake elbow with an O-ring seal.
- Includes a U-shaped coolant tube and two hose clamps for the coolant connections shown in the instructions.
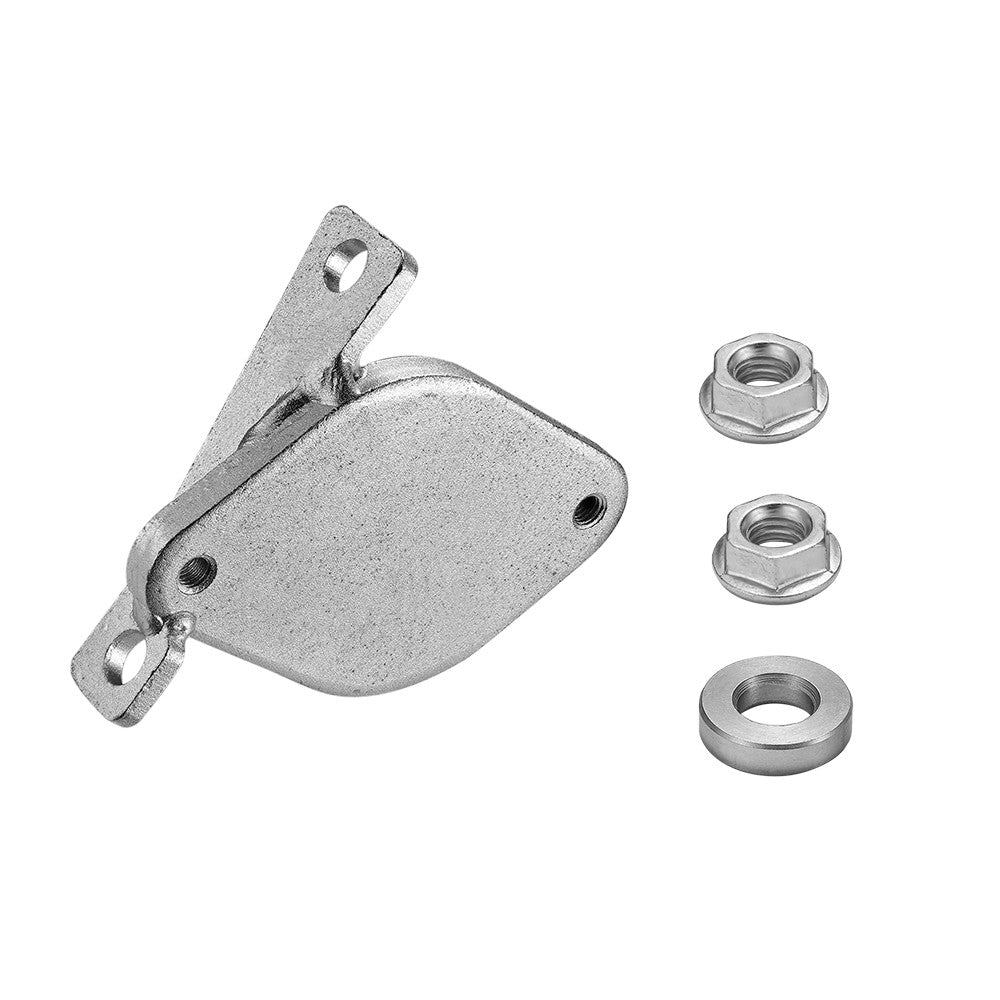
- Uses an exhaust block-off plate and supplied fasteners to close the removed EGR connection.
- Reduces the number of EGR components left in the engine bay and creates a less crowded service area.
This is the upgraded configuration with the intake elbow. Buyers who do not need that component can compare it with the ordinary LMM EGR valve and cooler delete kit.
What to Expect—and What This Kit Does Not Promise
Removing the recirculation hardware prevents exhaust gas from being routed through the deleted EGR circuit and removes the EGR valve and cooler from the installed configuration. This kit is intended for the hardware changes shown in the installation guide and should not be used as a substitute for diagnosing unrelated engine, cooling-system, emissions-system, or transmission faults.
The intake elbow is intended to replace the factory section shown in the installation guide. Its actual airflow effect depends on the complete intake and charge-air system. Treat fuel-economy, engine-life, horsepower, and temperature changes as vehicle-specific results rather than guaranteed outcomes.
This product removes or renders inoperative factory emissions equipment. It is not legal for sale or use on pollution-controlled motor vehicles operated on public streets, roads, or highways in the United States. Laws vary by location and application. Confirm all federal, state, provincial, and local requirements before purchasing or installing. Installation may also affect the vehicle manufacturer's warranty.
Package Contents
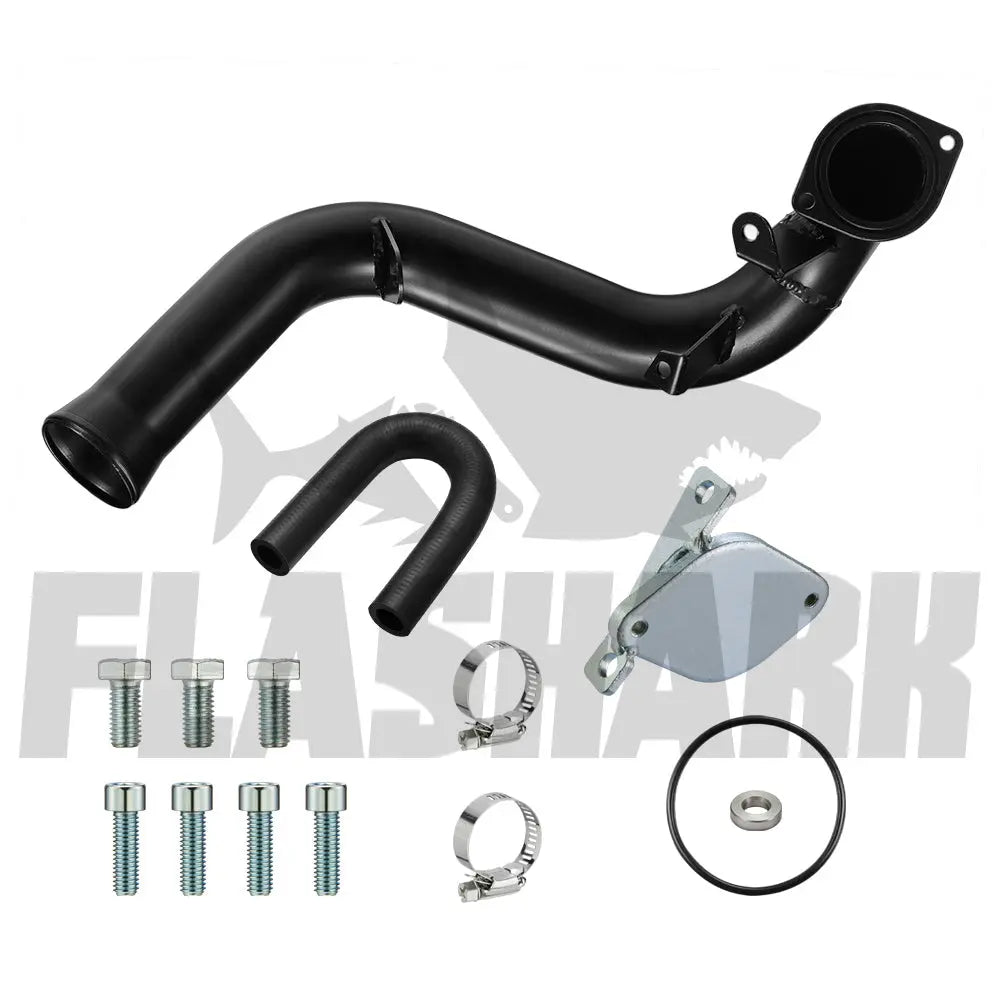
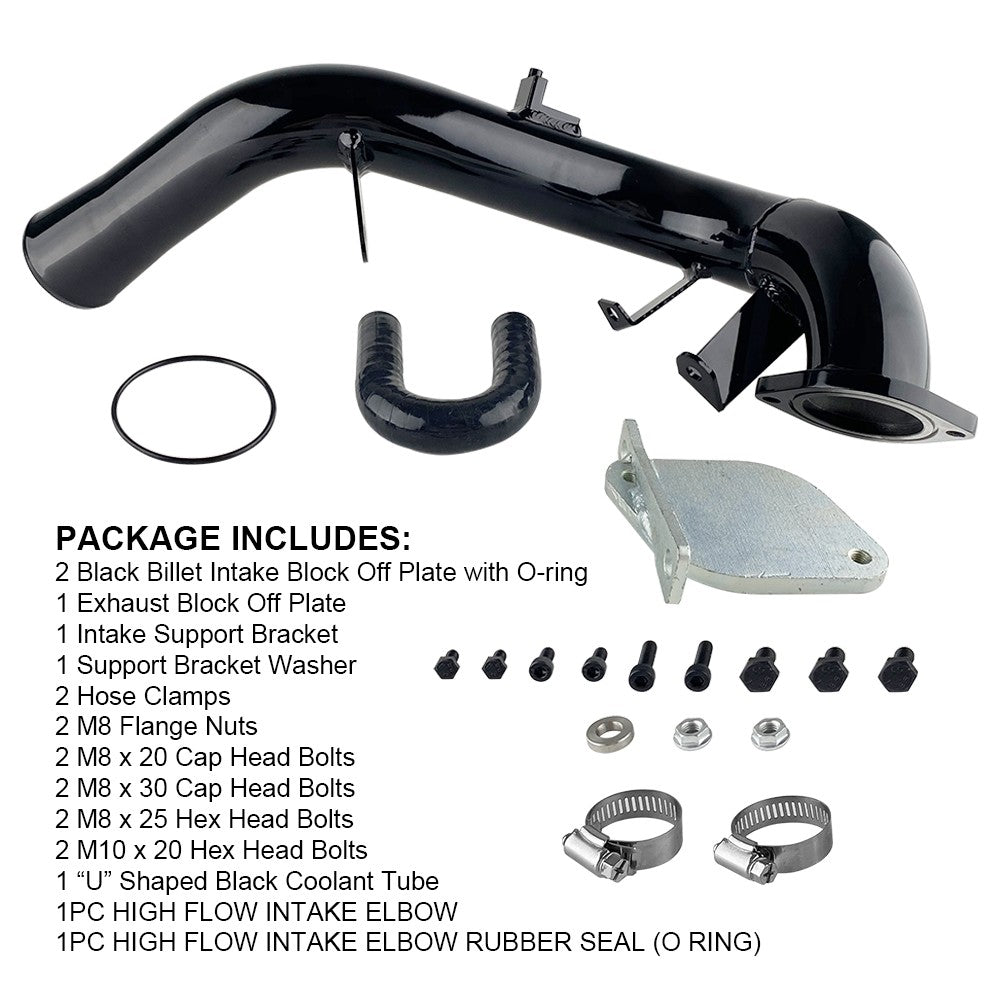
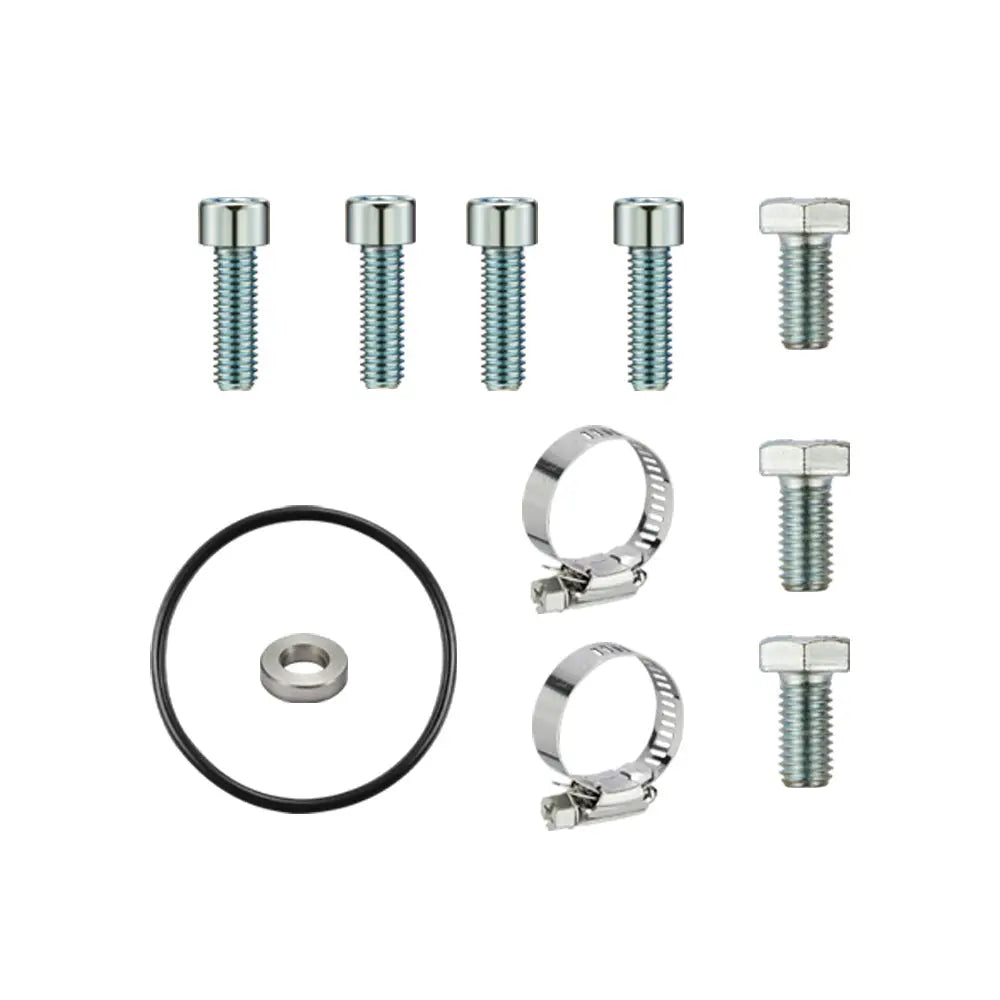
- 1 × exhaust block-off plate
- 2 × hose clamps
- 1 × M8 flange nut
- 1 × M8 × 20 flange hex bolt
- 2 × M8 × 25 cap-head bolts
- 2 × M8 × 20 hex-head bolts
- 3 × M10 × 20 hex-head bolts
- 1 × U-shaped black coolant tube
- 1 × high-flow intake elbow
- 1 × high-flow intake elbow O-ring
The storefront list and the legacy instruction graphic show different fastener descriptions or quantities in a few places. Lay out every component, compare the parts received with the instructions for SKU FLOS20048-BK, and contact Flashark before installation if anything does not match. Reuse a factory gasket only where the instruction sheet specifically calls for it and only if it remains serviceable.
Installation Overview
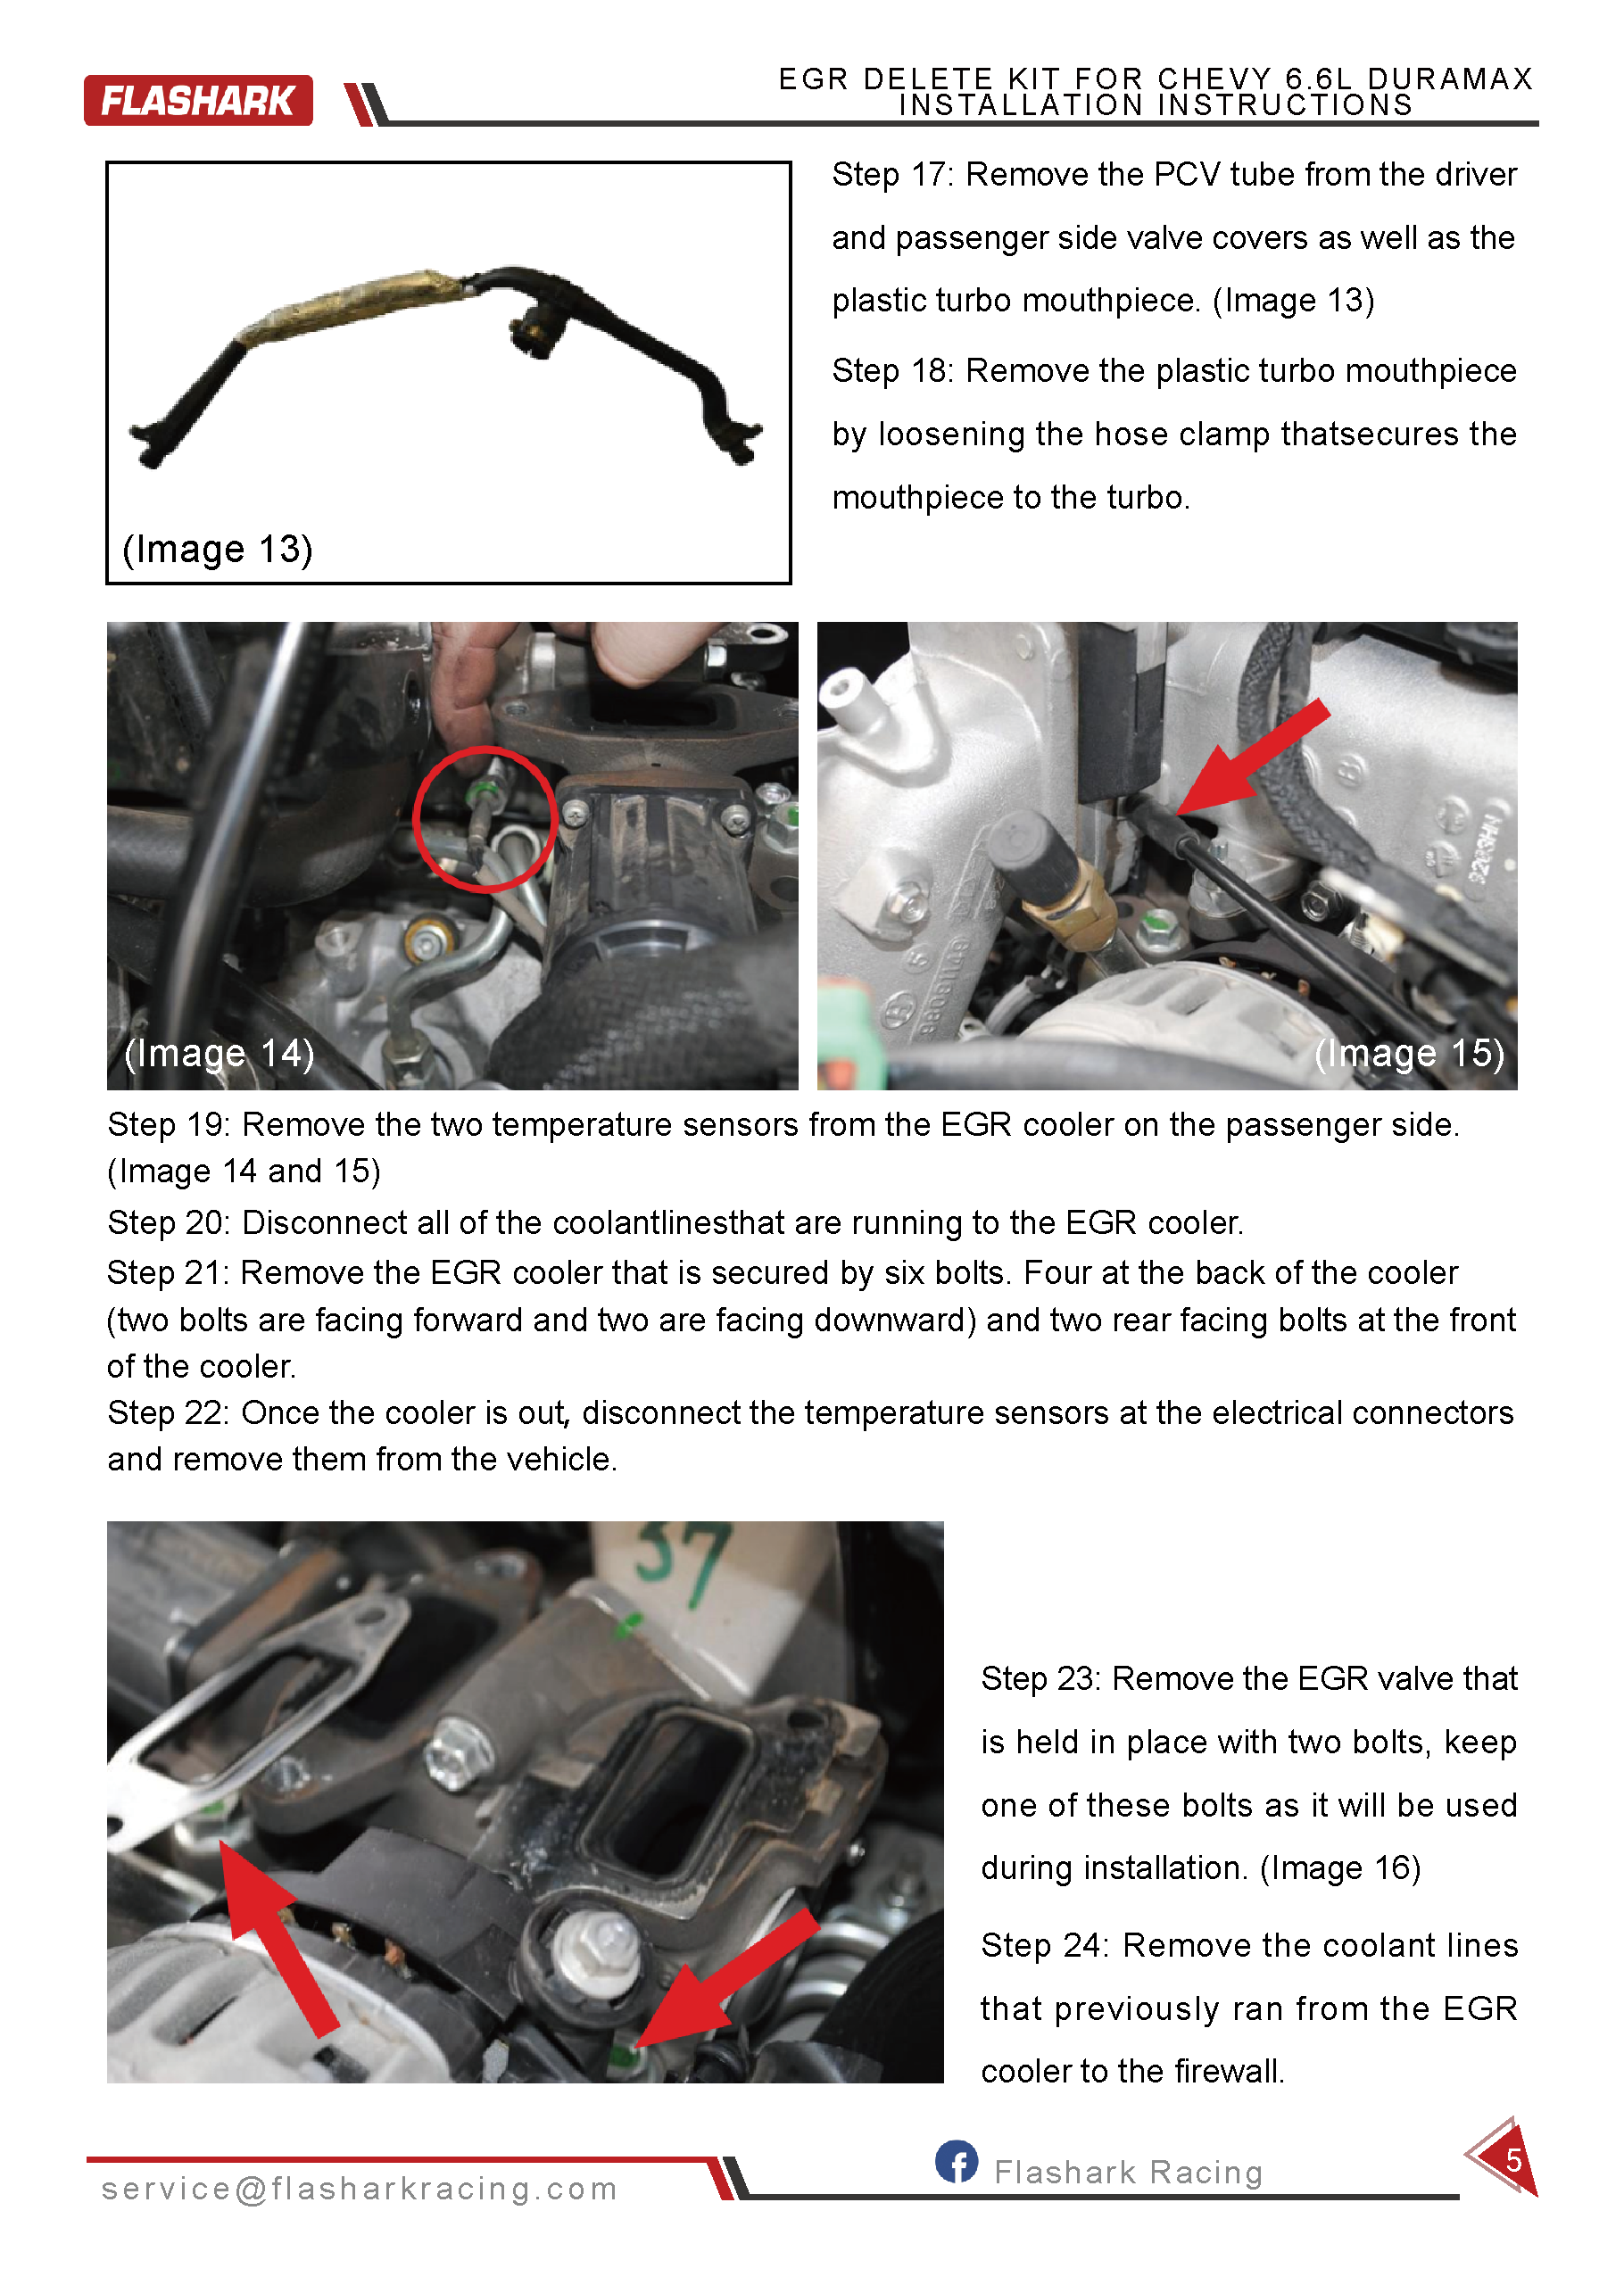
This is not a quick block-off-plate job. The illustrated procedure covers battery disconnection, coolant draining, removal of the airbox and intake components, wiring and sensor disconnection, removal of the factory charge-air section, EGR cooler and valve removal, coolant rerouting, intake-elbow installation, sensor transfer, reassembly, coolant refill, and a final leak check.
- Work only on a fully cooled engine and wear eye protection.
- Expect to drain and refill engine coolant.
- Protect open intake and intercooler connections from coolant and debris.
- Use penetrating lubricant on corroded exhaust fasteners and allow it time to work.
- Confirm hose-clamp seating, O-ring placement, wiring clearance, and sensor connections before startup.
- After the first heat cycle and road-free function check, inspect for coolant, boost, and exhaust leaks and recheck coolant level after the engine cools.
Review the separate LMM EGR delete kit installation instructions before starting.




Shipping & Returns
Free U.S. Shipping: Orders are typically processed within 1–2 business days and delivered within 7–9 business days. Additional charges may apply to remote areas.
30-Day Returns: Unopened and unused items in their original packaging may be returned within 30 days of receipt. Return shipping is covered for verified quality issues.
Worry-Free Delivery: Optional protection against eligible loss, theft, delay, or transit damage is available at checkout.
Frequently Asked Questions
Q1: Will this kit fit every 2007 Chevrolet or GMC Duramax?
A1: No. It is listed for 2007.5–2010 Silverado and Sierra 2500HD/3500HD trucks with the 6.6L LMM Duramax. Early 2007 trucks may use the LBZ platform, so verify the engine code and emissions layout rather than ordering by model year alone.
Q2: Does the kit include a tuner or ECM calibration?
A2: No tuner or calibration device appears in the package list. Removing EGR hardware can cause diagnostic trouble codes or drivability issues if the vehicle calibration still expects the factory system. Confirm the legal and technical calibration requirements for the specific application before installation.
Q3: Will the check-engine light come on after installation?
A3: It can. The LMM control system monitors EGR-related components and operating conditions. This hardware alone should not be presented as a check-engine-light solution, and it will not clear unrelated stored faults.
Q4: Is this a full LMM delete kit?
A4: No. This package addresses the EGR valve/cooler hardware and the intake-elbow section shown in the instructions. It does not include a DPF replacement pipe, complete exhaust, tuner, or other components commonly associated with a “full delete.”
Q5: What is different about this upgraded kit?
A5: The upgraded version includes the high-flow intake elbow and its O-ring in addition to the EGR removal and coolant-routing hardware. The elbow carries intake air; the U-shaped tube handles the coolant connection.
Q6: Do I have to drain the coolant?
A6: Yes. The illustrated procedure calls for draining coolant before disconnecting the EGR cooler lines. Refill the correct coolant after reassembly, bleed the system as required for the vehicle, and recheck the level only after the engine has cooled.
Q7: How difficult is the installation?
A7: This is an involved engine-bay job, not a simple bolt-on intake swap. The procedure requires removal of intake components, coolant connections, wiring, sensors, the EGR cooler, the EGR valve, and part of the charge-air assembly. Professional installation is the sensible choice if you are not comfortable protecting open intake passages, handling coolant, transferring sensors, or diagnosing leaks.
Q8: Do the turbo, intake manifold, or up-pipe need to be removed?
A8: The supplied instruction sequence does not call for removing the turbo or up-pipe. It does require removal of multiple intake and charge-air components, including cast intake sections around the EGR assembly. Review every instruction page before deciding whether the job matches your tools and experience.
Q9: What should I inspect if coolant drops after installation?
A9: Start with the U-shaped coolant tube, both clamps, every disturbed hose connection, the overflow tank level, and the areas around the removed cooler connections. Pressure-test the cooling system if the source is not visible. Do not assume every coolant loss is caused by this kit; water-pump, hose, radiator, oil-cooler, and engine sealing faults remain possible.
Q10: Will this kit improve fuel economy or add horsepower?
A10: No fixed gain can be promised. Results depend on the truck's starting condition, calibration, complete intake and exhaust configuration, load, tires, gearing, driving style, and test method. The hardware may remove a restriction or a failed EGR component, but it is not a verified percentage fuel-economy or horsepower package by itself.
Q11: Can this kit fix limp mode, a clogged DPF, or an existing engine problem?
A11: Not by itself. Reduced-power operation can be triggered by many faults, including DPF loading, boost leaks, sensor problems, fuel delivery issues, turbo control faults, cooling-system problems, and transmission-related codes. Diagnose the truck first instead of using hardware replacement as a substitute for fault testing.
Q12: Is the kit legal for a street-driven truck?
A12: It is not legal for sale or use on pollution-controlled motor vehicles operated on public streets, roads, or highways in the United States. Do not assume that an “off-road” label overrides applicable law. The purchaser and installer are responsible for confirming the rules that apply to the vehicle, location, and intended use.
Q13: What should I verify when the package arrives?
A13: Confirm the SKU, intake elbow, O-ring, exhaust block-off plate, coolant tube, clamps, and every fastener before taking the truck apart. Because the storefront list and older instruction image differ on some fastener details, stop and contact Flashark if the received hardware does not match the current instructions for this SKU.
Q14: What checks should be done before putting the truck back into service?
A14: Verify coolant level, clamp position, O-ring seating, sensor transfer, wiring clearance, battery connections, and all intake and exhaust fasteners. Start the engine only after tools and loose hardware are cleared. Check for coolant, exhaust, and charge-air leaks, monitor operating temperature, and recheck coolant after the engine fully cools.


