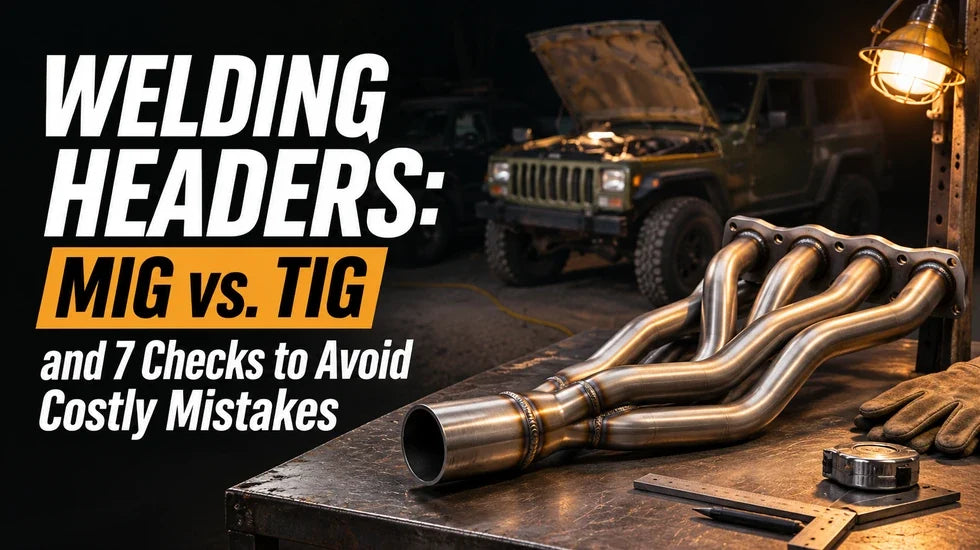
A driveway exhaust build can start with a header and tubing already on hand. Before welding, identify the materials, wall thickness, and joint you actually need to make.
That shiny collector and rusty pipe might meet perfectly on the floor. Under the vehicle, the flange points at the transmission. Now what? Welding headers starts with that fitment problem, long before choosing a torch. Get the joint wrong and a better-looking bead just makes the mistake harder to undo.
Before Welding Headers, Identify the Job
Header tubes, collectors, and connection pipes need different decisions
A primary tube carries exhaust from one cylinder. A collector joins several primaries. A connection pipe carries that flow farther downstream. Each joint presents different access, thickness, and alignment problems.
A thin tube meeting a thick flange needs different heat management from two matching tube ends. Cast-iron manifold repair belongs in another category entirely. Don't apply stainless-tube advice to an old casting.
| Parameter | Factory manifold assembly | Fabricated tubular header | Check before changing it |
|---|---|---|---|
| Material | Application-specific; casting or fabricated metal | Specified tubing and flange alloys | Identify both sides of each joint |
| Wall thickness | Varies across the assembly | Tube wall and flange thickness differ | Measure actual thickness in inches or millimeters |
| Outlet position | Matches the original front exhaust | Depends on header design and installation | Check angle, location, diameter, and joint style |
| Support | Uses application-specific brackets and joints | Must accommodate the finished exhaust layout | Remove unwanted load from the collector |
A tidy bead can hide the wrong repair
Picture a hypothetical collector crack that returns after repair. I'd support the downstream pipe and check its resting position before touching the welder. If the pipe springs sideways when released, I'd investigate alignment and mounts first. Closing the crack leaves its cause untouched.
Weld appearance, sealing, and structural integrity answer different questions. A row of neat ripples cannot answer all three.
MIG vs. TIG: Match the Process to the Work
MIG welding headers with the equipment you already own
Metal inert gas welding, or MIG, commonly refers to gas metal arc welding, or GMAW. A continuously fed wire supplies filler and carries the arc. MIG welding headers requires steady feeding and controllable output at the low end of the machine's range.
A maximum rating of 200 amps tells you little about that behavior. Check wire compatibility, drive components, shielding gas, and performance on matching scrap.
Self-shielded flux-cored wire uses a different process. Owning a wire-feed machine doesn't make every spool interchangeable. Nor does a successful weld on thick plate prove you can join thin exhaust tubing.
TIG welding headers when control matters more than speed
Tungsten inert gas welding, or TIG, is also called gas tungsten arc welding, or GTAW. A nonconsumable tungsten electrode creates the arc; the operator adds filler separately.
That separation helps when controlling a small puddle around thin stainless tube. Access still matters. TIG welding headers requires a usable torch angle, a route for filler, and a steady position.
A rushed TIG joint can contain poor fusion. A capable MIG operator can make a sound joint. Choose the process for the material and required result, not the photograph.

Keep the machine, upgrade, or pay for fabrication?
Start with a trial joint using the actual alloy and thickness. Inspect the outside and accessible root. Ask a qualified fabricator to assess uncertain results before committing expensive parts.
Budget for gas, consumables, fixtures, practice stock, and your time. A single collector repair rarely justifies buying equipment solely to avoid one shop invoice. Repeated fabrication work changes that calculation.
Seven Checks Before the First Arc
Checks 1–2: Identify the alloy and measure sound metal
- Identify both materials. Use material markings and component specifications. A magnet alone cannot distinguish every stainless grade from carbon steel.
- Measure remaining wall thickness. Check a clean, accessible edge and look for local pitting. A measurement from one healthy spot does not clear the whole pipe.
For scale, 0.065-inch tubing is about 1.65 mm thick. That's a dimension example, not a thickness specification for every header. Rust can leave an old pipe substantially thinner in isolated areas.
Identify both pieces before choosing a filler. Our guide to aluminized vs. stainless steel exhaust materials explains why the material pairing matters.

Checks 3–4: Plan filler and protection for welding stainless headers
- Match filler to the joint. Account for both base metals, operating conditions, and the welding process.
- Plan shielding and root protection. Torch gas protects the exposed puddle; back purging protects the inside surface during welding.
Miller specifically recommends 100% argon for stainless TIG shielding and purging. Stainless MIG uses different gas mixtures. Don't move the TIG bottle to the MIG machine and assume the setup carries over. Miller's stainless welding guidance explains those differences.
A 304-to-304 joint and a stainless-to-carbon-steel joint are different filler-selection problems. Confirm the actual alloy combination rather than choosing whatever wire remains on the spool.
Checks 5–7: Test fit, preserve access, and prepare the work area
- Check fit-up. Prepare matching edges, correct alignment, and a joint gap suitable for the selected procedure. Don't use weld metal to disguise poor cutting.
- Check vehicle access. Include steering, drivetrain movement, heat-sensitive lines, fastener access, and the eventual removal path.
- Prepare the work area. Use rated vehicle supports, welding protection, fume extraction, and fire precautions. Follow vehicle-specific instructions for electrical protection and welding-current return placement.
Imagine I'm mocking up a connection beside a crossmember. Before final welding, I'd try removing the assembly. A pipe that fits but traps a transmission fastener creates the next repair bill.
Before deciding to weld, work through these header-to-mid-pipe fitment checks to establish whether the connection should use a matched flange, adapter, or fabricated section.
How to Weld Headers Without Losing the Fit
Clean the joint and prove the setup on scrap
Remove oil, carbon, corrosion, and coatings from the joint area using methods appropriate to the material. Keep stainless preparation tools separate from tools used on rusty carbon steel. Avoid chlorinated cleaners around welding.
Match the practice joint to the real job. Tube-to-tube practice doesn't fully represent a thin tube meeting a heavy flange. Match material, thickness, joint shape, and welding position as closely as practical.
Record your consumables and settings. Change one variable at a time. Copying another person's voltage without their wire diameter, machine behavior, and travel speed gives you numbers, not a process.
Tack, recheck, and control movement
Support the assembly in its intended position before tacking. Recheck collector angle and flange alignment after the tacks cool. Keep downstream weight off an unsupported header.
In a hypothetical flange repair, I'd measure alignment before tacking, after tacking, and after final cooling. If the flange shifts during the first stage, I'd correct the setup instead of hoping the final weld pulls it back.
Garage rule: Bolts clamp aligned surfaces. They should not drag a crooked exhaust into position.
Choose the welding sequence for the joint and fixture. Manage heat between sections without substituting a chain of disconnected tacks for a finished weld.

Inspect the completed joint, including the root
Let the assembly cool before checking final dimensions. Look for cracks, pinholes, undercut, incomplete tie-in, and distortion. Inspect the root wherever access permits.
A bright outer bead can hide a rough internal surface. An ordinary visual check also cannot rule out every internal defect. Suspect fusion, inaccessible damage, or repeated cracking calls for professional assessment and appropriate testing.
Stop adding weld over a doubtful repair. Grinding, reheating, and piling on filler can consume the sound metal you needed to save.
Fix Burn-Through, Oxidation, and Distortion at the Cause
Burn-through and porosity need different checks
Burn-through can come from excessive heat, slow movement, a large gap, or metal thinned by corrosion. Reducing output won't restore missing wall thickness.
Porosity points toward gas trapped in the weld. Check contamination, gas delivery, drafts, and coverage. More gas is not automatically better; turbulent flow can draw air into the shield.
Start with the joint. Clean it, measure it, and compare it with your successful practice piece. A wide gap cut with an angle grinder deserves refitting, not blind knob turning.
Separate sugaring, sensitization, and a warped flange
Sugaring describes heavy oxidation at the stainless weld root. Backside protection addresses oxygen exposure. Sensitization involves metallurgical changes associated with composition and thermal history. Those problems overlap in practice but are not interchangeable explanations.
Flange distortion is a geometry problem caused by uneven expansion and contraction. Evaluate sequence, heat input, restraint, and joint design. A purge line cannot straighten a flange.
Likewise, weld color alone cannot certify strength or corrosion resistance. Inspect the full joint and correct the process that created the defect.

Reinstall, Rework, or Replace the Starting Part
Check sealing, clearance, sensors, and emissions equipment
Support and align the exhaust without forcing its joints together. Tighten hardware to the applicable instructions, then check clearance and oxygen-sensor wiring. Follow the specified leak-test and heat-cycle procedures.
After assembly, check for leaks around the exhaust flange rather than judging the result by the appearance of the weld alone.
Repairing a leak does not automatically require engine recalibration. Changing header geometry or emissions-related hardware introduces different questions. A tune cannot make a prohibited emissions modification legal. Review applicable road-use requirements before changing that equipment.
Choose a sound component before committing more labor
Replacement deserves consideration when repeated repairs leave thin tubing, distorted interfaces, or persistent cracks. For a compatible Jeep 4.0L inline-six application, the Flashark stainless steel Jeep 4.0L exhaust header is one replacement option to evaluate. Match the vehicle year, engine, emissions equipment, and exhaust connection before ordering.
A finished replacement header is not a practice blank. Welding or reshaping it should not substitute for choosing the correct application.
If the starting component does not match the application, review vehicle-specific exhaust headers and verify the complete fitment before modifying the part.
For welding headers, start with sound metal and a joint that fits. Choose MIG or TIG by what you can control and inspect. If either condition is missing, stop before making the repair permanent.
Frequently Asked Questions
Q1: What determines the strength of a header weld?
A1: Base metals, filler compatibility, joint preparation, fusion, defects, and service loads all matter. Neither MIG nor TIG guarantees a strong joint by name alone. A leak test checks sealing; it does not establish fatigue life or rule out hidden defects.
Q2: Why does stainless steel turn sugary inside a weld?
A2: Hot stainless exposed to oxygen can develop heavy oxidation at the weld root. Proper backside protection limits that exposure. External shielding alone does not necessarily protect the inside of a tube. Root oxidation and metallurgical sensitization are related concerns, but they are different mechanisms.
Q3: Is MIG or TIG better for thin-wall headers?
A3: TIG offers separate heat and filler control, which can help on thin stainless and complex joints. MIG can work with suitable equipment, consumables, fit-up, and technique. Choose using the actual material and trial-joint results, not appearance or machine price alone.
Q4: Can I use my existing MIG welder for stainless tubing?
A4: Check its supported wire, shielding gas, feeding components, and stable operating range. Practice on matching tubing in the intended position. Successful work on thick mild steel does not establish readiness for thin stainless. Have uncertain trial welds assessed before modifying the header.
Q5: Can stainless headers join mild-steel tubing?
A5: Suitable procedures can join those materials, but filler selection must account for both alloys and service conditions. Check the flange material as well as the tube. A successful weld does not give the carbon-steel section stainless corrosion resistance or solve a misaligned connection.
Q6: Should I remove the header before welding?
A6: Removal often improves cleaning, access, positioning, and root inspection. Decide using the joint location and vehicle-specific precautions. Don't weld in place when fuel-system exposure, electrical risks, restricted access, or combustible materials prevent safe work. Follow the vehicle manufacturer's welding instructions.
Q7: Why do I keep burning holes in exhaust tubing?
A7: Check excessive joint gaps, corrosion-thinned metal, heat input, and travel speed. A lower setting cannot repair a rotten edge. Refit the joint or replace unsound tubing, then establish settings on matching scrap. Stop repeatedly patching holes that continue growing.
Q8: Does repairing a header automatically require a tune?
A8: No. Restoring a sound joint without changing the system differs from altering header geometry, sensor locations, or other hardware. Investigate faults and the installed configuration before deciding on calibration work. Engine tuning cannot repair an exhaust leak or correct poor mechanical fitment.
Q9: Does keeping the catalytic converter make a modified header street legal?
A9: Not automatically. Compliance depends on the vehicle, component, emissions configuration, and applicable requirements. Keeping one converter or eliminating a warning light does not establish legality. Check the selected part's road-use requirements before modifying emissions-related equipment.
Q10: Is a TIG setup worth buying for one project?
A10: Compare total equipment, gas, consumables, practice material, and learning time with a qualified shop's quote. Buying a machine does not buy proficiency. Repeated projects can justify the investment; a one-off repair may favor professional fabrication, especially when access or material identification is difficult.

Steven Chen
Automotive Performance Specialist | Engine & Exhaust Systems
Steven focuses on practical engine performance, exhaust fitment, and real-world upgrade paths for classic and modern enthusiast vehicles. He reviews small-block Ford, LS, truck, and street/strip applications with one goal in mind: helping builders choose parts that actually work together. His philosophy: "Good power starts with the right combination, not the biggest part."