Installing headers on your Toyota Tacoma is a great way to enhance engine performance and optimize exhaust flow. If you're looking to take your truck to the next level, a header installation can help reduce engine stress, improve horsepower, and increase fuel efficiency. In this step-by-step guide, we’ll walk you through the entire process of installing headers on a Toyota Tacoma. By the end, you’ll have all the tools and knowledge necessary to tackle the job yourself.
Introduction to Header Installation for Tacoma
Headers are an essential part of your truck's exhaust system. They replace the restrictive factory exhaust manifolds and allow the engine to expel gases more efficiently, improving overall engine performance. Whether you're upgrading for power, sound, or both, installing exhaust headers is a popular modification for truck enthusiasts.
However, header installation isn’t a simple task. You’ll need the right tools, a solid understanding of the process, and a bit of patience to get everything just right. This guide will provide you with everything you need to install headers on your Toyota Tacoma.
Step 1: Prepare Your Tools and Vehicle
Essential Tools for the Job
Before starting the header installation, it’s crucial to gather the necessary tools to avoid running into roadblocks mid-project. Here’s a list of tools you’ll need:
-
Socket wrench set
-
PB Blaster (penetrating oil)
-
Torque wrench
-
14mm socket with extension
-
Ratchet and sockets
-
Screwdrivers (flathead and Phillips)
-
Safety gloves
-
Jack and jack stands (if lifting the vehicle)
Having all these tools ready will make the installation process smoother and more efficient.

Prepare the Tacoma for Header Installation
Before getting started, ensure your Tacoma is parked on a level surface. If necessary, lift the vehicle using a jack and secure it with jack stands. Disconnect the battery to avoid electrical mishaps, and then you’re ready to begin.
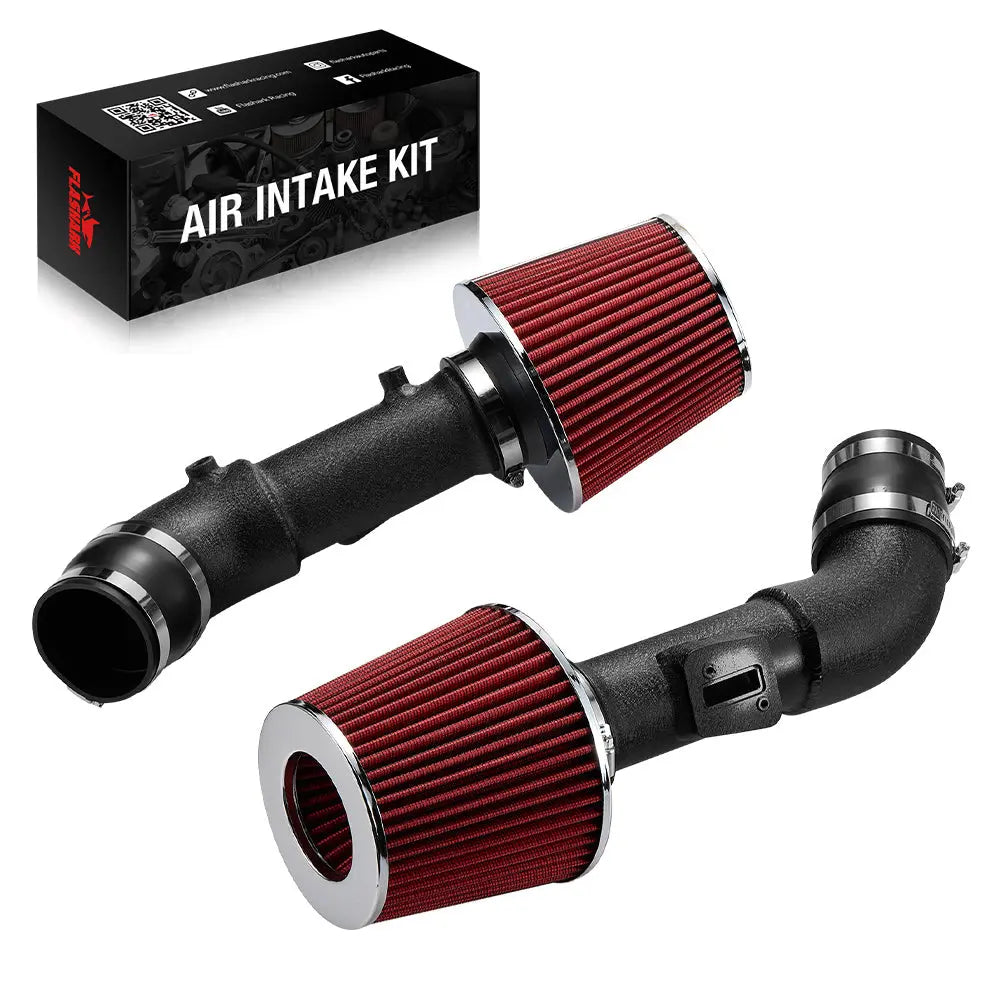
Step 2: Remove the Air Intake System
Disassemble the Airbox and Ducting
The first step to accessing the exhaust manifold is removing the air intake system. Begin by detaching the vacuum lines connected to the airbox. You’ll find one line attached to the intake pipe and another to the reservoir.
Next, unbolt the three screws securing the airbox to the vehicle’s body. Don’t forget the four clamps holding the intake tube in place. Once these are removed, carefully lift the airbox and disconnect the intake air temperature sensor and the mass airflow sensor. These sensors play a critical role in your engine’s performance, so ensure you disconnect them properly.
Why You Need to Remove the Air Intake System
The air intake system is in the way of the exhaust manifold, and you need to remove it to create enough space for header installation. Additionally, disconnecting the sensors ensures they are not damaged during the process.
Step 3: Disconnect the Exhaust System
Remove Oxygen Sensors and Other Components
With the air intake system removed, you can now focus on disconnecting the exhaust components. Start by disconnecting the oxygen sensors. These sensors are crucial for the engine’s fuel efficiency, so handle them with care to avoid damaging their connectors.
In most cases, the oxygen sensors will be located near the exhaust manifold or downpipe. Use a wrench or socket to unscrew them carefully.

Dealing with Stubborn Parts
Some bolts or exhaust parts may be rusted or too tight to remove. If you encounter this issue, spray PB Blaster on the bolts and let them sit for at least 30 minutes. This will help loosen the rust and make removal easier. In cases where bolts are too stubborn, applying heat with a heat gun or using a grinder to cut them off might be necessary.

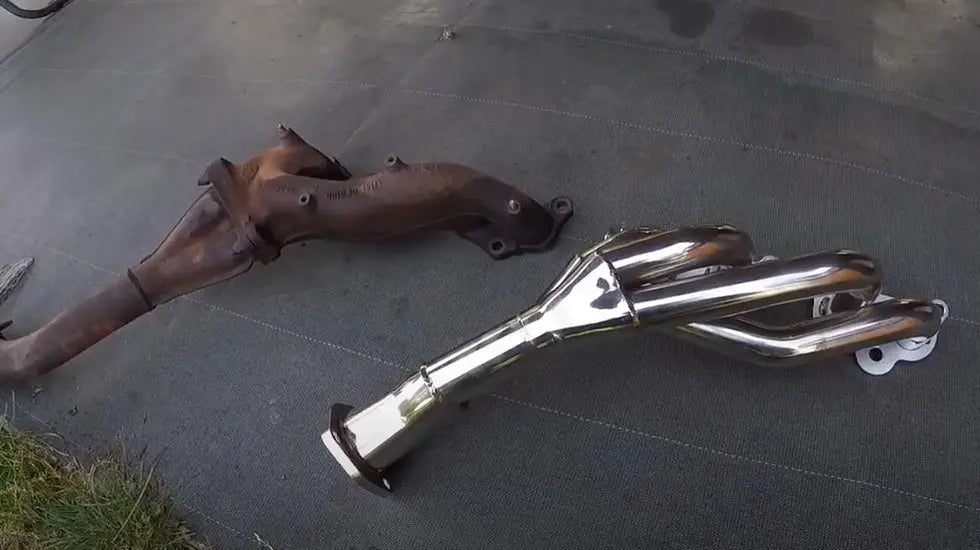
Step 4: Removing the Toyota Tacoma Exhaust Manifold
Unbolt the Toyota Tacoma Exhaust Manifold
Once all exhaust components are disconnected, focus on removing the exhaust manifold. There will be several bolts securing the manifold to the engine block. In most cases, there are six nuts or bolts that hold the manifold in place. Carefully remove them, starting from the outer bolts and working your way in.
After removing the main bolts, you may need to disconnect any remaining components, such as the EGR pipe or heat shields. Be sure to keep track of the bolts and parts you remove as you’ll need them to install the new headers.

Check for Potential Issues During Removal
When removing the exhaust manifold, it’s common to encounter rusted bolts or broken studs. If this happens, don’t panic. You can either use a stud extractor to remove broken studs or replace the damaged parts with new ones. It’s also a good idea to inspect the manifold for cracks, especially in older vehicles, as these can cause performance issues.
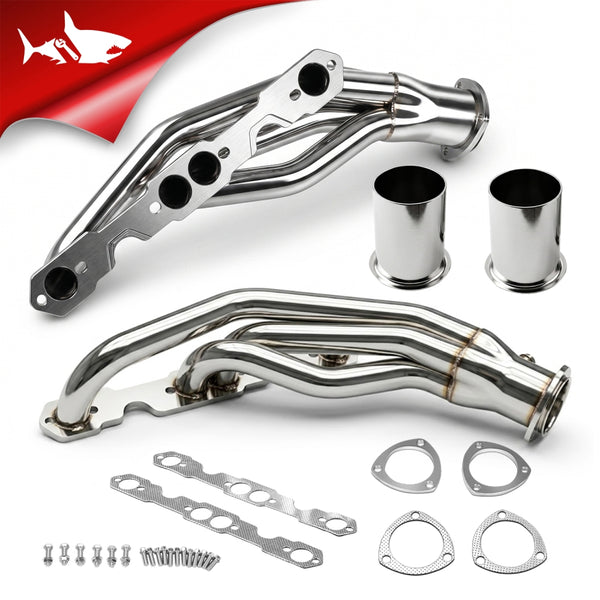
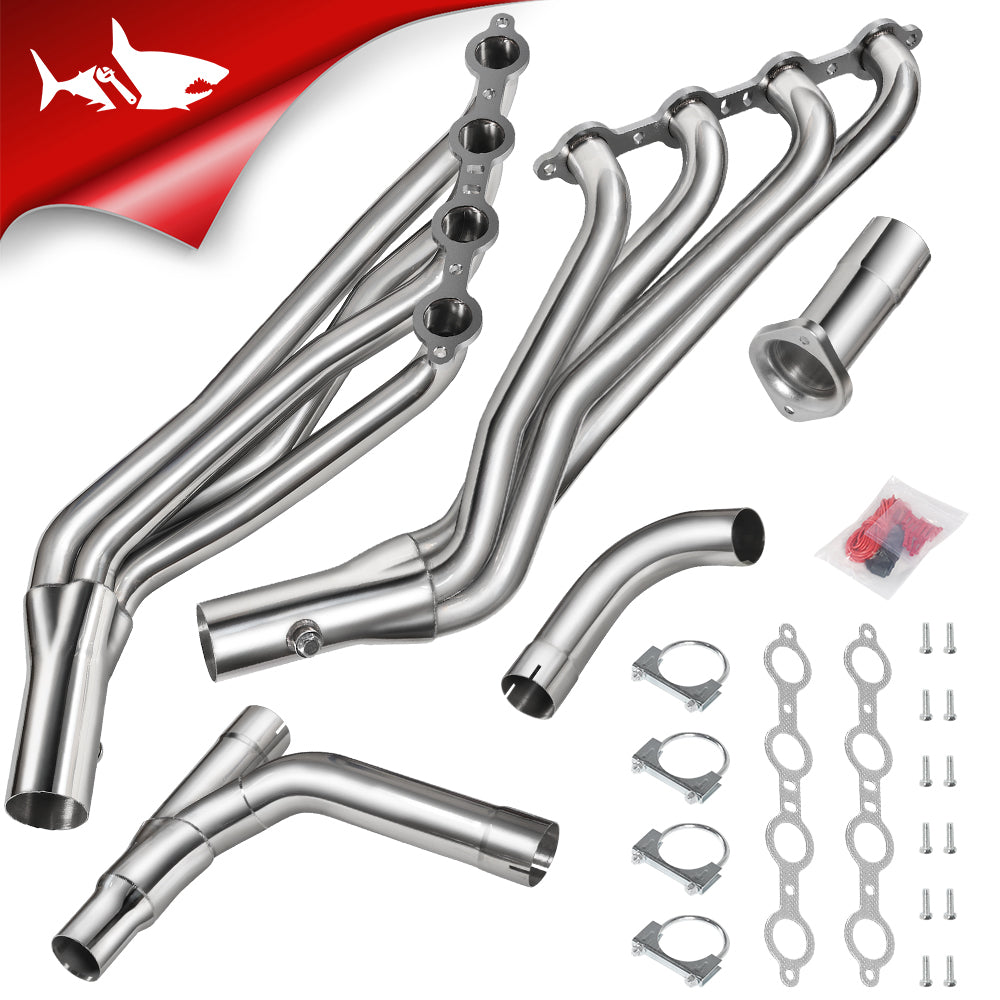
Step 5: Install the New Toyota Tacoma Headers
Prepare the New Toyota Tacoma Headers for Installation
Before installing the new tacoma headers, clean the mounting surface on the engine block. Make sure the surface is free of dirt, oil, and any old gasket material. This is important to create a good seal when you install the headers.

Install the Toyota Tacoma Headers onto the Engine
Position the new tacoma headers over the studs and align them carefully. Gently slide the headers into place, ensuring they fit snugly against the engine block. Once aligned, begin securing the headers with the provided bolts.

Torquing the Bolts
Once the headers are in place, use a torque wrench to tighten the bolts. The correct torque specification for Toyota Tacoma headers is typically around 46 foot-pounds. Tighten the bolts in a crisscross pattern, similar to how you would torque a wheel nut. This ensures even pressure and prevents warping.
Step 6: Reinstall the Exhaust System and Sensors
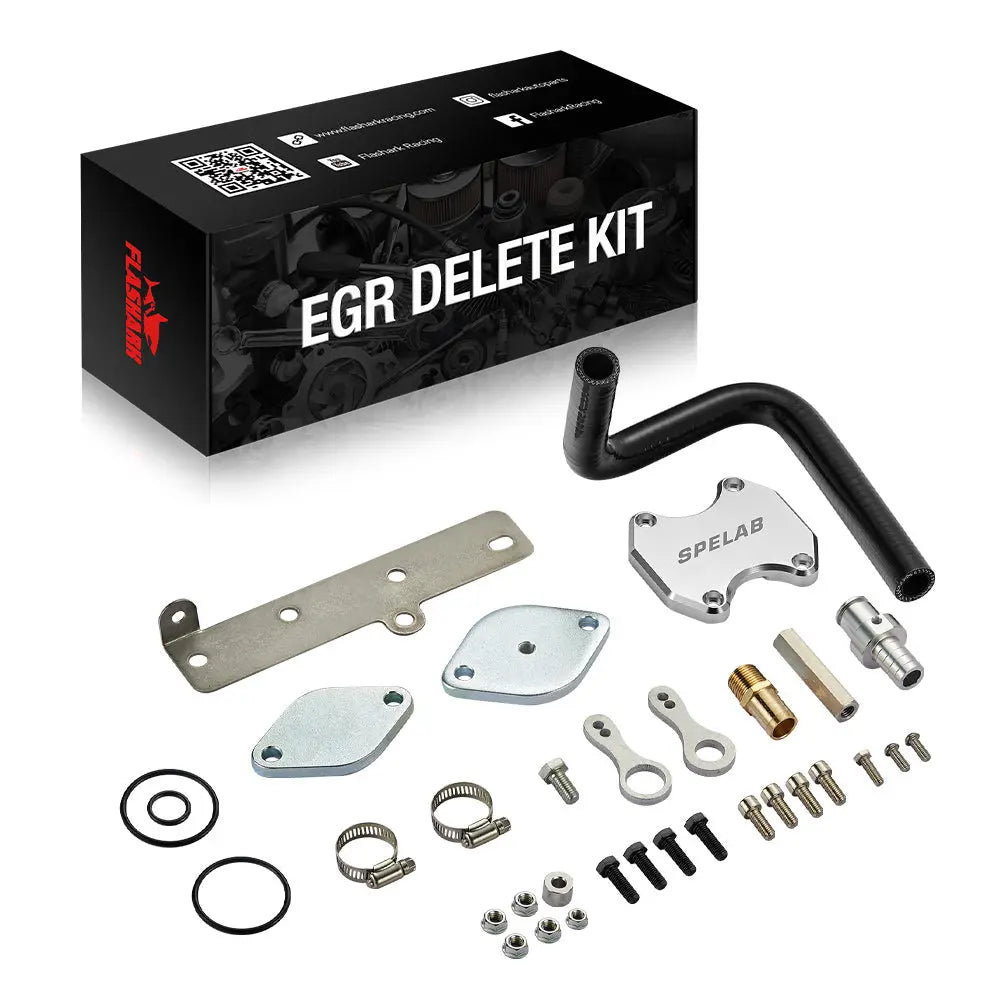
Reconnect the Oxygen Sensors and EGR Pipe
With the headers in place, it’s time to reconnect the oxygen sensors. Carefully plug the sensors back into their connectors. Reattach the EGR pipe, ensuring it is securely bolted to the manifold and properly sealed. This step is crucial to avoid exhaust leaks.
Reassemble the Air Intake System
Now that the exhaust system is back in place, reassemble the air intake system in reverse order. Start by reinstalling the airbox and reconnecting the mass airflow and intake air temperature sensors. Ensure all vacuum lines and clamps are tightly secured to avoid any air leaks.
Step 7: Test and Final Inspection
Start the Engine and Check for Leaks
With everything installed, it’s time to test your work. Start the engine and listen for any unusual sounds or leaks. Pay close attention to the connection points where the exhaust system and headers meet, as these are common places for leaks. If you notice any issues, turn off the engine and check the connections again.
Verify the Performance Improvements
Once you’ve confirmed that there are no leaks, take your Tacoma for a short test drive. You should notice improved throttle response, better acceleration, and a slightly louder exhaust note. The new headers should enhance overall engine performance, especially at higher RPMs.
Conclusion
Installing headers on your Toyota Tacoma is a rewarding upgrade that can improve your vehicle’s engine efficiency and performance. By following the steps outlined in this guide, you’ll ensure that your headers are installed correctly and that your vehicle is running at its best.
After installation, it’s important to monitor the vehicle for any potential issues, such as exhaust leaks or abnormal sounds. Keeping an eye on your system in the first few weeks will help you identify any problems early on. Once everything is running smoothly, enjoy the performance benefits of your new headers.