Upgrading your 4.6 Mustang with long tube headers can significantly enhance its engine performance and exhaust sound. These headers improve the flow of exhaust gases, leading to increased horsepower and torque. While installing long tube headers may seem like a complex task, with the right preparation, tools, and instructions, it’s a project that most car enthusiasts can tackle themselves. In this guide, we will walk you through how to install long tube headers on a 4.6 Mustang, covering everything from the tools you’ll need to step-by-step installation instructions.
Preparing for the Long Tube Header Installation
Gather the Necessary Tools and Equipment
Before diving into the installation process, make sure you have all the tools and equipment you'll need. Proper preparation is key to a successful long tube header installation.
You'll need a variety of tools such as wrenches, an angle ratchet, extension bars, and a swivel socket to reach tight spots. Additionally, having a set of jack stands or a car lift will make the job easier by giving you more space under the vehicle. Make sure to have high-quality gaskets and bolts that are compatible with your headers to avoid leaks once installed.
Key Parts and Accessories
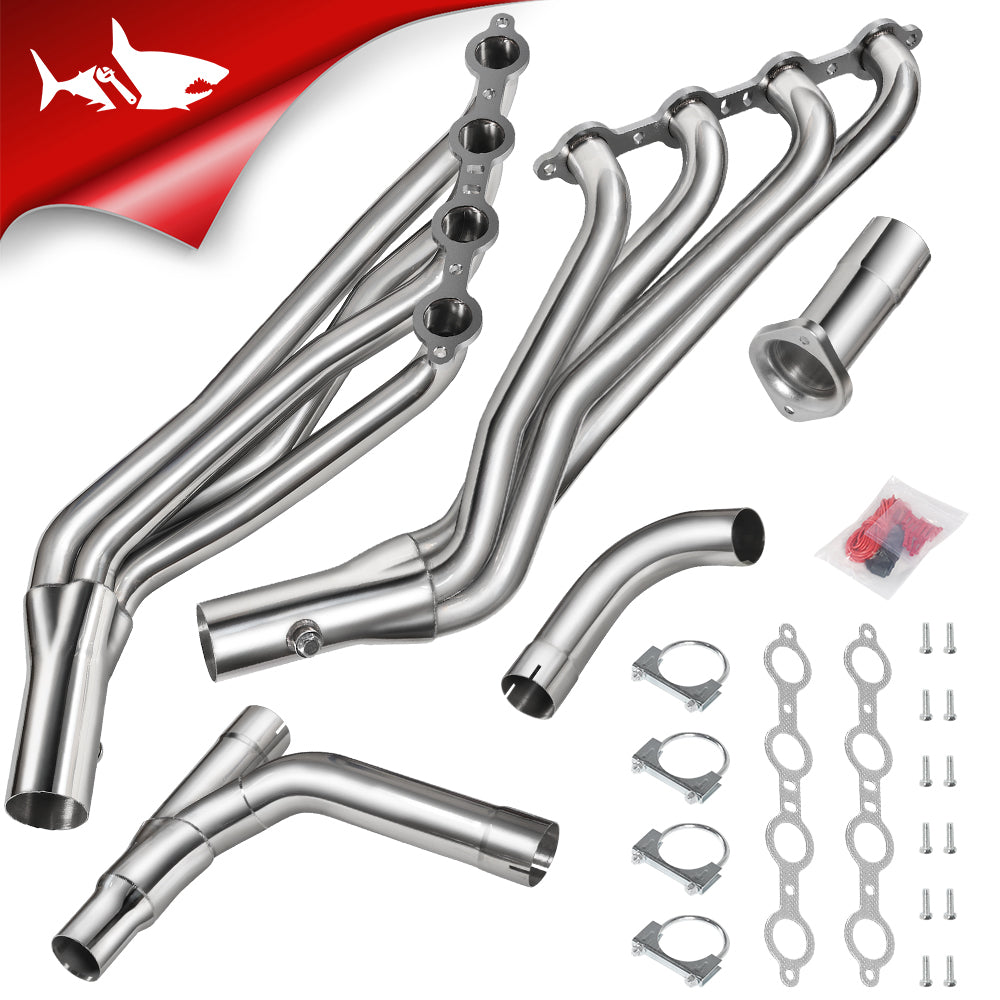
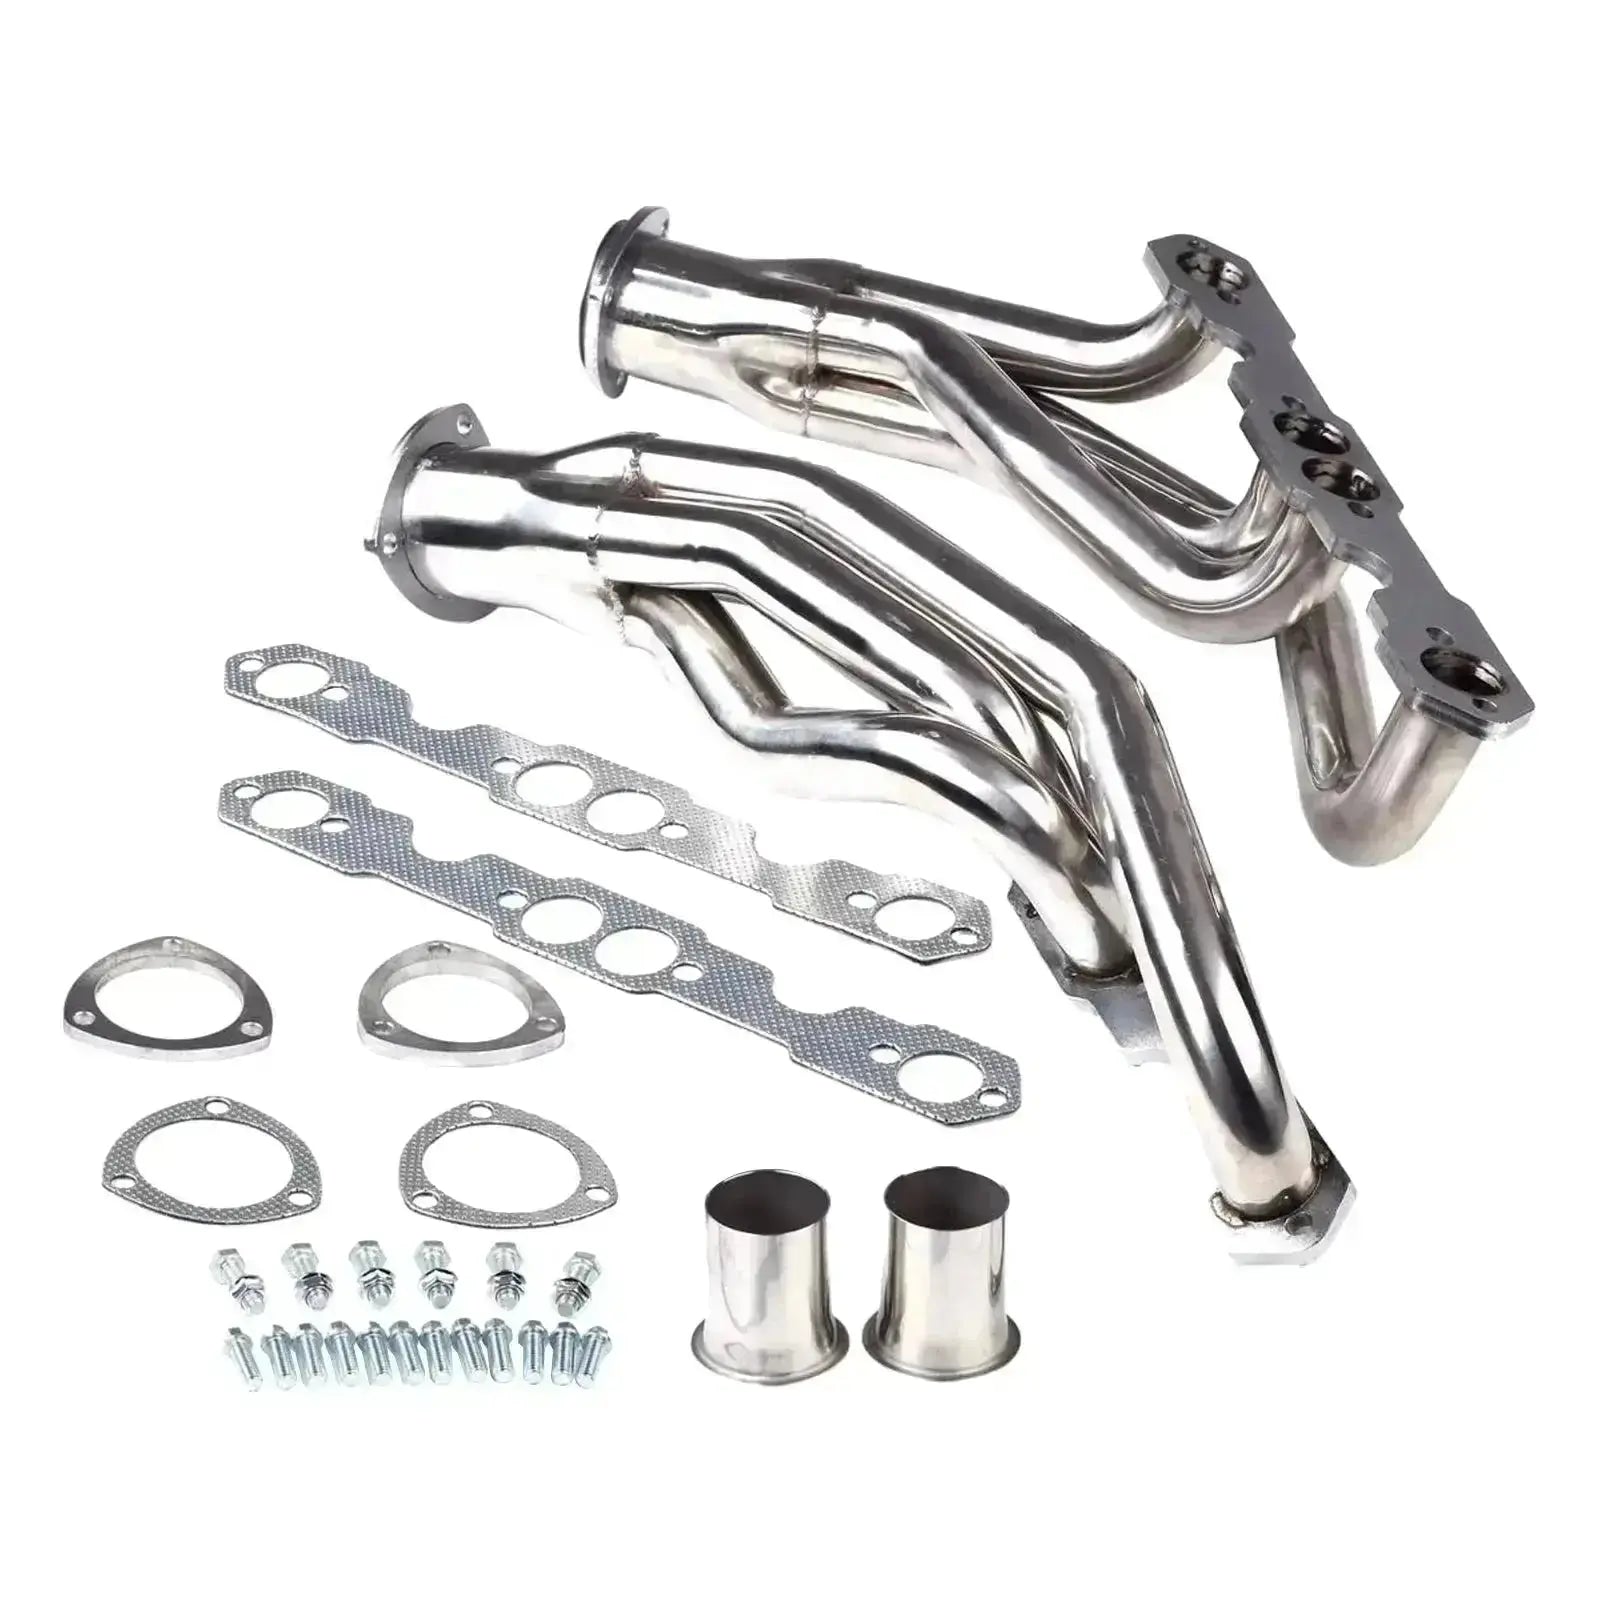
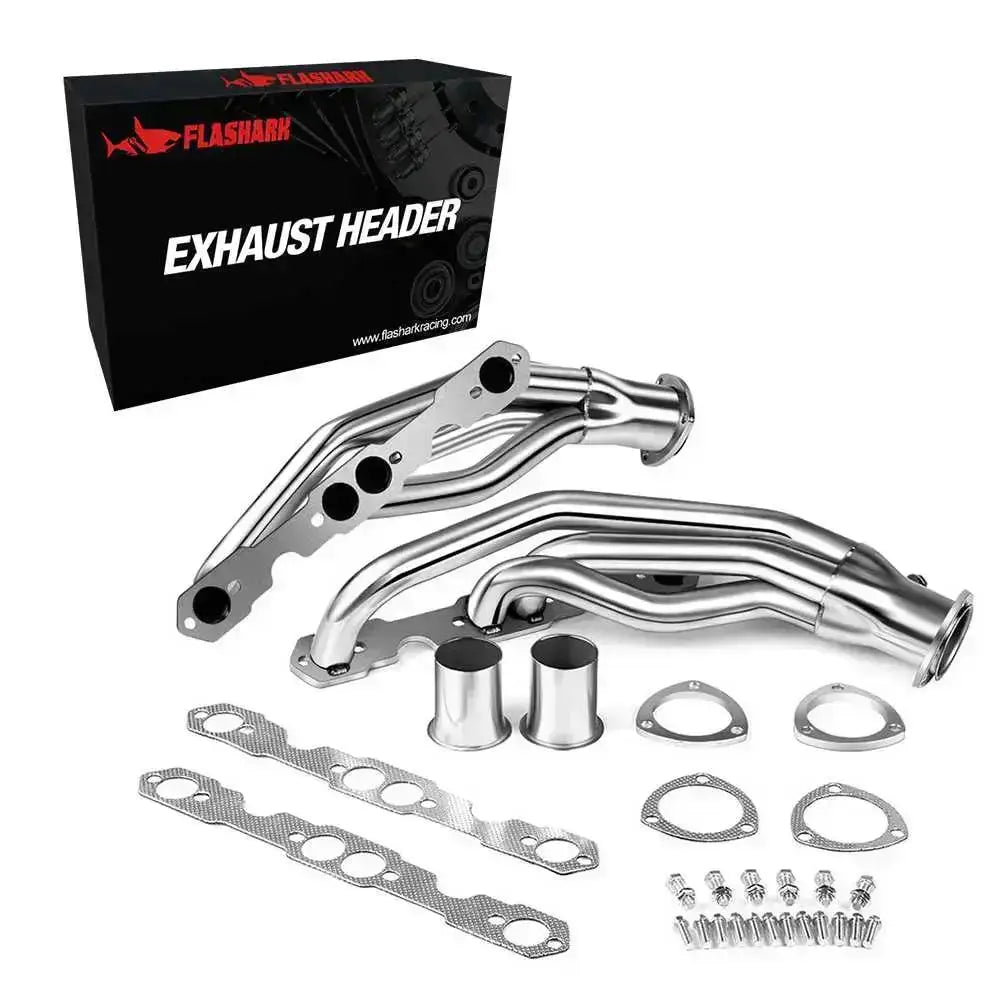
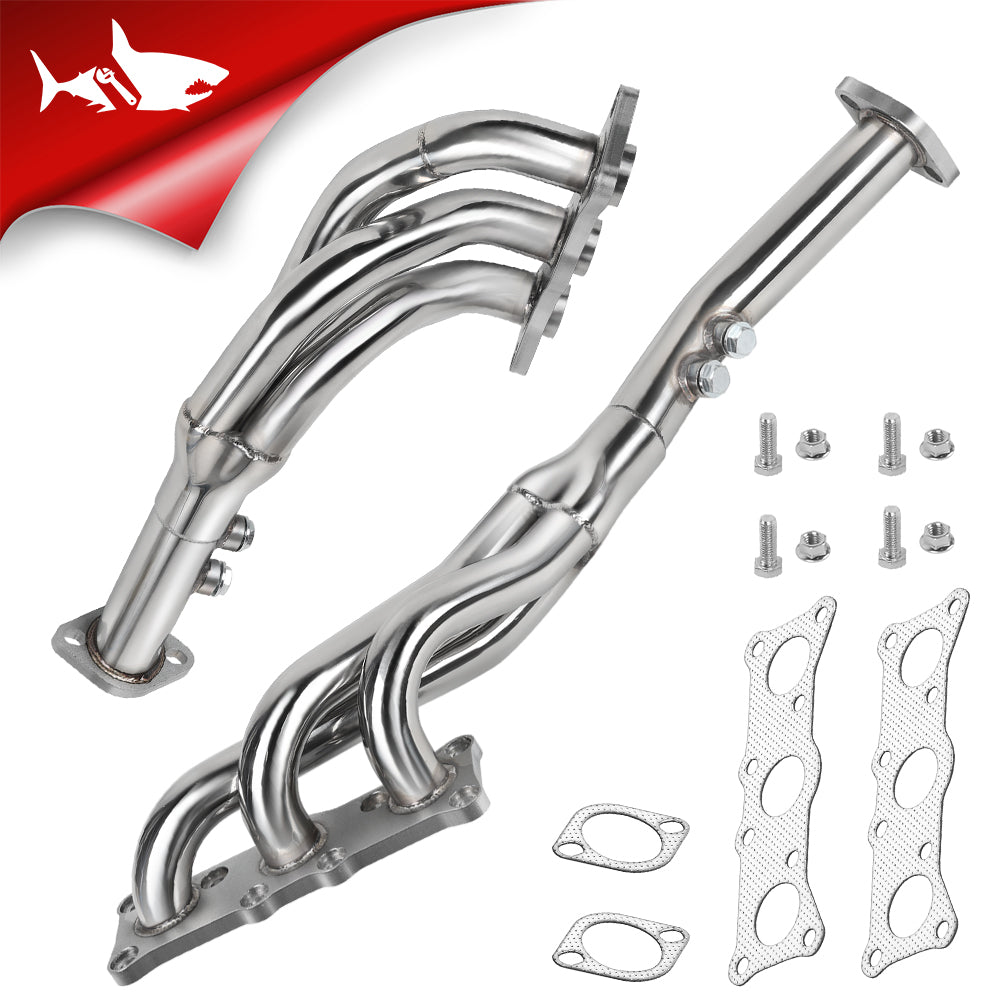
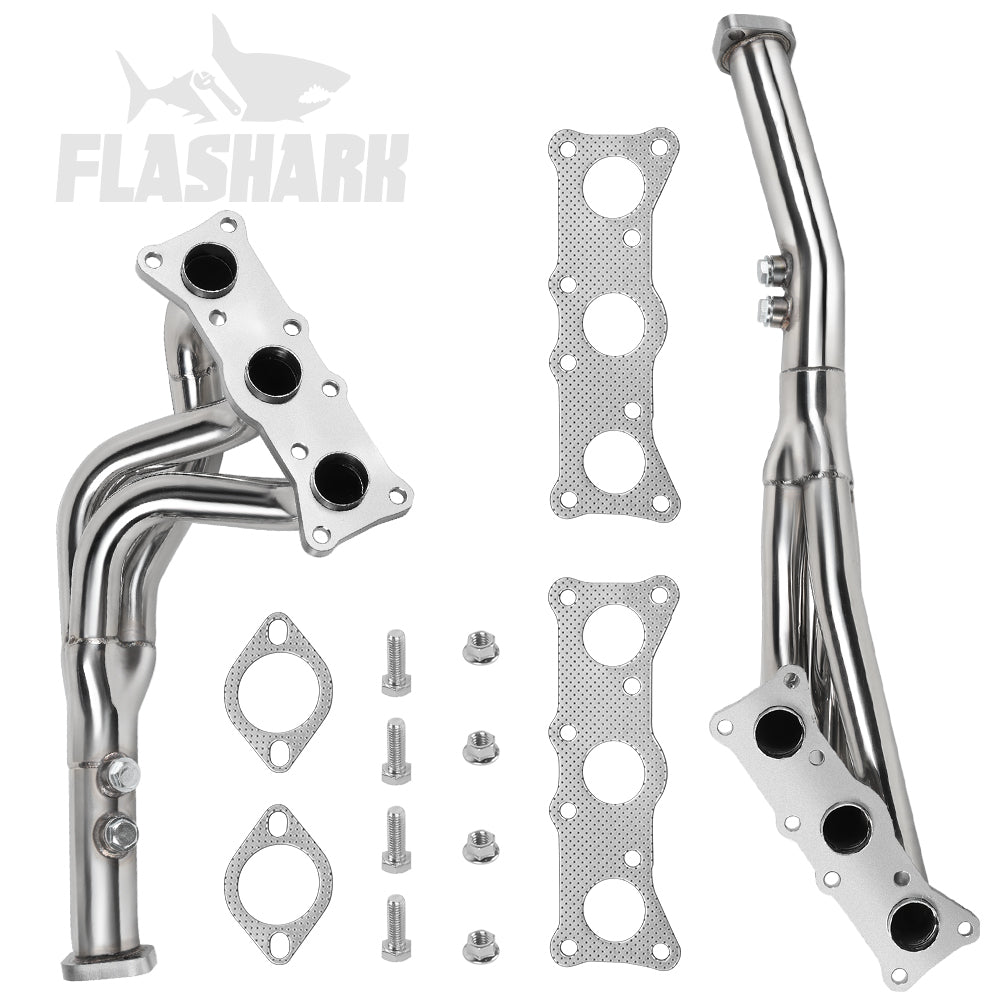
For your 1996-2004 Ford Mustang GT with the 4.6L V8 engine, the FlashArk exhaust header is an excellent choice. Made from high-quality 304 stainless steel, these headers offer improved exhaust flow, reducing backpressure and boosting horsepower by 8-20 HP. The kit includes everything you need for a direct bolt-on installation, including metal gaskets and TIG-welded CNC machine flanges. With a mirror-polished surface, these headers not only enhance performance but also give your Mustang a deep, aggressive exhaust tone.
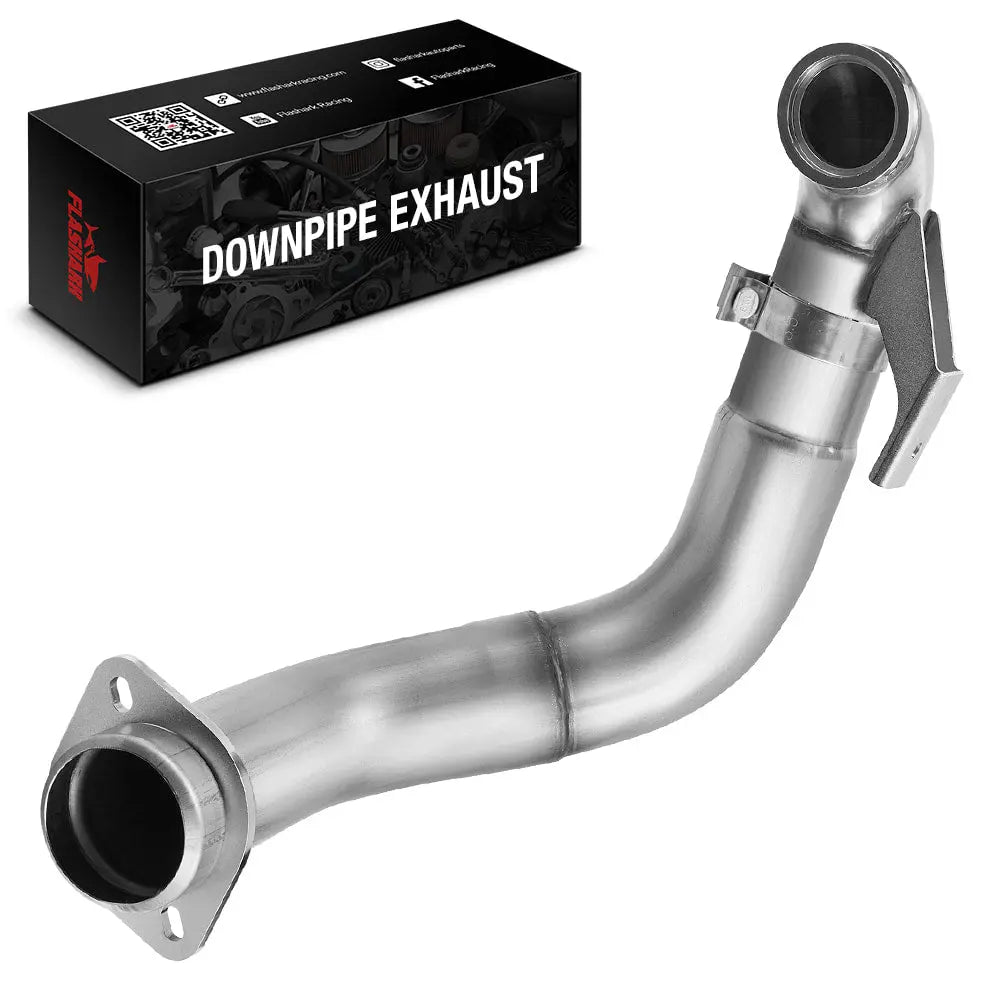
Ensure you have any additional parts like O2 sensor adapters or exhaust hangers, depending on your car's configuration, to complete the installation seamlessly.
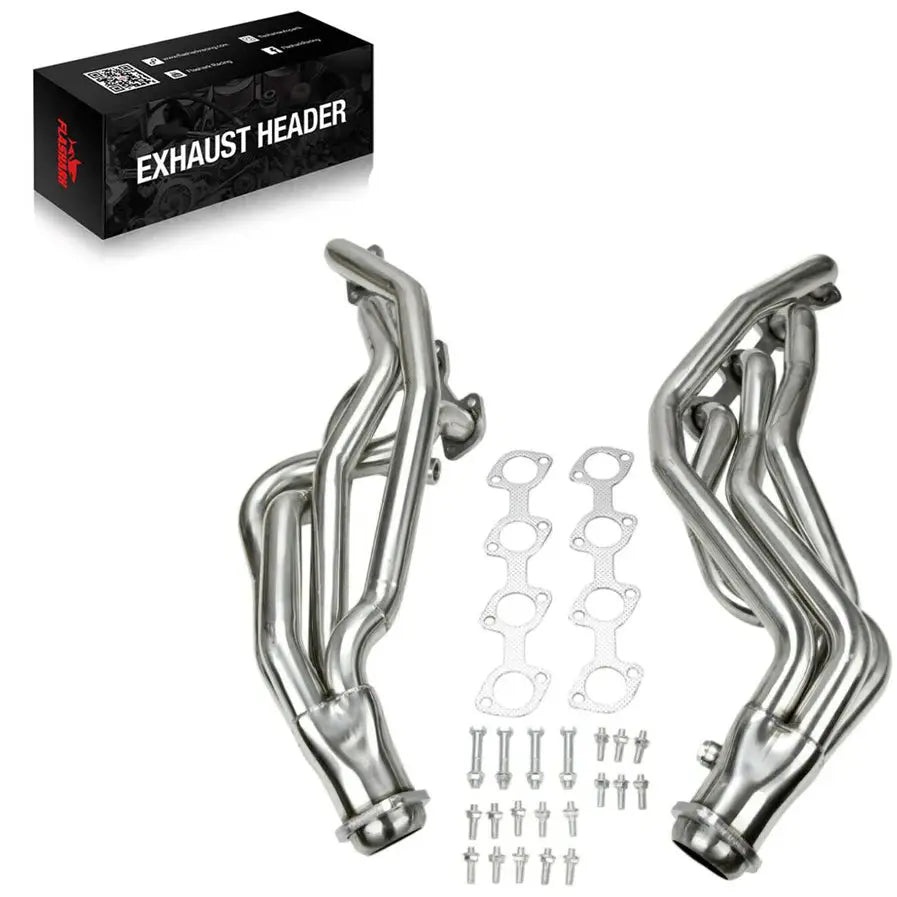
Exhaust Header for 1996-2004 Ford Mustang GT V8 4.6L SOHC
Boost your 1996-2004 Ford Mustang GT’s performance with FLASHARK Exhaust Headers. Made from 304 stainless steel, these headers increase horsepower by 8-20 HP and deliver a deep, aggressive muscle car sound. Direct bolt-on installation.
Price: $280
Buy NowStep-by-Step Guide to Installing Long Tube Headers
Removing the Old Exhaust System
The first step in how to install long tube headers on a 4.6 Mustang is to remove the existing exhaust components. Start by disconnecting the car’s battery to prevent electrical issues.
Next, you’ll need to remove the stock headers and exhaust system. This often involves unbolting the exhaust manifold and removing any parts that might be in the way, such as heat shields or under-hood braces. You may also need to loosen the motor mounts to gain better access. It’s essential to keep track of all bolts and components, as they will be re-used or replaced later.

Installing the Long Tube Headers
Now comes the most crucial part of the installation. Carefully align the new long tube headers with the exhaust ports on your 4.6 Mustang’s engine. This step requires patience, as it can be challenging to navigate around the engine bay’s tight spaces. It’s advisable to start with one header at a time, ensuring it fits snugly before securing it with the provided bolts.
As you install the headers, ensure the exhaust joints are properly sealed to avoid leaks. If necessary, use exhaust sealant around the joints. Tighten the bolts evenly to avoid warping the headers. While installing, be mindful of O2 sensor locations and ensure the sensors are properly connected once the headers are in place.
Reinstalling Other Components
Once the headers are securely installed, it’s time to reassemble any parts you removed earlier, such as heat shields, intake components, or other engine parts. Make sure to check all connections, tighten bolts, and ensure everything is aligned correctly. This is also a good time to reinstall any exhaust hangers or brackets that were removed.
Common Challenges and Troubleshooting Tips
Tight Engine Bay Space
One common challenge when installing long tube headers on a 4.6 Mustang is the tight engine bay space. The limited clearance can make it difficult to maneuver the headers into position. To overcome this, some users suggest loosening or removing the motor mounts to give yourself more room to work. If the headers still don’t fit, you may need to remove additional components such as the power steering pump or air conditioning lines.
Exhaust Leaks and Misalignment
Ensuring a proper fit is crucial to avoid exhaust leaks. After installation, use a smoke test or visual inspection to check for any leaks around the header joints. If you notice any, it’s important to reposition the headers or replace the gaskets. Misalignment during installation can cause leaks or uneven pressure on the exhaust system, so double-check that everything is aligned properly before tightening the bolts.
O2 Sensor and Wiring Adjustments
Another issue that can arise is the relocation of O2 sensors. Depending on your Mustang’s model and the header design, you may need O2 sensor extensions or adapters. Be sure to properly rewire the sensors to prevent any check engine lights from appearing. Incorrect sensor placement can lead to improper engine performance and poor fuel economy.
Performance and Sound Improvements After Installation
Performance Gains with Long Tube Headers
Installing long tube headers on your 4.6 Mustang can lead to noticeable performance improvements. By increasing exhaust flow, long tube headers reduce backpressure and allow the engine to breathe more freely. This can result in significant horsepower and torque gains, especially at higher RPMs.
The enhanced exhaust flow also improves engine efficiency, providing a noticeable increase in throttle response and overall engine performance. A properly tuned Mustang with long tube headers will feel quicker off the line and more responsive during acceleration.
Sound Characteristics of Long Tube Headers
Beyond performance, long tube headers also alter the sound of your 4.6 Mustang. With these headers installed, the exhaust tone becomes deeper and more aggressive. The improved airflow enhances low-end rumble, while allowing for a smoother, more refined sound at higher RPMs. Many Mustang owners find this upgrade gives their vehicle a true muscle car feel.
Final Adjustments and Aftercare
Checking for Leaks and Proper Function
After installing your long tube headers, it’s essential to check for any exhaust leaks. Even a small leak can impact engine performance. Use a smoke test to identify leaks, and re-tighten any bolts as needed. Be sure to check header bolts after a few hundred miles, as they may loosen over time. For more detailed information on how to detect and address exhaust header leaks, check out our article on the 5 Symptoms of a Leaky Exhaust Header.
Optimizing Engine Tuning
Once the headers are installed, you may need to retune your Mustang’s ECU. Long tube headers alter the flow dynamics of the exhaust system, which can affect air-fuel ratios and timing. Reprogramming the ECU ensures your engine runs at optimal efficiency and maximizes the performance benefits of the headers.
Conclusion
Installing long tube headers on a 4.6 Mustang is a rewarding project that can dramatically enhance both the performance and sound of your vehicle. By following the steps outlined above and preparing adequately, you can ensure a smooth installation process. Be sure to check for leaks and make necessary adjustments to your engine’s tuning for the best results. With these upgrades, your 4.6 Mustang will not only look better but perform better, giving you a thrilling driving experience every time you hit the road.


