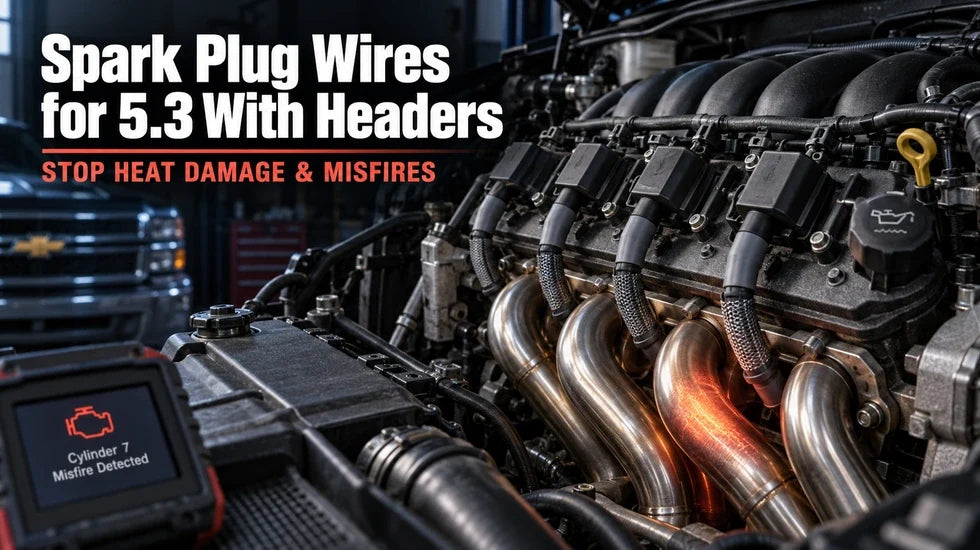
You bolt a set of headers onto a 5.3L Silverado, fire it up, and everything sounds right. Then the truck gets hot. The idle develops a twitch. You lean into the throttle and the check-engine light starts flashing.
Now comes the expensive guessing game: plugs, coils, injectors, tune—or all four?
Hold on. Before buying another box of parts, inspect the eight short plug wires sitting beside those hot primary tubes. On a GMT800 5.3L, one poorly seated boot or one wire resting against a header can turn a clean-running truck into a P0300 headache.
How Headers Damage Spark Plug Wires on a GMT800 5.3L
The factory exhaust manifold is compact and heavily shielded. A tubular header changes the neighborhood around the spark plugs. Its individual primary tubes may sweep closer to the boots, and those thin tubes transfer heat differently from a thick cast-iron manifold.

That creates three separate failure paths.
- Direct contact: The boot or cable touches a primary tube. The damage is concentrated, fast, and usually obvious once the wire is removed.
- Radiant heat: The wire does not touch, but it sits close enough to cook through repeated heat cycles. The silicone may harden before it visibly melts.
- Mechanical stress: A short wire is stretched tight, a long wire droops onto the header, or the terminal is twisted while the boot is being aimed away from the tube.
Long-tube and shorty layouts do not place every primary in the same spot. Even two headers intended for the same engine family can route around the plugs differently. That is why I do not choose plug wires by diameter alone. I look at length, terminal retention, boot angle, routing, and hot clearance as one system.
Why the Misfire May Wait Until the Engine Is Hot
A damaged wire can behave perfectly in the driveway. Cold insulation may still contain the ignition voltage, and an unloaded engine does not demand the same spark performance as a cylinder under heavy throttle.
Once the engine bay heats up, things change. Marginal insulation becomes easier to arc through. Metal expands. The engine rolls against its mounts. Cylinder pressure rises under load, so the ignition system needs more voltage to jump the plug gap. That tiny burn mark you dismissed at idle can become a sharp stumble at 2,500 rpm.
That hot-only pattern matters. Write down whether the miss appears during cold idle, warm idle, light cruise, or acceleration. “It misfires sometimes” is not enough information to diagnose a truck.
Heat-Damaged Spark Plug Wire Symptoms
Do not wait for a boot to melt into a puddle. Heat damage often whispers before it shouts.

| What You Notice | What It May Mean | First Check |
|---|---|---|
| Rough idle after warming up | Heat-sensitive wire, loose connection, plug problem, or another cylinder fault | Misfire counts and all 16 wire connections |
| Stumble during acceleration | Spark leaking under higher cylinder pressure | Boots nearest the primary tubes |
| P0300 | Random or multiple-cylinder misfire | Freeze-frame data and cylinder misfire history |
| P0301 through P0308 | Misfire activity associated with a particular cylinder | Wire, plug, and coil on that cylinder |
| White, hard, blistered, or split boot | Thermal aging or direct header contact | Remove the wire and inspect its entire circumference |
| Thin black line on plug porcelain | Possible carbon tracking | Plug and inside surface of the boot |
Heat Damage, Loose Connection, or a Cracked Spark Plug?
These failures can feel almost identical from the driver’s seat. A burned wire leaks voltage. A loose terminal interrupts it. A hairline crack in the plug’s porcelain lets the spark escape somewhere it should not.
Fresh parts are not innocent merely because they are fresh. A plug can be cracked while the header is being wrestled into place. A wire can hang on the tip of the plug without fully gripping the terminal. A coil-end boot can look seated from above while the terminal inside is barely touching.
Listen to the connection, then check it with your hand.
A click is useful, but it is not proof. Push the boot by its thick molded body, feel for positive engagement, and give it a gentle retention check. Never yank the cable itself.
A First-Person GMT800 Diagnostic Routine
Garage Case
When I get a 5.3L truck that ran clean before a header job and started missing afterward, I do not begin by ordering eight coils. I let the engine cool, remove each plug wire by the boot, and inspect the side that faced the primary tube. That hidden side is where the truth usually lives.
One rear boot can look clean from above yet show a narrow, glossy burn line underneath. If that cylinder also accumulates misfires as the engine warms, I move the suspect wire to a compatible cylinder and repeat the test. When the miss follows the wire, the diagnosis gets much stronger. Then I replace the damaged part, change the routing, add a retainer and sleeve where appropriate, and run another complete heat cycle.
The important part is the order. Find the cause, repair the damage, then remove the condition that caused it. A new wire placed against the same tube is not a repair. It is a timer.
Choosing Spark Plug Wires for a 5.3 With Headers
Here is the uncomfortable answer: there is no universal “best” wire for every 5.3L header combination. GM used different coil designs and mounting arrangements across LS-based truck applications, while header manufacturers use different primary bends. Measure what is on the truck.
Before ordering, record:
- Vehicle year, model, engine, and drivetrain.
- Engine RPO when available.
- Header brand and part configuration.
- Current wire length from terminal to terminal.
- Coil-end and plug-end terminal styles.
- The direction each boot must exit to clear its primary tube.
- Whether factory shields and retainers can be retained without contact.
Straight, 45-Degree, 90-Degree, or Adjustable Boots?
A straight boot works when the primary tube leaves a clean path behind the plug. A 45-degree boot can move the cable diagonally around a tube. A 90-degree boot makes a tighter turn, but it can create a new clearance problem if its elbow points directly at the header flange.
Adjustable boots offer flexibility, yet they still need careful handling. Rotate the boot as its instructions allow. Do not twist the cable until the conductor becomes the hinge.

| Parameter | Factory-Style Setup | Header-Oriented Setup | What Actually Matters |
|---|---|---|---|
| Boot angle | Usually selected around factory manifold geometry | Straight, 45°, 90°, or adjustable | A natural path away from each primary tube |
| Wire length | Sized for factory routing | May need a different route or application-specific length | No tension, droop, tight bend, or hot contact |
| Thermal protection | Factory shield arrangement | High-temperature boot plus optional sleeve | Air gap remains the first defense |
| Cable diameter | Application-dependent | Often marketed as 8, 8.5, or 10 mm | Construction and fit matter more than diameter alone |
| Primary goal | Reliable factory routing | Reliable ignition in a tighter, hotter layout | Keep spark energy inside the wire and away from ground |
Wire Length Matters More Than the Number Printed on the Jacket
A thick cable can still be the wrong cable. If it is too short, it pulls against the terminal every time the engine moves. If it is too long, it bows downward until gravity and vibration place it on the header.
Do not assume a claimed low-resistance wire automatically creates horsepower. A healthy factory-style ignition wire already has one job: carry enough voltage to fire the plug without leaking energy or creating disruptive electrical noise. For a street-driven 5.3L, dependable routing beats a dramatic number on the package.
Ceramic Boots, Silicone Boots, and Heat Sleeves
- High-temperature silicone boots: Flexible and common, but still vulnerable to continuous contact with a primary tube.
- Ceramic boots: Useful in certain tight, high-heat layouts. They require compatible terminals and careful handling because the rigid section does not bend around an obstruction.
- Fiberglass heat sleeves: Helpful over the boot and the wire section nearest the header. Secure them so they cannot slide down onto the tube.
- Factory metal shields: Retain them only when they fit the new layout correctly and do not create contact or prevent the boot from seating.
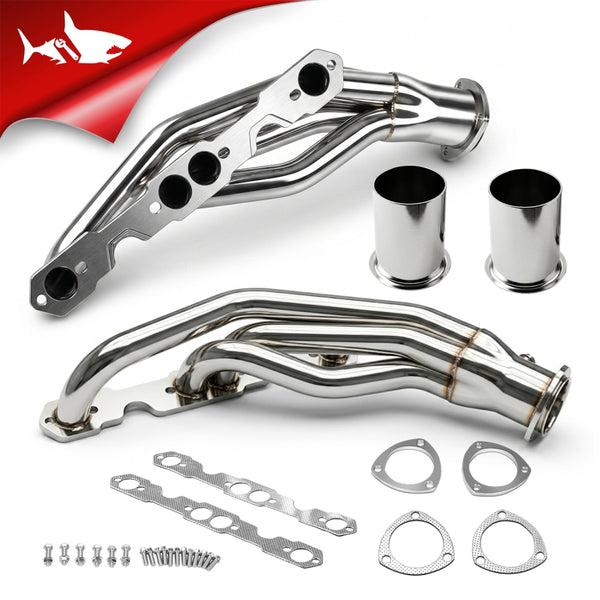
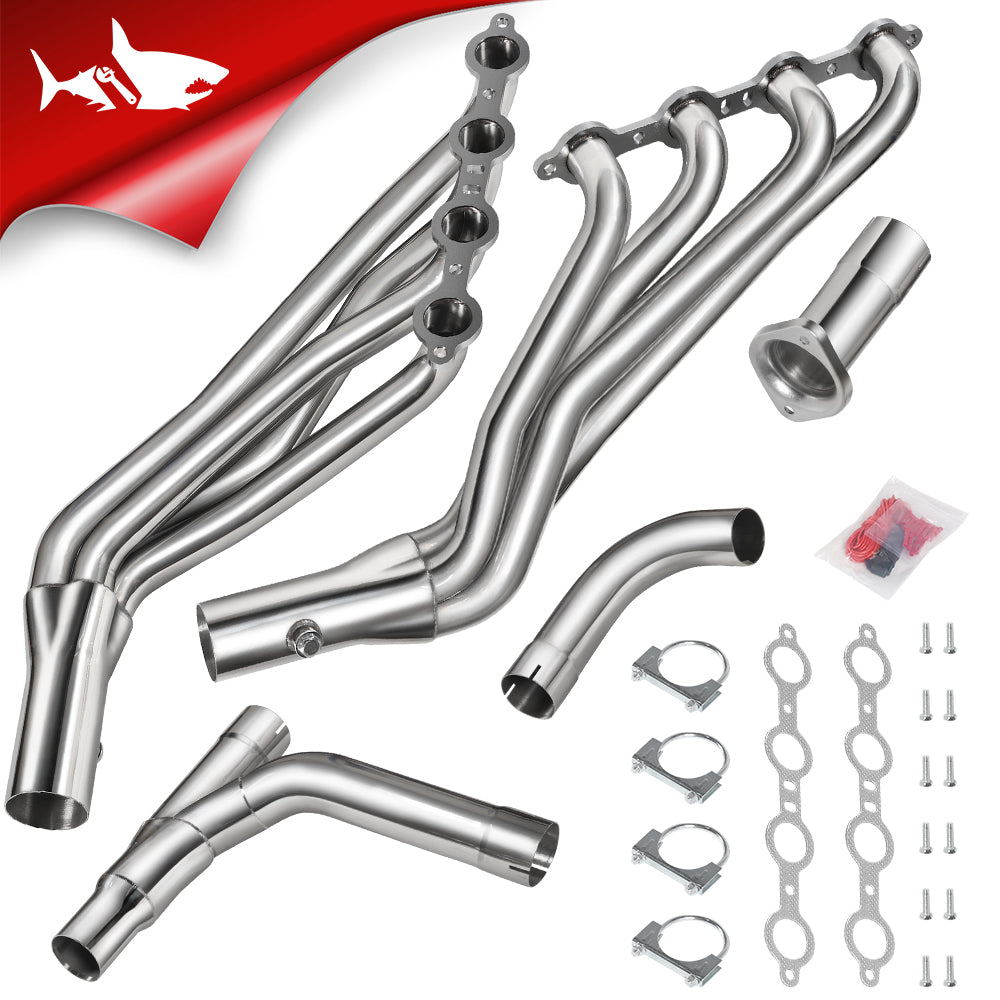
If you are still choosing the exhaust layout, compare the available Chevrolet Silverado 1500 exhaust header options by model, engine, drivetrain, collector position, and installation space. For a wider range of applications, the Flashark performance exhaust header collection is the broader starting point.
Builders deciding between tube layouts can browse vehicle-specific long-tube headers or compare them with compact shorty header options. Match the part to the complete vehicle—not the 5.3L badge alone.
How to Route 5.3L Spark Plug Wires Away From Headers
Step 1: Start Cold and Map All Eight Wires
Let the engine and headers cool completely. Photograph both banks before removing anything. Label the wires if needed, and work one cylinder at a time.
For GM LS-based V8 engines, the cylinder numbering is:
- Driver side: 1-3-5-7 from front to rear.
- Passenger side: 2-4-6-8 from front to rear.
Do not confuse cylinder numbering with firing order. For common Gen III LS-based truck V8 applications, the firing order is 1-8-7-2-6-5-4-3. You normally are not routing distributor wires because each cylinder has its own coil, but correct cylinder identification is essential when reading P030x codes and misfire counters.
Step 2: Inspect the Plug Before Installing the Wire
Use a bright light. Look for chipped porcelain, a hairline crack, carbon tracking, oil contamination, damaged threads, or a loose terminal. Check the plug type and gap against the requirements for the exact engine and build.
Headers alone do not automatically require a colder spark plug. Compression ratio, boost, nitrous, combustion temperature, calibration, plug design, and driving load all matter. The awkward phrase “spark plugs headers” often appears in parts searches, but plugs and headers should not be treated as a universal matched set.
Step 3: Seat Both Ends of the Wire
- Hold the molded boot, not the cable.
- Align the internal terminal with the spark-plug terminal.
- Push until the terminal positively engages.
- Seat the coil end with the same care.
- Give each boot a light retention check.
- Make sure the cable is not pulling either connection sideways.
Eight cylinders mean sixteen connections. Check every one. Skipping the “easy-looking” coil end is how a two-minute fix turns into a weekend of parts swapping.
Step 4: Build a Natural Exit Path
Route the cable in a relaxed curve away from the primary. Avoid a tight bend immediately behind either boot. Keep it clear of sharp brackets, steering components, moving linkages, hot fluid lines, and other ignition wires where retainers are intended to separate them.
Use high-temperature separators or standoffs mounted to suitable fixed points. Do not cinch an ordinary plastic tie around a plug wire beside the header and call it done.

Step 5: Check Dynamic Clearance
A cold, stationary engine is only one position. Engine torque can roll the powertrain on its mounts, while hot header tubes expand. Worn mounts make that movement worse.
Look for:
- Fresh polished spots on a boot or primary tube.
- A wire that becomes tight when the engine moves.
- A sleeve that slides out of position.
- Rear-cylinder boots hidden from a normal top-down view.
- Oxygen-sensor wiring pulled toward the collector.
How to Install Spark-Plug Heat Sleeves Correctly
Slide the sleeve over the wire before final seating if its design requires it. Cover the boot and the section of cable facing the greatest radiant heat. The sleeve should remain in place without pulling on the terminal or bunching between the boot and spark plug.
Use this order of priority:
- Eliminate direct contact.
- Create the largest practical, stable air gap.
- Choose a boot angle and wire length that preserve that gap.
- Secure the route with an appropriate retainer.
- Add the heat sleeve as secondary protection.
There is no honest universal clearance number for every GMT800 and every header. Primary geometry, boot material, shielding, engine movement, and the header manufacturer’s instructions all affect the requirement. If the boot still touches, change the physical layout.
Heat-Sleeve Mistakes That Burn New Wires
- Sliding a sleeve over a boot that is already cracked or carbon-tracked.
- Covering only the cable while leaving the plug boot exposed.
- Allowing the sleeve to rest directly on the primary tube.
- Using a sleeve to hide bad routing instead of correcting it.
- Installing a sleeve so tightly that the boot cannot fully seat.
- Skipping the inspection after the first drive.
Diagnosing P0300 and P0301-P0308 After a Header Install
A code tells you where the computer noticed a combustion problem. It does not name the failed part.
P0300 indicates random or multiple-cylinder misfire activity. P0301 through P0308 identify the associated cylinder number. Either type can be caused by ignition, fuel delivery, unmetered air, compression, valvetrain trouble, wiring, or several faults occurring together.
Step 1: Read More Than the Code Number
Capture freeze-frame information before clearing anything. Record engine speed, load, coolant temperature, vehicle speed, fuel trims, and which cylinder counters increased. A failure that begins only after 15 minutes under load points in a different direction from a dead miss present at cold idle.
Step 2: Inspect Everything Disturbed During Installation
- Plug wires at the plugs and coils.
- Plug porcelain and terminals.
- Coil connectors, grounds, and nearby harnesses.
- Oxygen-sensor wiring near the collectors.
- Vacuum lines or connectors moved for access.
- Header flanges, collectors, and exhaust connections.
A leak near an exhaust port can add noise and complicate the diagnosis. If you find a black trail around a flange, use this header-flange soot and exhaust-leak diagnostic guide before crushing the gasket with more torque.
Step 3: Swap One Component at a Time
If the scan data repeatedly identifies one cylinder, use controlled swaps.
- Move the suspect wire to a compatible cylinder.
- Clear or reset the test data as appropriate.
- Reproduce the same operating condition.
- See whether the misfire follows the wire.
- If it stays, repeat the process with the coil.
- Inspect or exchange the plug only when the engine is fully cool.
Change one variable at a time. Swapping a wire, coil, and plug together may make the truck run better, but it destroys the evidence that tells you which part failed.
Step 4: Check Wire Resistance Without Worshipping One Number
Disconnect the wire at both ends. Measure resistance terminal to terminal, then gently flex the cable while watching for an open circuit or unstable reading. Compare wires of similar construction and length.
Do not apply a random universal ohms-per-foot rule to every wire. Spiral-core, suppression-core, and other conductor designs use different resistance strategies. Use the wire manufacturer’s range. A stable resistance reading also cannot prove that the insulation will hold ignition voltage beside a hot, grounded header.
Step 5: Expand the Test if the Misfire Does Not Move
If the fault stays on the same cylinder after the wire, coil, and plug have been checked, stop throwing ignition parts at it. Test what remains:
- Injector command and fuel delivery.
- Coil power, ground, and control circuit.
- Compression and cylinder leak-down.
- Valve spring, rocker, pushrod, lifter, and cam action.
- Intake leakage and fuel trims.
- Fuel pressure under the condition that causes the miss.
- MAF operation and intake tract condition.
- Exhaust leakage and oxygen-sensor wiring.
Do not use calibration changes to hide a mechanical misfire. A tune cannot repair cracked porcelain, a loose terminal, a dead injector, or a damaged valve-train component.
Long-Tube vs. Shorty Headers: What Changes Around the Plug Wires?
Both styles replace factory exhaust hardware, but they do not create the same packaging problem.
| Feature | Factory Manifold | Shorty Header | Long-Tube Header |
|---|---|---|---|
| Plug-wire environment | Factory-developed routing and shields | Compact, but primary bends still vary | More tubing and more application-dependent routing |
| Downstream changes | Factory configuration | Often closer to factory connection strategy | Collector and mid-pipe path can change substantially |
| Installation inspection | Normal service checks | Check every primary and boot | Check boots, collectors, O2 wiring, driveline, and chassis clearance |
| Calibration considerations | Factory calibration | Depends on vehicle and installed hardware | Depends on vehicle, sensor layout, exhaust configuration, and hardware |
For a deeper comparison of packaging, powerband, cost, and installation work, read the 5.3 Silverado long-tube vs. shorty header guide. If you are already committed to a long-tube build, the 5.3 Silverado long-tube header selection guide covers the wider exhaust combination.
Flashark headers can be considered as one part of that combination. Pick the configuration around the truck’s year, engine, drivetrain, emissions equipment, collector connection, and available space. Then plan plug-wire routing before final tightening. That last ten-minute inspection is cheaper than replacing another cooked wire.
Post-Installation Heat-Cycle and Road-Test Checklist
Before the First Start
- Confirm that all eight plug wires are fully seated at both ends.
- Inspect all eight boots from above and below.
- Verify that no wire, sleeve, hose, harness, or O2 lead touches the exhaust.
- Check steering and suspension clearance through the available movement range.
- Remove tools, rags, loose fasteners, and flammable residue from the engine bay.
During the First Warm-Up
- Watch for smoke concentrated around one wire or primary tube.
- Pay attention to a sharp electrical smell or melting-plastic odor.
- Listen for arcing, exhaust ticking, and an uneven idle.
- Monitor the check-engine light and live misfire data.
- Shut the engine down if a wire shifts into contact or the misfire becomes active.
After the Engine Cools
- Recheck every retainer and heat sleeve.
- Look for fresh glossy spots, discoloration, indentations, or soot.
- Inspect the rear cylinders with a mirror or camera.
- Follow the header manufacturer’s cold retorque procedure where specified.
- Check collector joints and O2 wiring again.
Controlled Road Test
Begin with light load. Then move to moderate acceleration only if the idle remains clean, the light stays off, and the misfire counters remain quiet. A hard pull is the final confirmation, not the first diagnostic step.
Repeat the physical inspection after the first few complete heat cycles. Headers move. Engines move. Sleeves move too.
Common Mistakes That Keep Burning 5.3L Plug Wires
- Buying the thickest wires without checking length or boot angle.
- Allowing a sleeved boot to remain in direct contact with a primary tube.
- Stretching a short cable between the coil and plug.
- Leaving excessive cable to droop beside the header.
- Pulling the wire instead of the boot during removal.
- Assuming a new plug cannot be cracked.
- Checking only the plug end and ignoring the coil connection.
- Rotating a boot by twisting the conductor.
- Ignoring engine movement caused by weak mounts.
- Replacing every coil before performing a controlled swap test.
- Continuing to drive hard with a flashing check-engine light.
- Skipping the cold inspection after the first heat cycle.
Final Verdict: Clearance First, Heat Protection Second
The best spark plug wires for 5.3 with headers are not automatically the thickest, lowest-resistance, or most expensive set. They are the wires that match the coil terminals, fit each cylinder without tension, aim away from the primaries, and remain secure after the engine reaches operating temperature.
Use heat sleeves, but do not ask them to perform magic. Correct a contact problem with routing, boot angle, cable length, or a proper retainer. Then inspect the plugs, seat all sixteen connections, watch the misfire data, and test one component at a time.
Do that and a header installation stays what it should be: an exhaust upgrade—not the beginning of a monthly plug-wire replacement plan.
Frequently Asked Questions
Q1: What are the best spark plug wires for a 5.3 with headers?
A1: Choose wires that match the truck’s coil terminals, provide the correct length, and use a boot angle that keeps each wire clear of its header primary. Heat-resistant construction helps, but fit and routing come first.
Q2: Can headers burn spark plug wires?
A2: Yes. Direct contact can quickly damage a boot, while close radiant heat can harden and weaken the insulation over repeated heat cycles.
Q3: Can a burned plug wire cause P0300?
A3: Yes. A damaged wire can leak ignition voltage and cause random or repeated misfires. P0300 has other possible causes, so inspect the ignition system and use live cylinder data before replacing parts.
Q4: Why does my 5.3L misfire only when it gets hot?
A4: Heat can expose weak insulation or a marginal terminal connection. Thermal expansion and engine movement may also reduce clearance. Fuel, injector, mechanical, and sensor faults should be checked if the misfire does not follow an ignition component.
Q5: Why did my Silverado start misfiring after installing headers?
A5: Begin with components disturbed during the job: plug wires, plugs, coil connectors, grounds, O2 wiring, vacuum connections, header flanges, and collectors. A loose boot or cracked plug can appear immediately after installation.
Q6: Do long-tube headers require special spark plug wires?
A6: Not every installation requires a special branded set. It may require a different boot angle, wire length, heat sleeve, or retainer to maintain clearance around the long-tube primaries.
Q7: Are ceramic spark plug boots better around headers?
A7: Ceramic boots can suit tight, high-heat locations, but they must match the terminals and physical layout. Their heat resistance does not remove the need for stable clearance.
Q8: Do spark-plug heat sleeves work?
A8: They can reduce radiant heat reaching the boot and cable. They work best after the wire has been routed away from direct contact and secured so the sleeve cannot slide.
Q9: How much clearance should a plug wire have from a header?
A9: Use the header and wire manufacturers’ installation requirements and create the largest stable air gap the layout allows. There is no single measurement that applies to every tube shape, boot material, and vehicle.
Q10: Can a heat sleeve touch a header tube?
A10: Do not design the installation around continuous contact. Reposition the wire, change the boot angle or length, or add a suitable retainer so the sleeve remains clear.
Q11: Is a 45-degree or 90-degree boot better for a 5.3L?
A11: Neither angle is universally better. Use the angle that lets the boot seat fully and sends the cable away from the primary tube without a tight bend.
Q12: Can a spark plug wire look good and still be bad?
A12: Yes. The internal conductor can break, the terminal can loosen, or the insulation can leak voltage under heat and load without showing dramatic external damage.
Q13: How do I test a 5.3L plug wire with a multimeter?
A13: Disconnect both ends, measure terminal-to-terminal resistance, and gently flex the cable while watching for an unstable or open reading. Compare the result with the wire manufacturer’s specification.
Q14: Should I replace the spark plugs when installing headers?
A14: Replacement is not mandatory solely because headers are being installed. Inspect the plugs while access is available and replace them when wear, damage, contamination, incorrect type, or service interval supports it.
Q15: Do headers require colder spark plugs on a 5.3L?
A15: Headers alone do not automatically require a colder heat range. Engine load, boost, nitrous, compression, calibration, plug design, and operating conditions determine the appropriate plug.
Q16: Can a loose plug wire make the check-engine light flash?
A16: Yes. A loose connection can interrupt spark and create an active misfire. Reduce engine load and repair the fault rather than continuing to drive hard.
Q17: Which cylinder is most likely to burn a plug wire?
A17: It depends on the header’s primary routing. Inspect every cylinder, with extra attention to rear boots and any location that cannot be seen clearly from above.
Q18: Will a tune fix P0300 after a header installation?
A18: A tune cannot repair a burned wire, cracked plug, loose terminal, injector fault, or mechanical problem. Diagnose the active misfire first. Calibration needs depend on the vehicle and complete hardware combination.

Steven Chen
Automotive Performance Specialist | Engine & Exhaust Systems
Steven focuses on practical engine performance, exhaust fitment, and real-world upgrade paths for classic and modern enthusiast vehicles. He reviews small-block Ford, LS, truck, and street/strip applications with one goal in mind: helping builders choose parts that actually work together. His philosophy: "Good power starts with the right combination, not the biggest part."