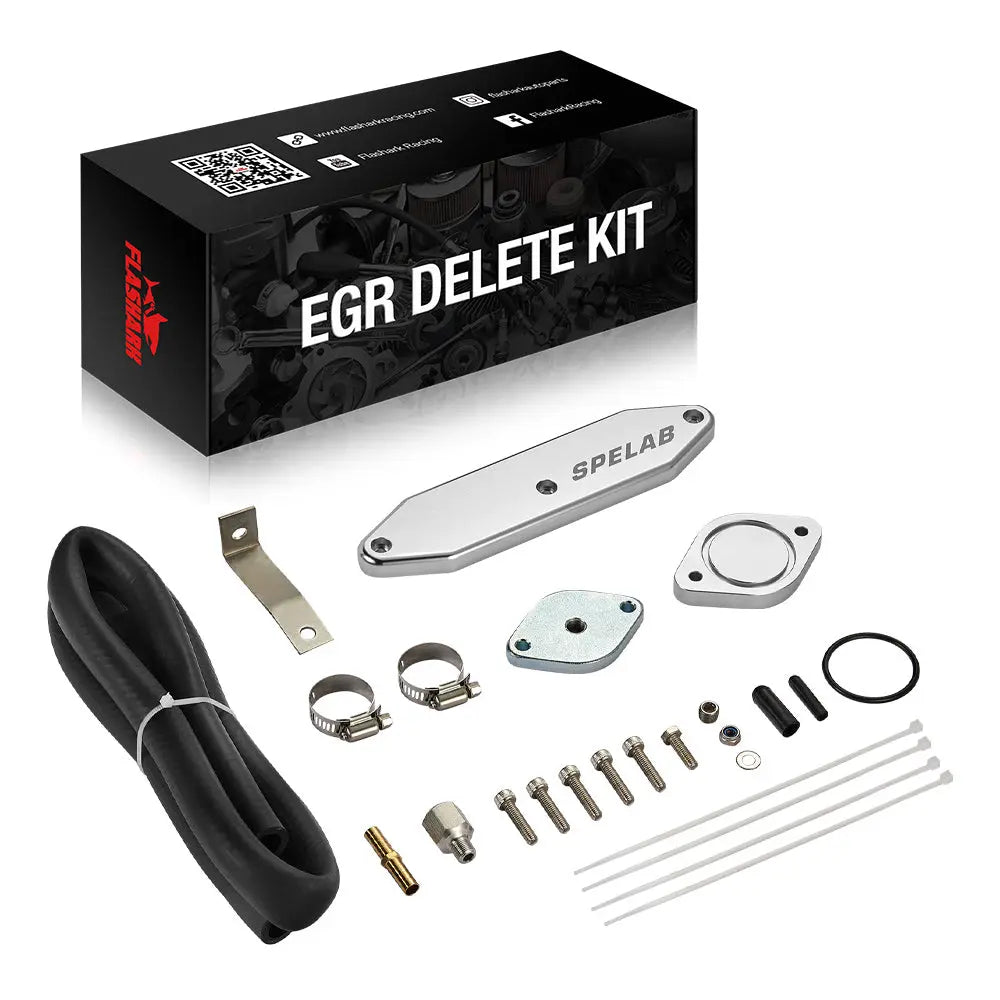
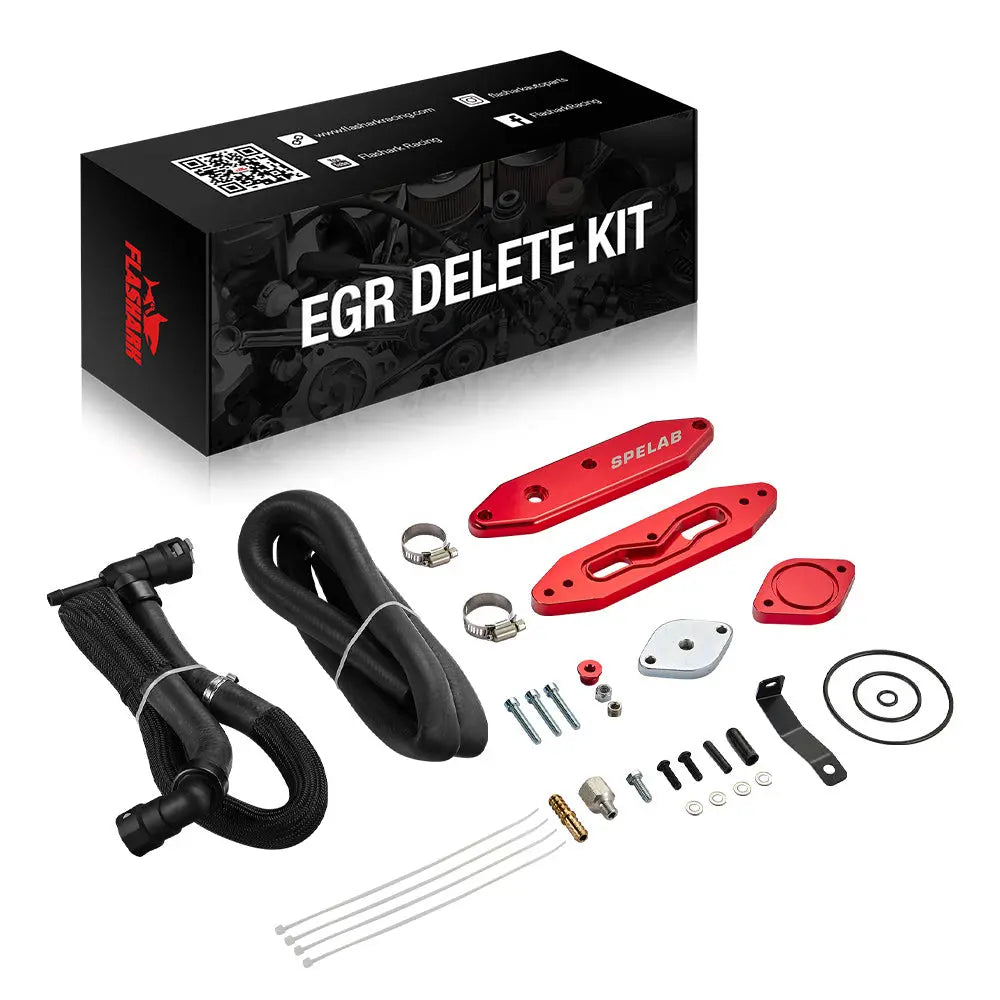
EGR Delete Kit For 2011-2023 Ford 6.7L Powerstroke Diesel F250 / F350 / F450 / F550
Boost your 6.7L Powerstroke engine performance with our high-quality EGR delete kit designed specifically for 2011-2023 Ford F250, F350, F450, and F550 models. The 6.7 Powerstroke EGR delete kit eliminates the EGR valve and cooler, optimizing coolant circulation and significantly reducing engine temperatures by up to 5°C. This upgrade improves fuel economy, prevents soot buildup, and enhances overall engine longevity, making it a must-have for any serious diesel enthusiast.
This EGR delete kit is specifically designed for:
-
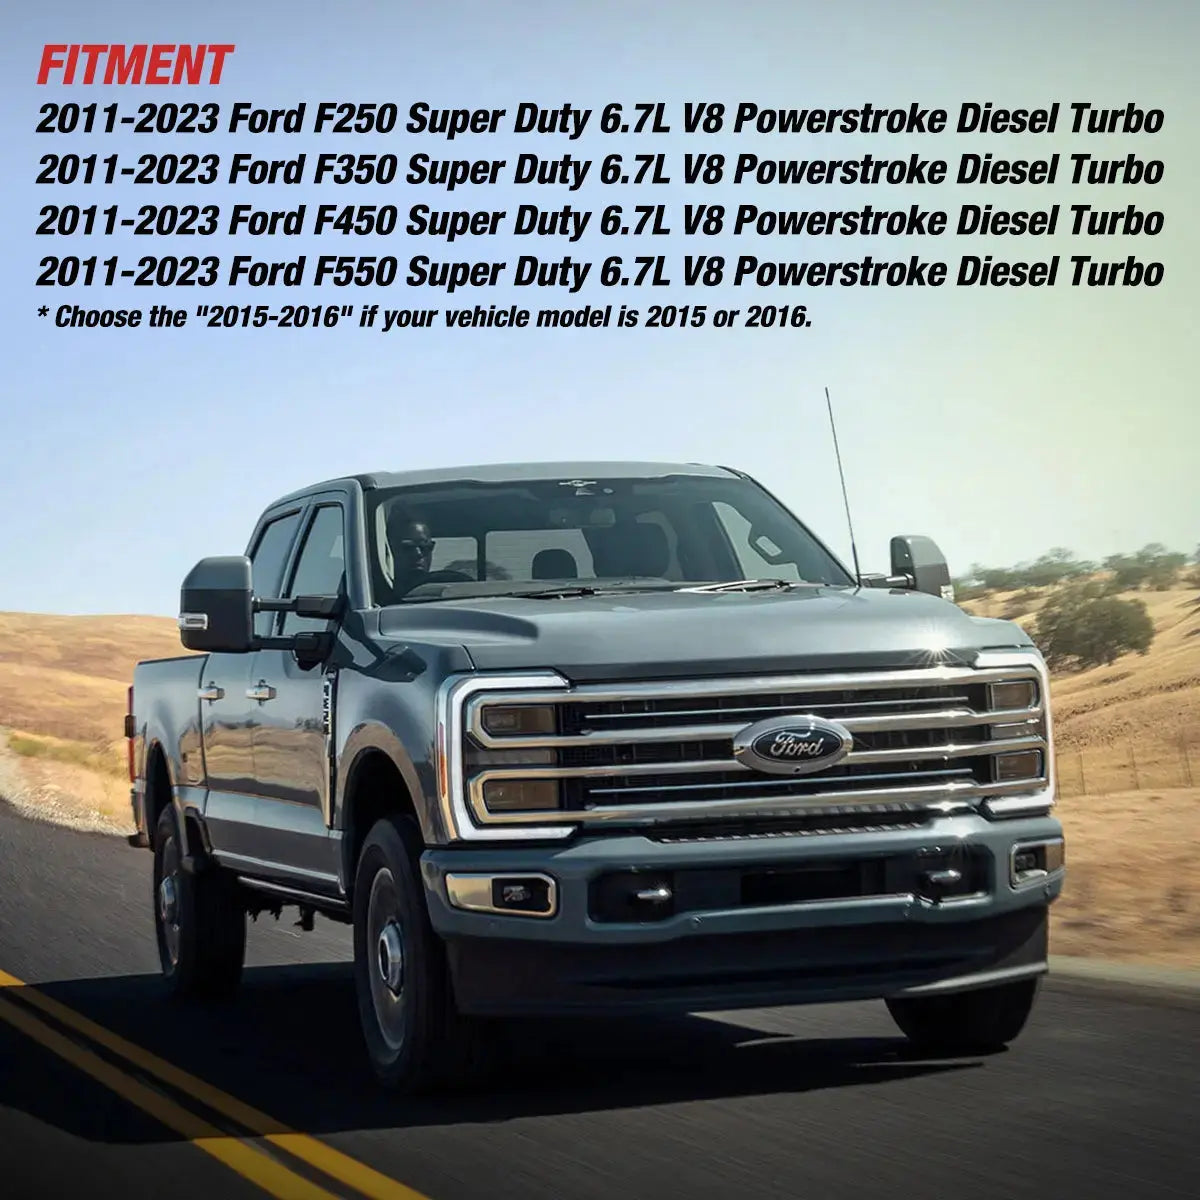
2011-2016 Ford F250 6.7L Powerstroke Diesel
-
2011-2016 Ford F350 6.7L Powerstroke Diesel
-
2017-2019 Ford F250 / F350 / F450 / F550 6.7L Powerstroke Diesel
-
Whether you're looking for a 2011 F250 delete kit or a reliable 2016 F250 EGR delete kit, this product ensures a direct fit with all factory mounting points.
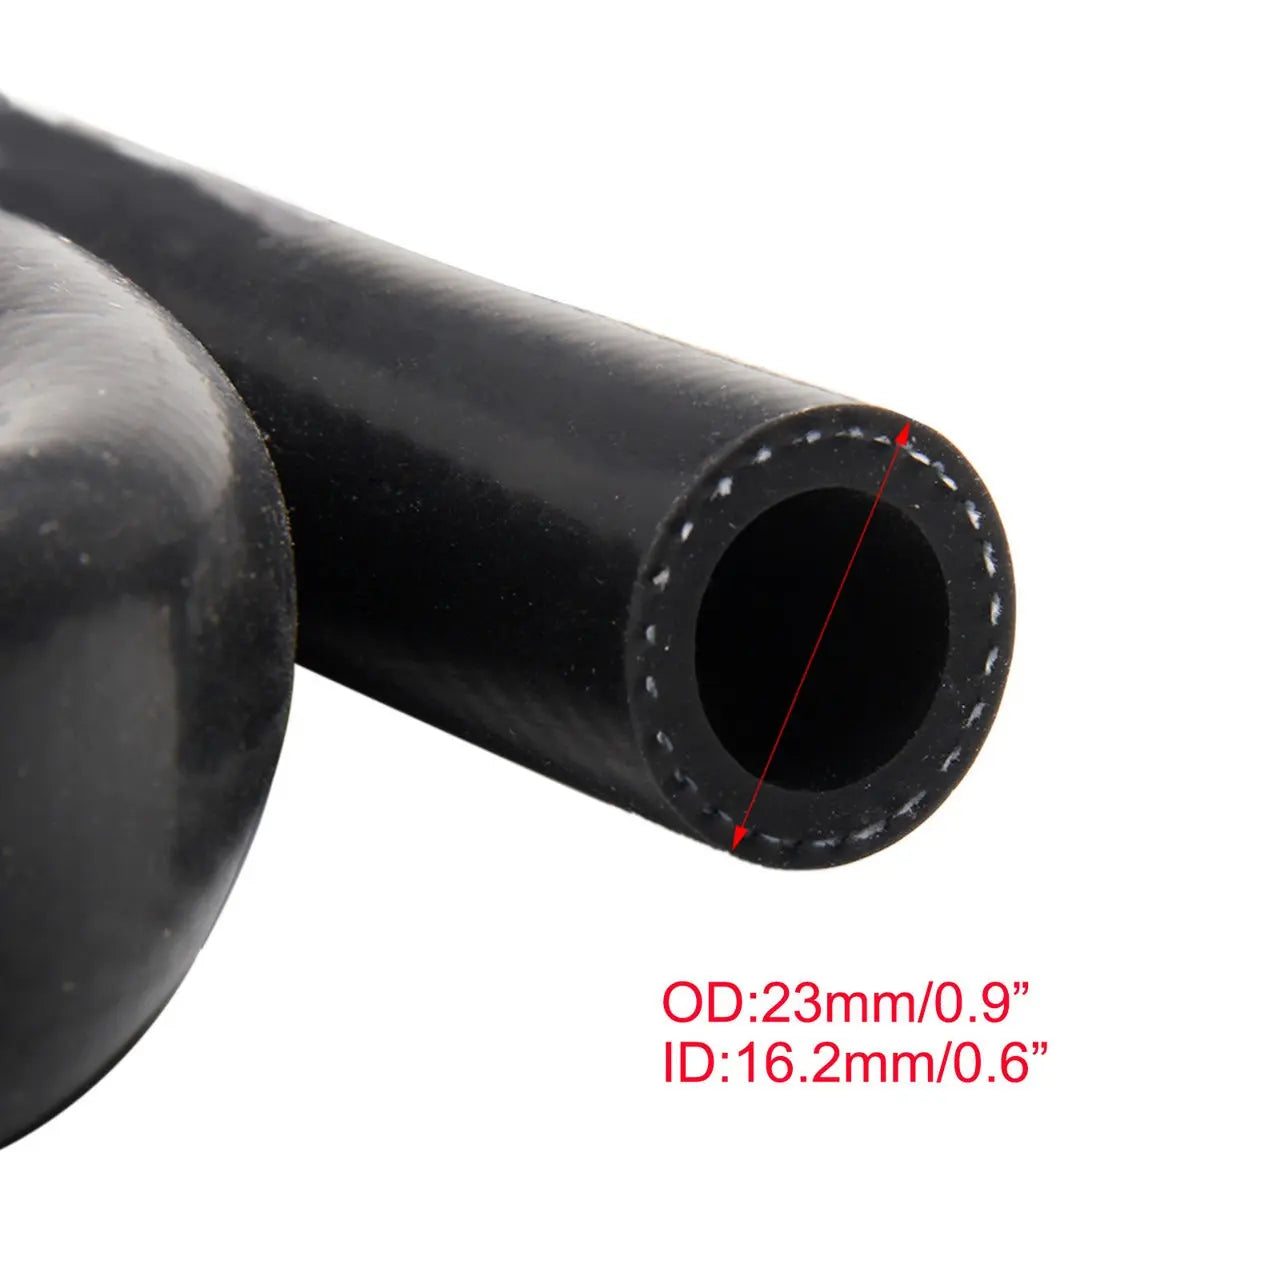
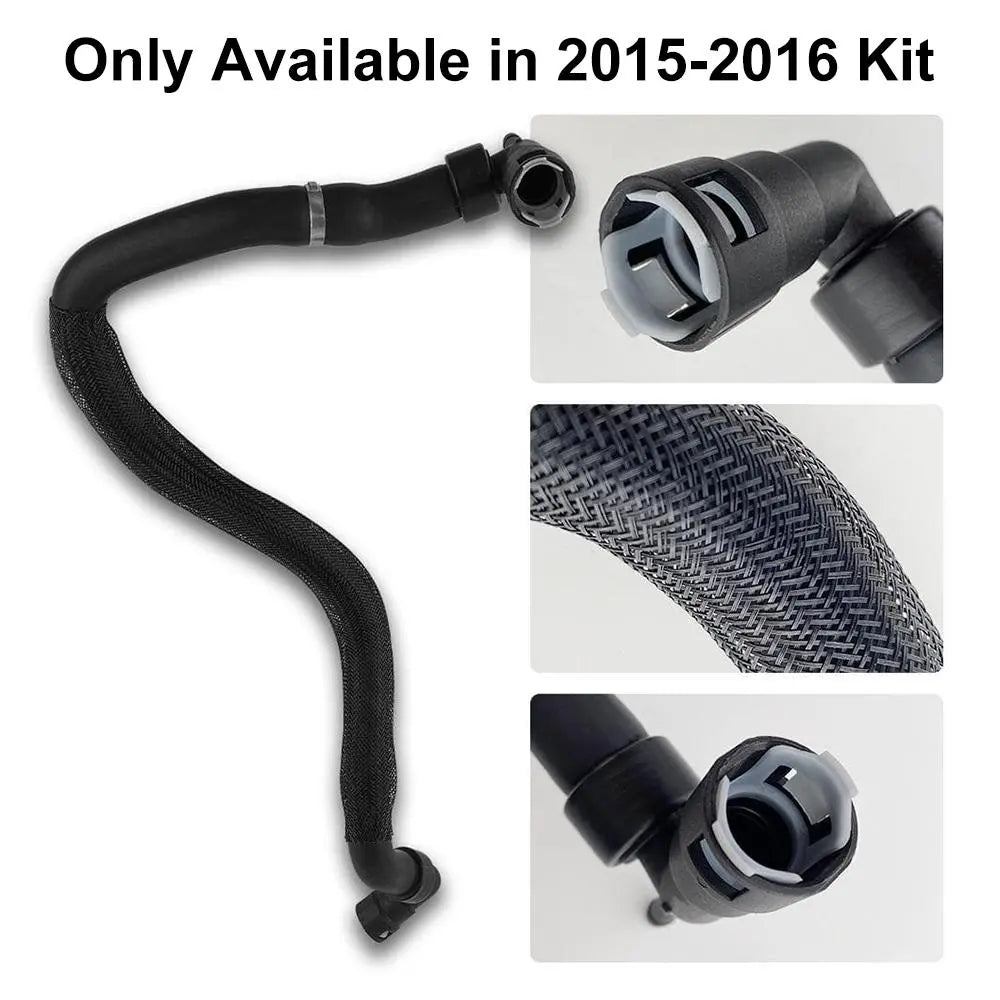
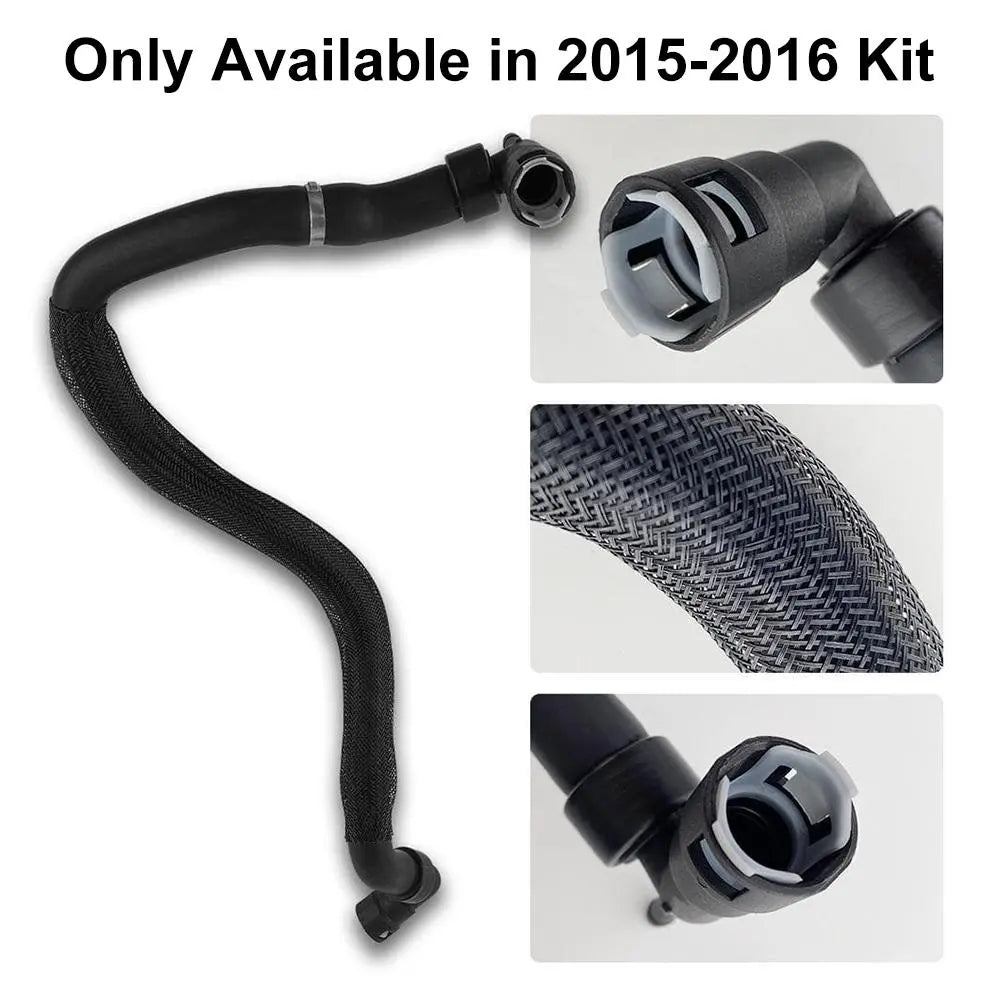
* Choose the "2015-2016" if your vehicle model is 2015 or 2016.
EGR delete stands for Exhaust Gas Recirculation Delete and is used in both gasoline and diesel engines. With this EGR delete kit, you can remove your EGR valve & EGR cooler. It is designed to recirculate engine coolant more quickly and efficiently than the stock EGR system.
Benefits
Improved Fuel Economy and Engine Longevity
Installing a 6.7L Powerstroke EGR delete kit helps restore your diesel engine’s power levels and significantly enhances overall fuel efficiency. By directing exhaust gases away from your engine, this kit ensures cleaner operation, reducing the likelihood of DPF (diesel particulate filter) failure. with this aftermarket delete kit, you can achieve up to a 20% increase in fuel economy while also extending the engine's lifespan.
Reduced Engine Temperature
The Powerstroke EGR delete kit is designed to prevent soot buildup in the EGR system, which often causes increased engine temperatures and power loss. By eliminating the EGR valve and cooler, this kit helps reduce exhaust gas temperatures, allowing for cleaner intake air and better engine performance.
Save Money for Repairing
Investing in a 6.7 Powerstroke EGR delete kit can save you significant money on repair costs. The EGR system, if damaged, can be expensive to fix or replace. An EGR delete removes the possibility of such damage, thereby saving your money.
Features:
- Complete EGR Delete Kit for 6.7L Powerstroke
- Completely Replaces EGR System, No Other Parts Required
- CNC Machined Billet Aluminum and Stainless Steel
- Completes Coolant Circuit
- Exhaust Cover Plate Tapped for Ford Factory EGT Probe
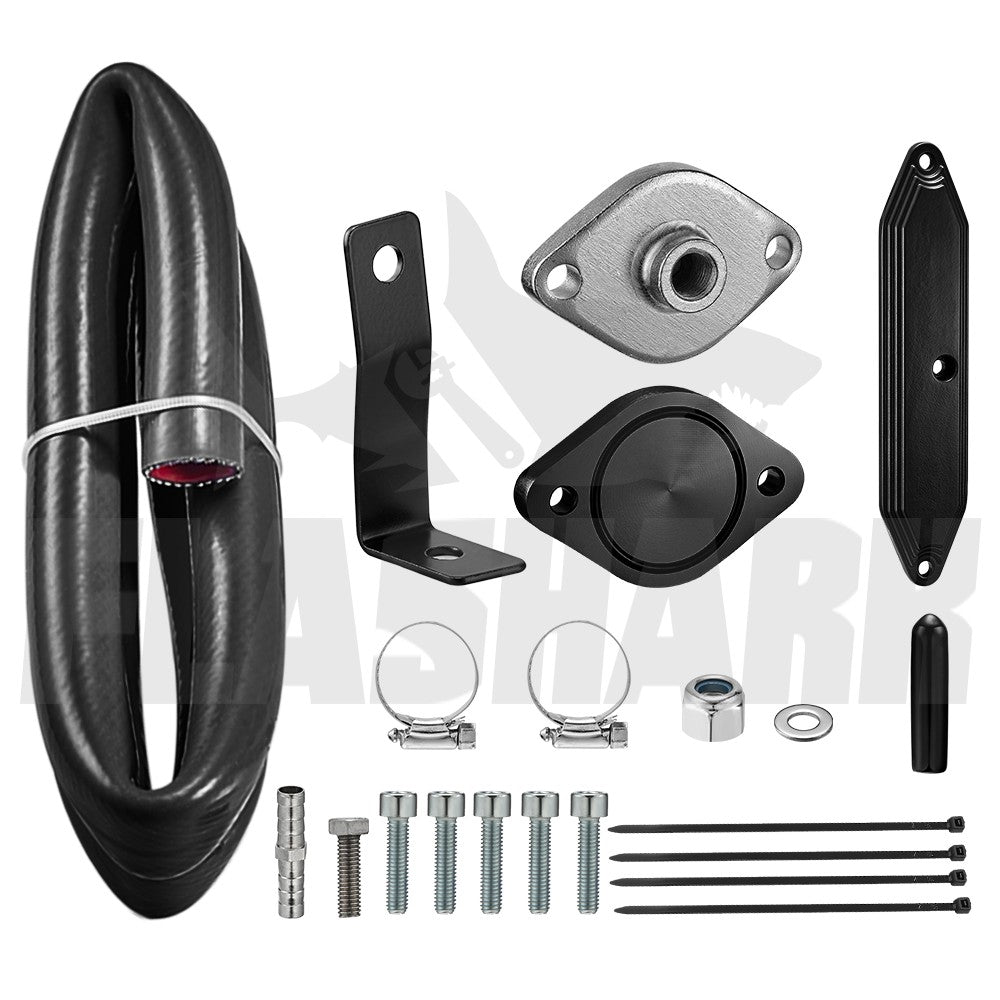
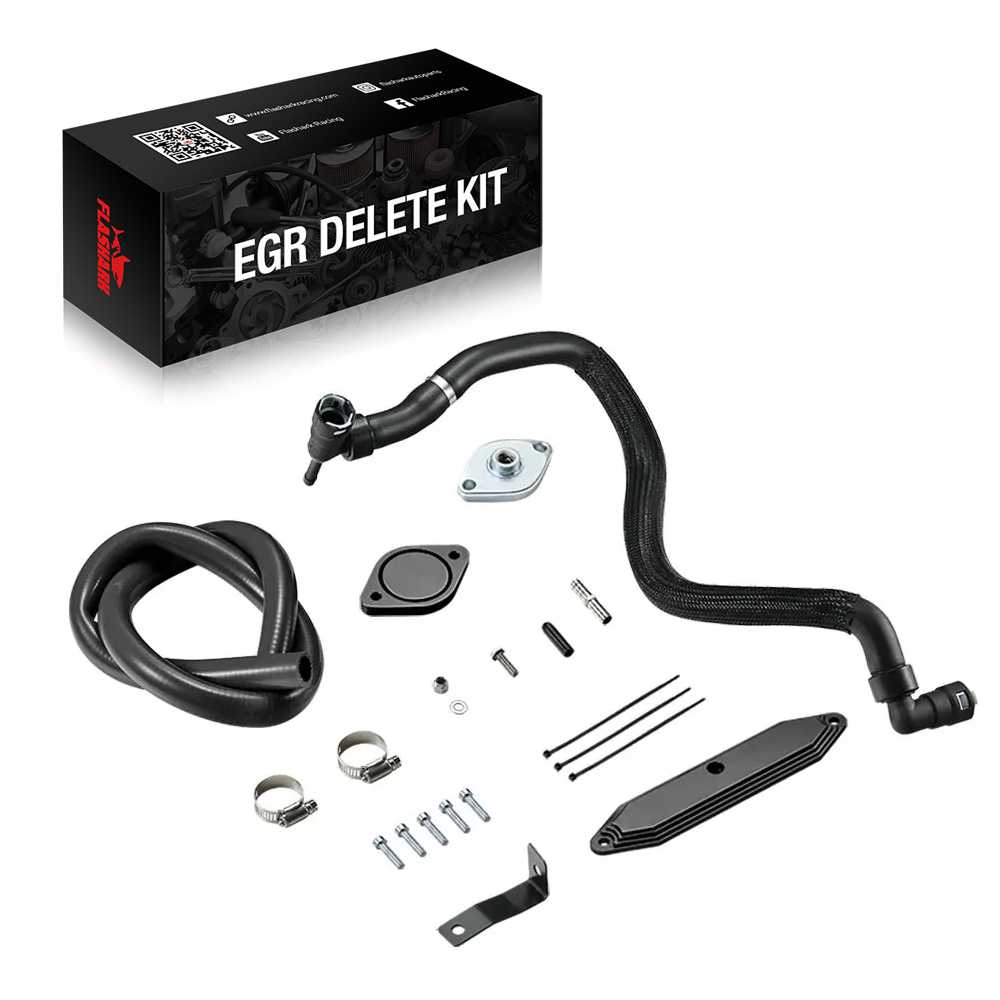
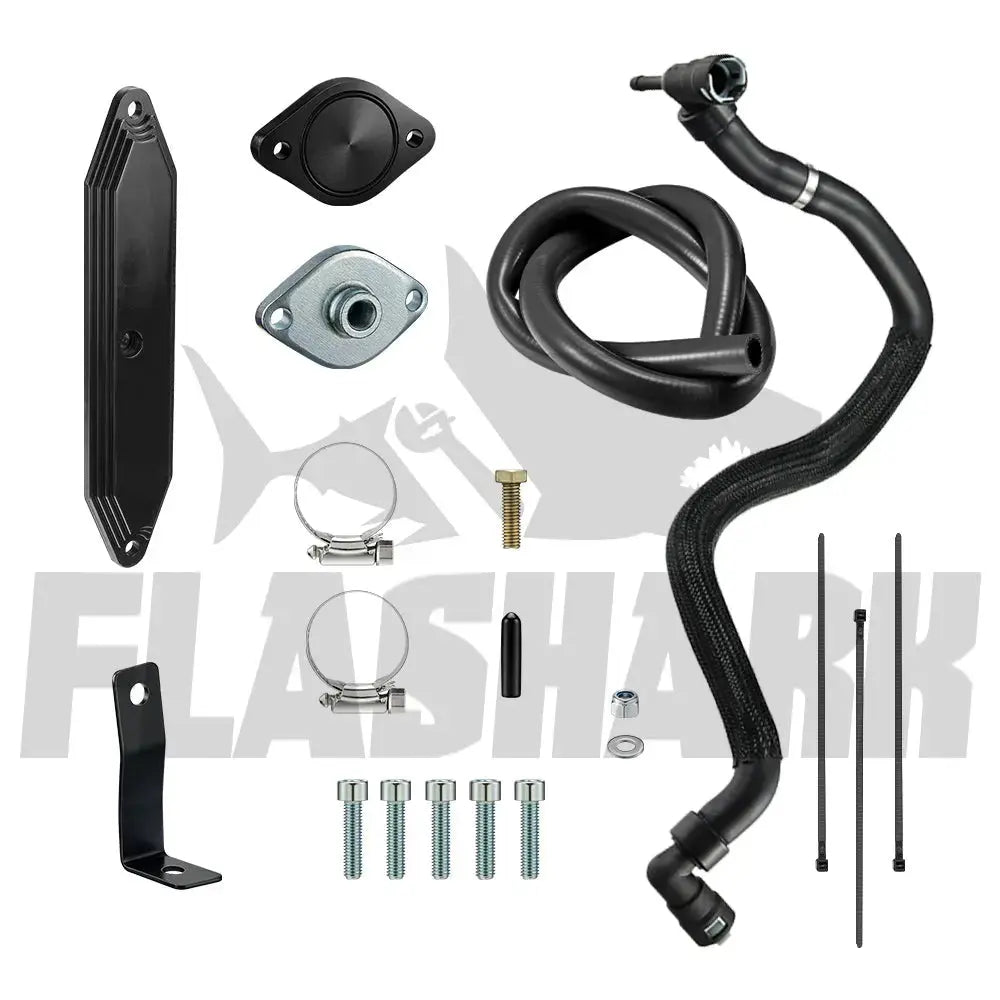
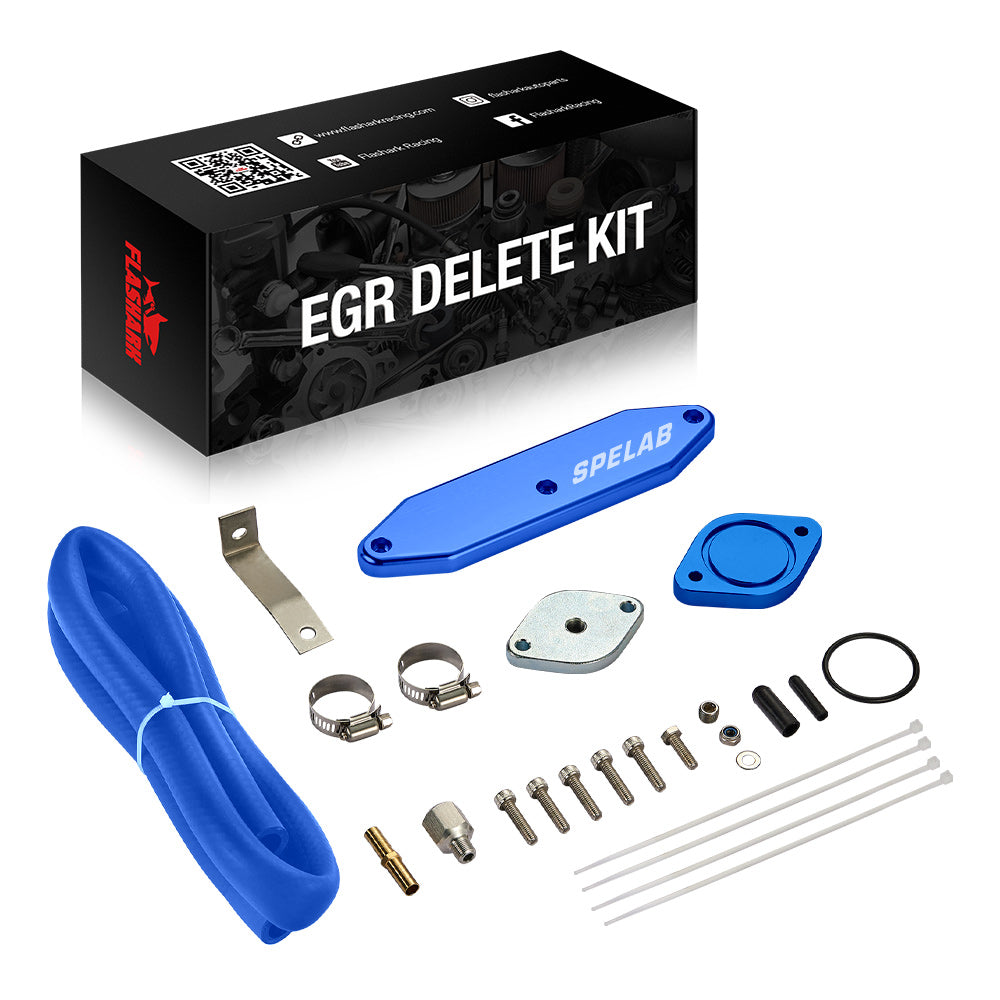
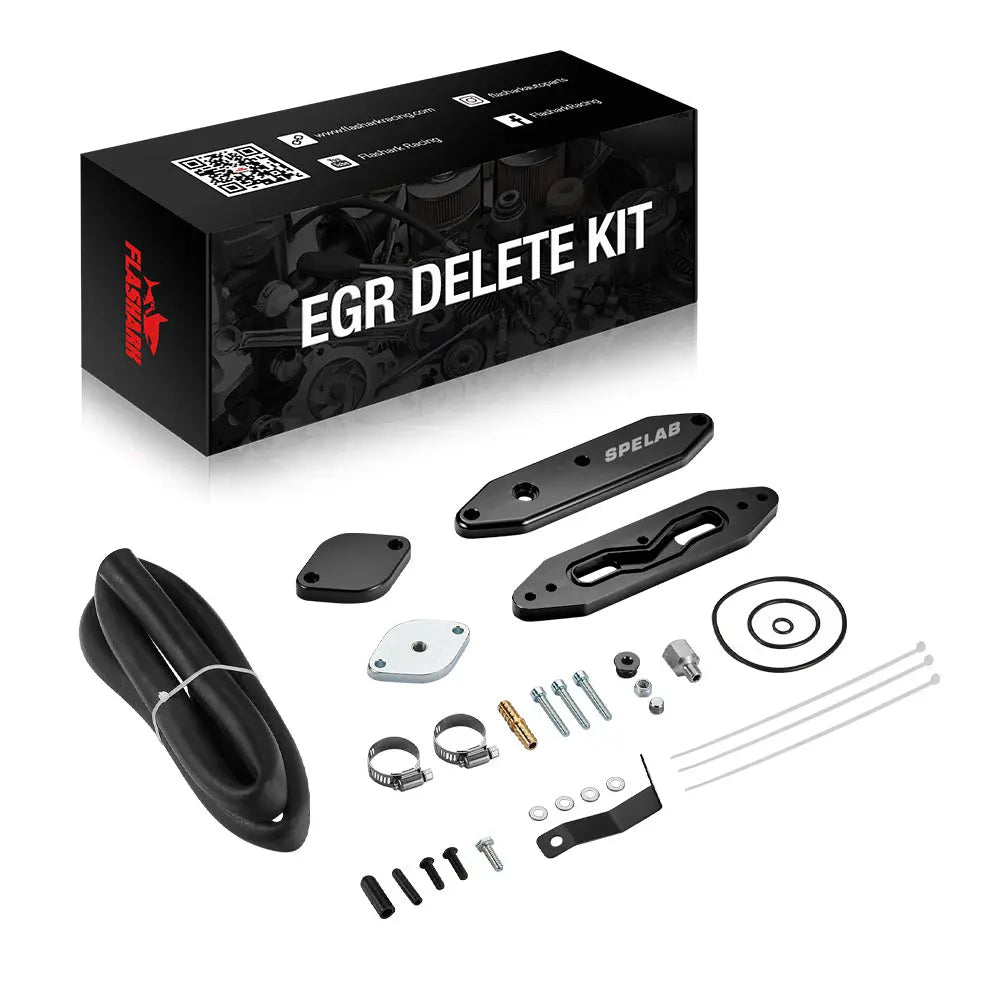
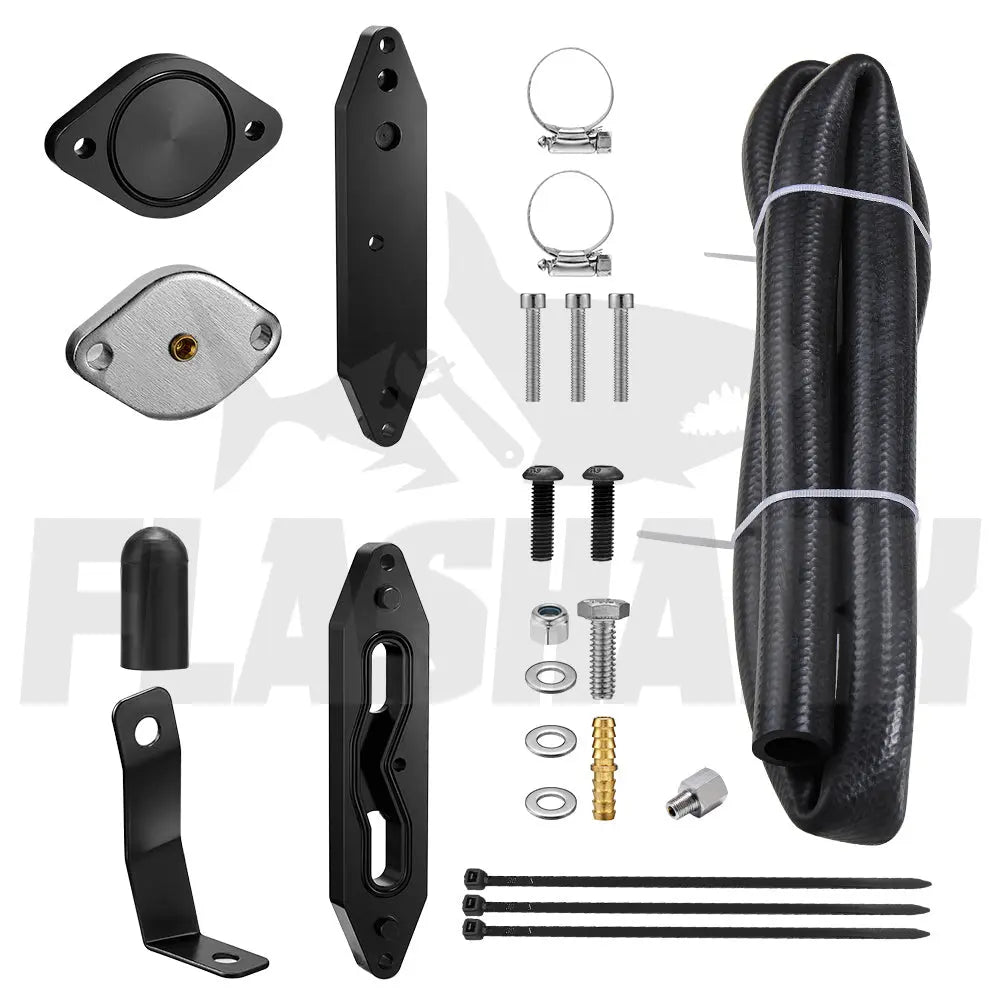
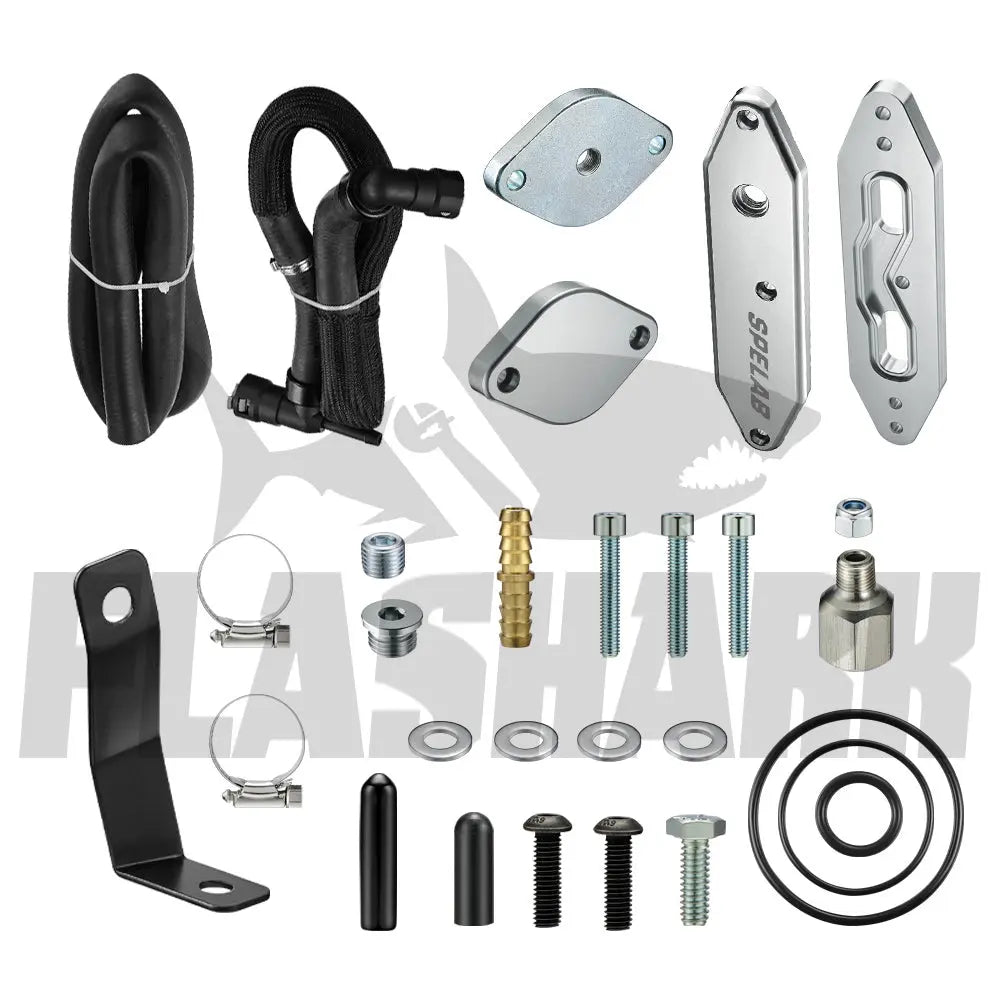
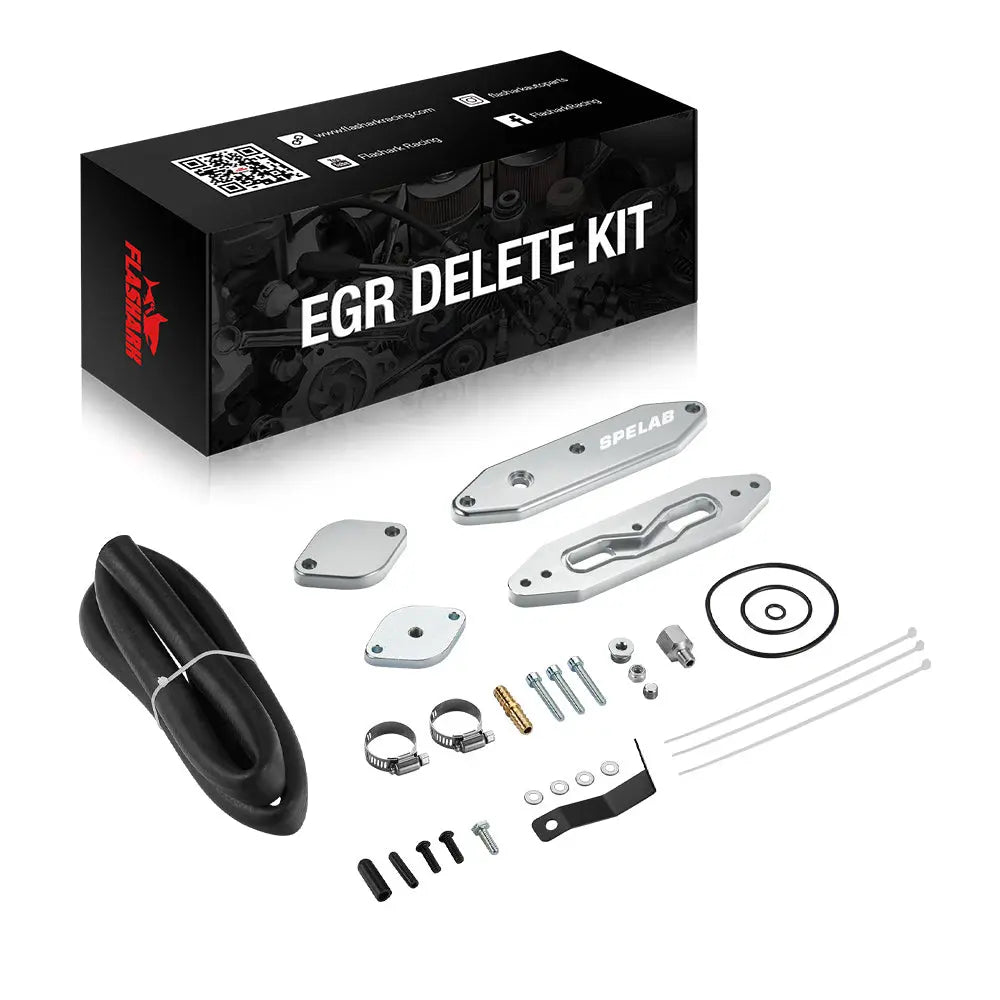
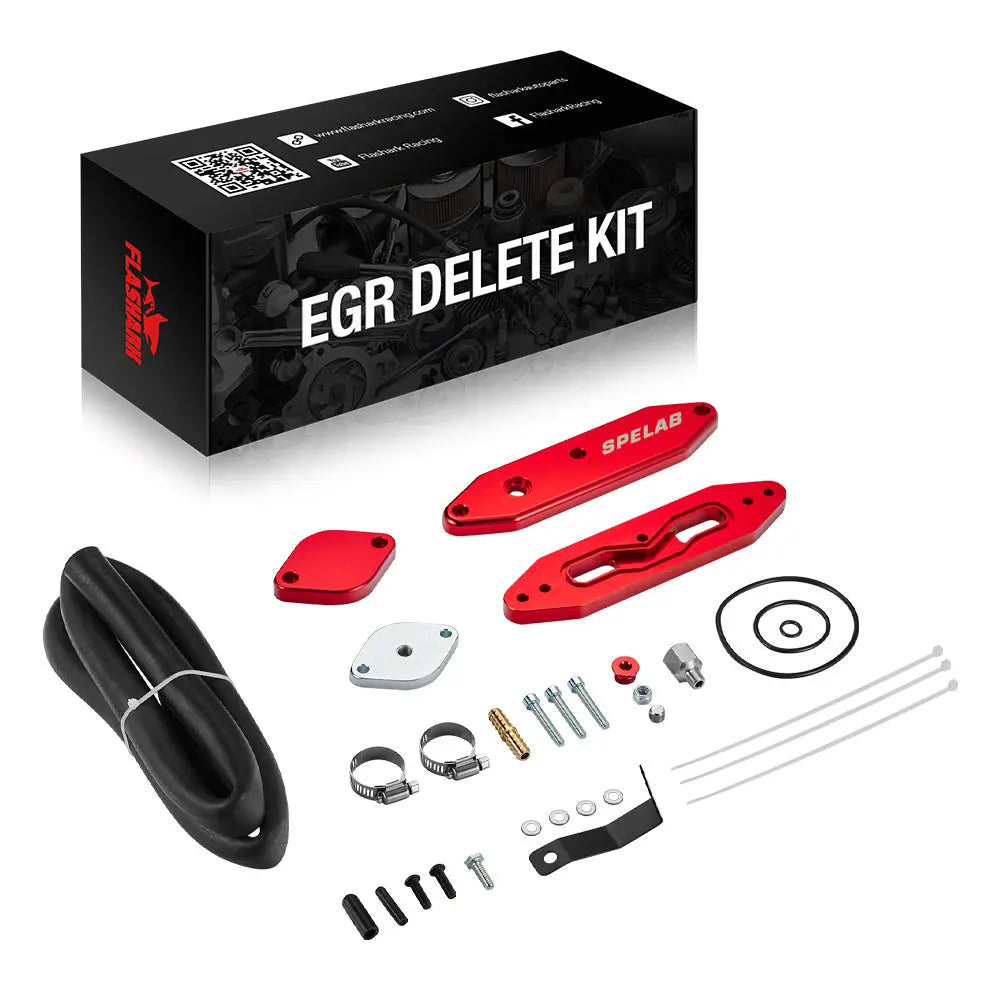
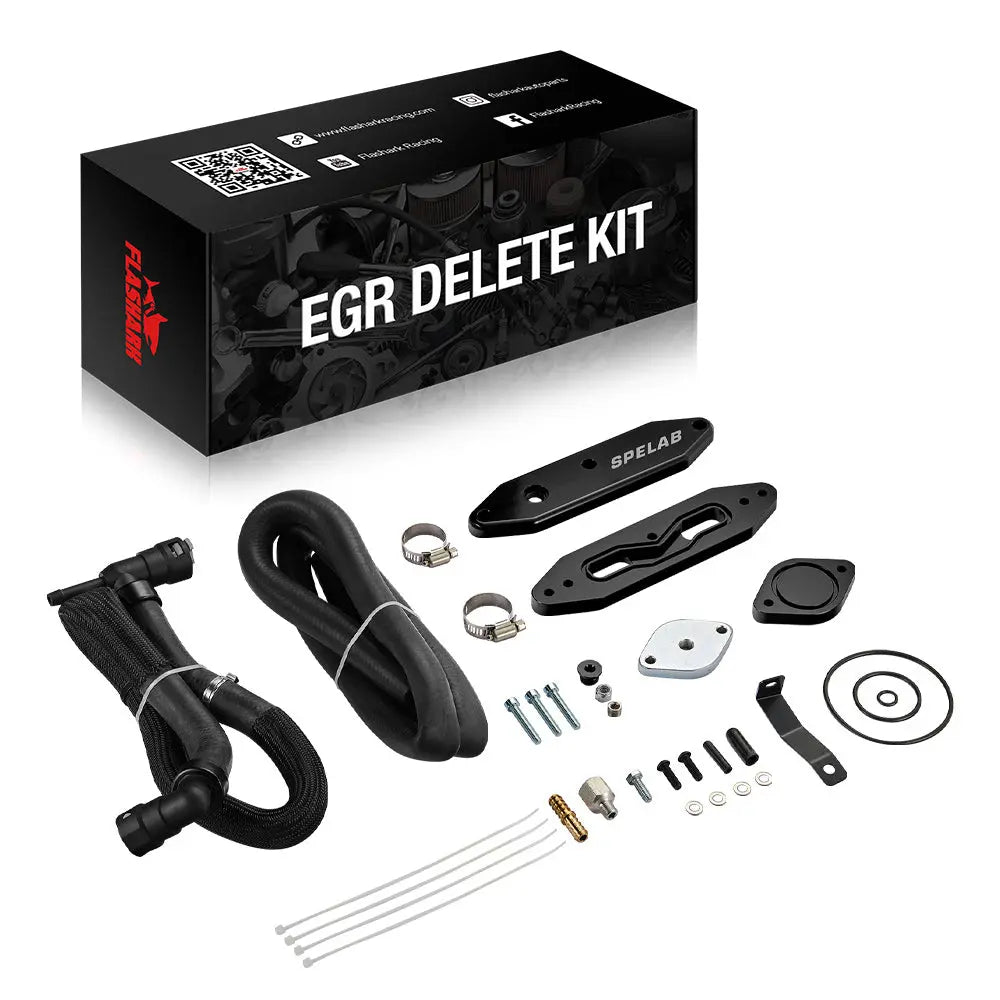
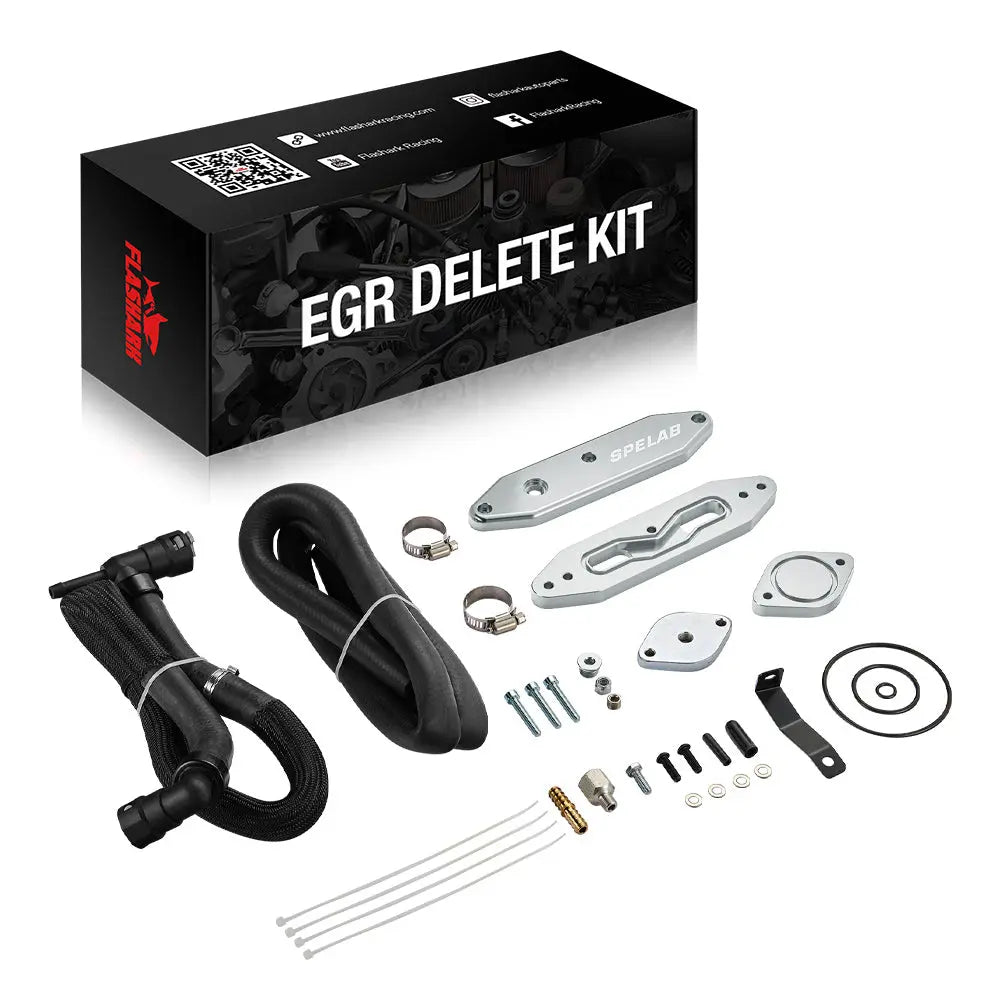
Package Includes:
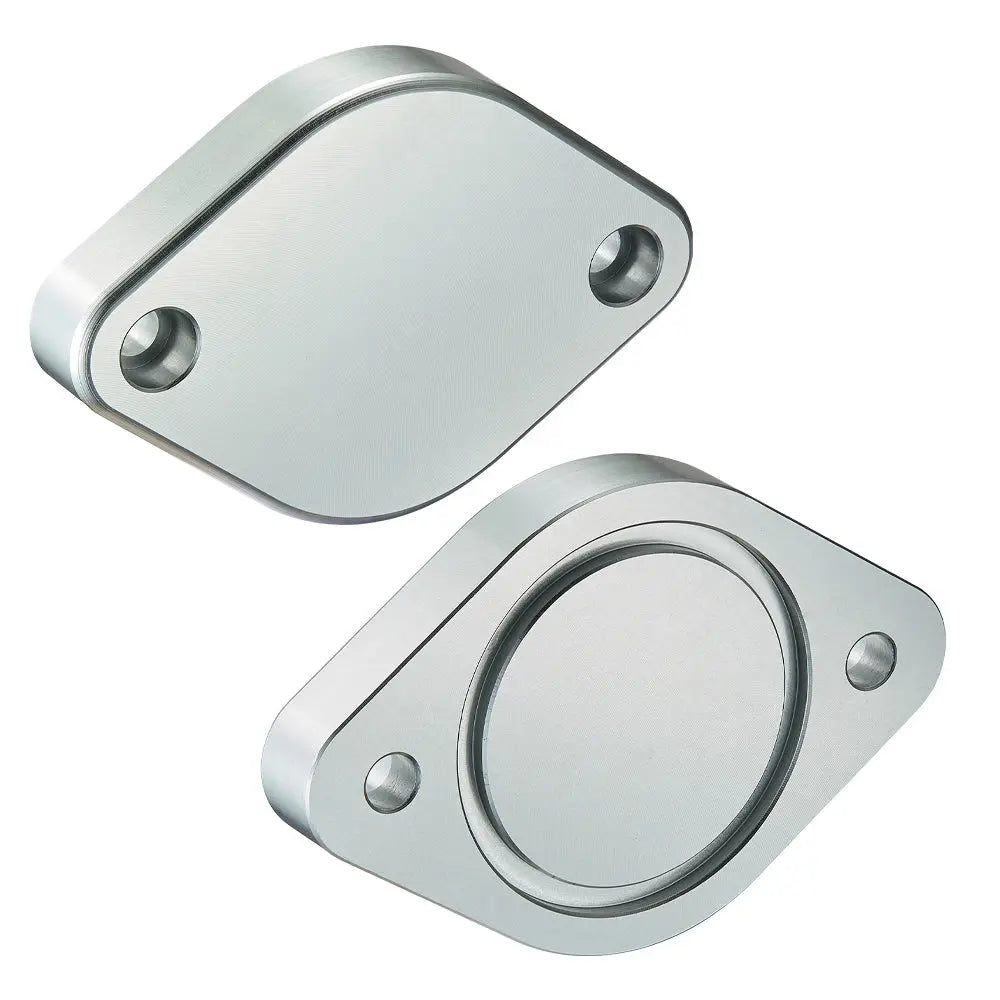
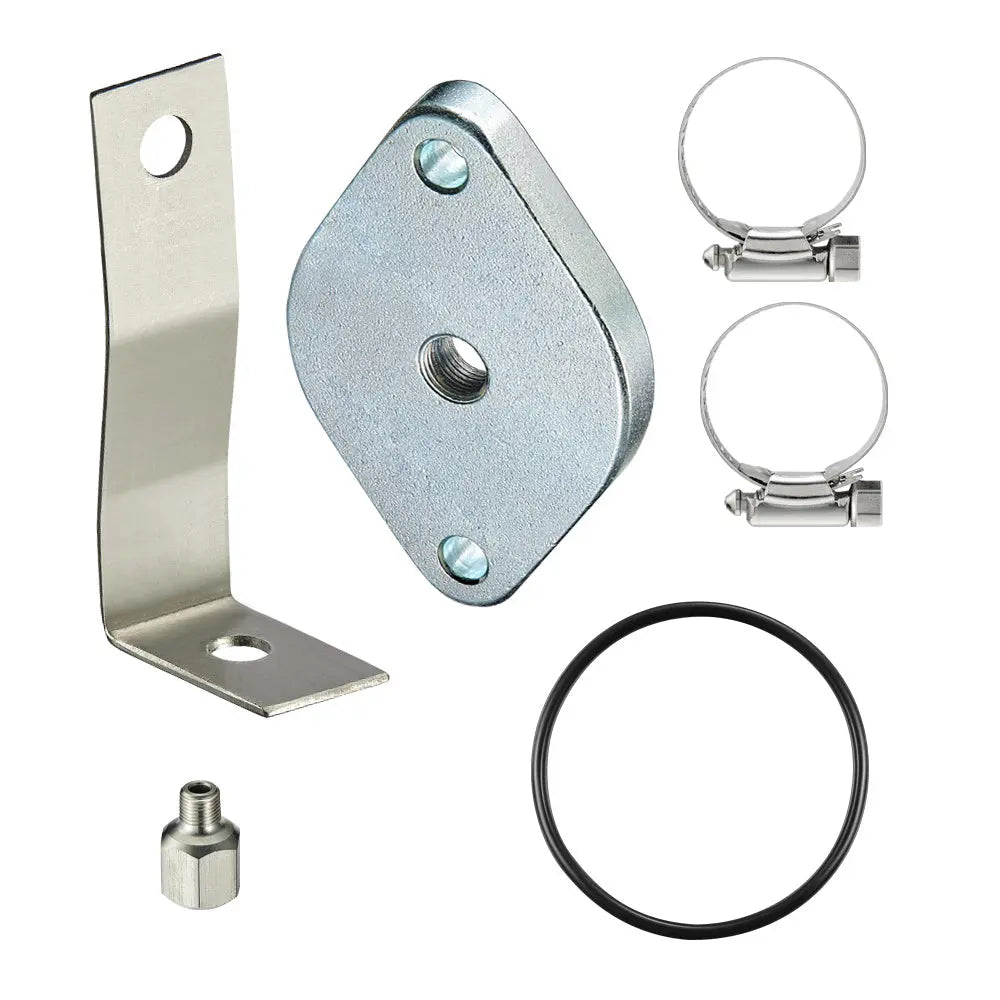
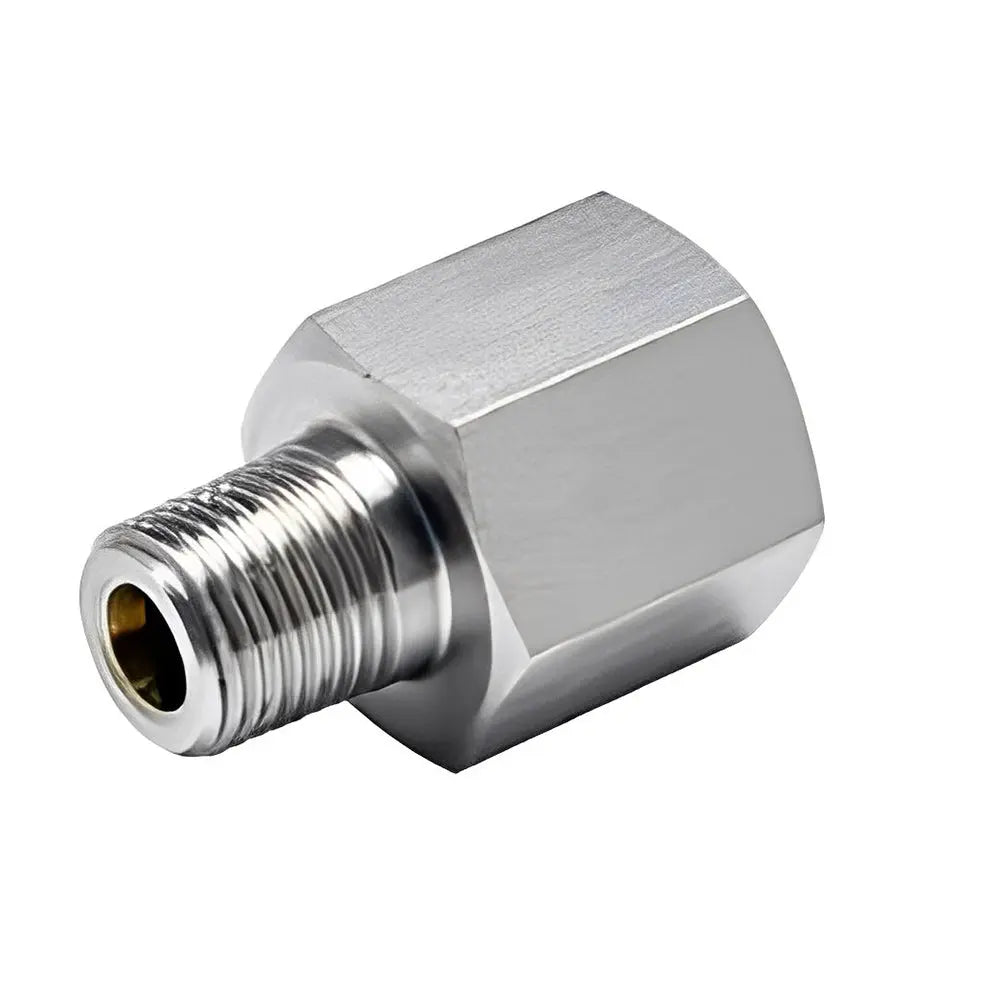
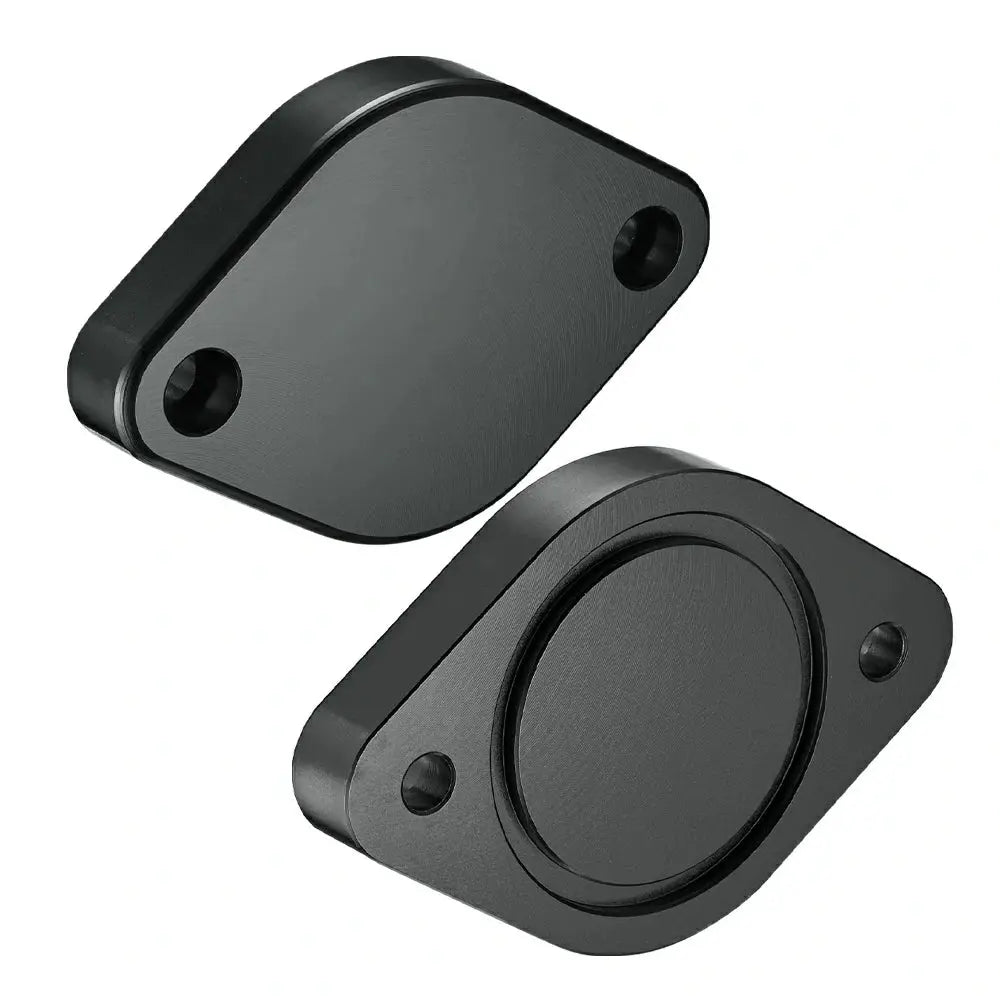
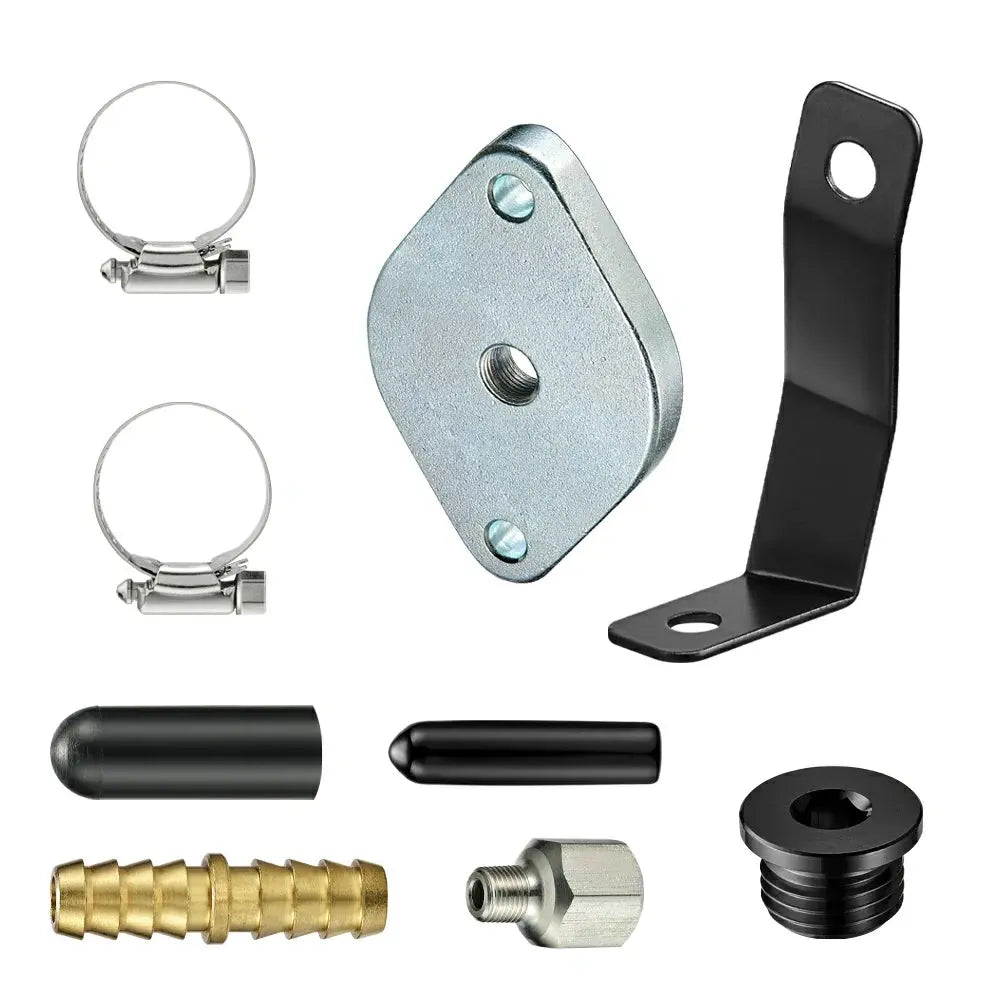
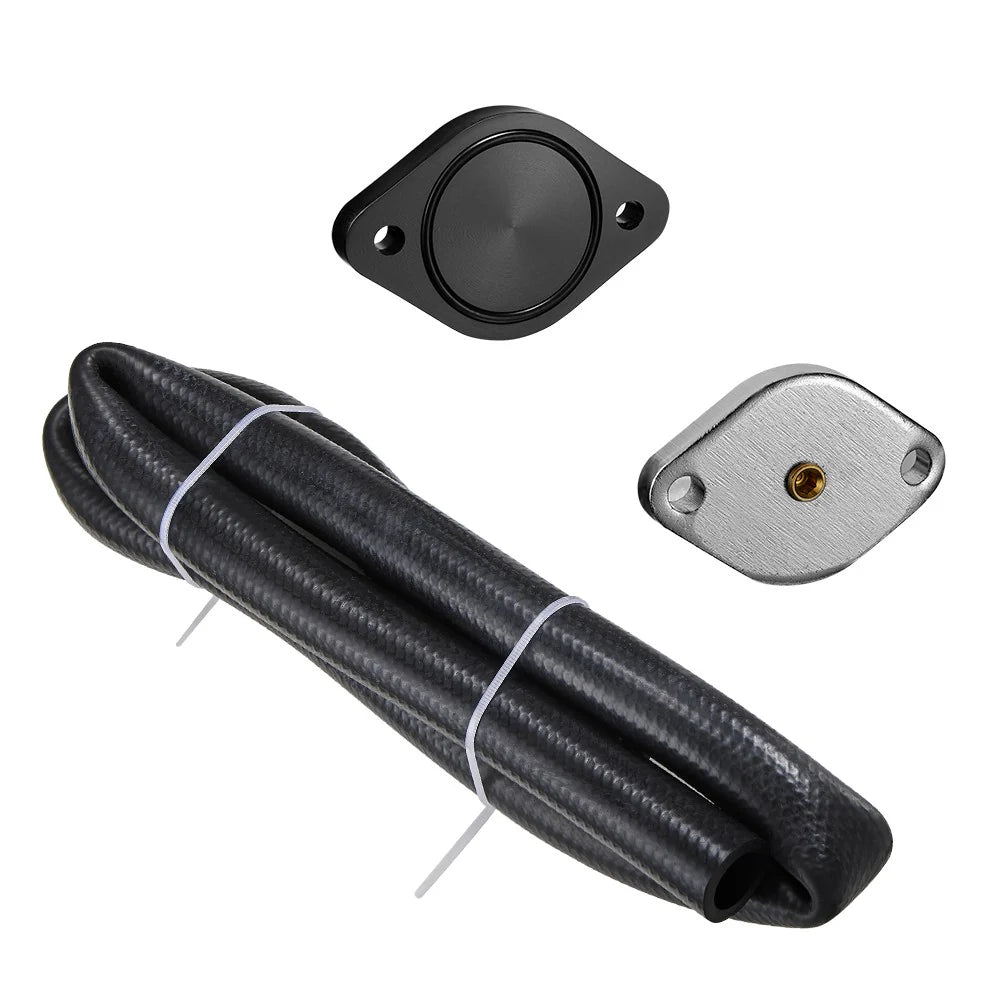
- 1 X Exhaust Manifold Block-off Plate, Pre-welded For An Egt Sensor
- 1 X Intake Block-off Plate
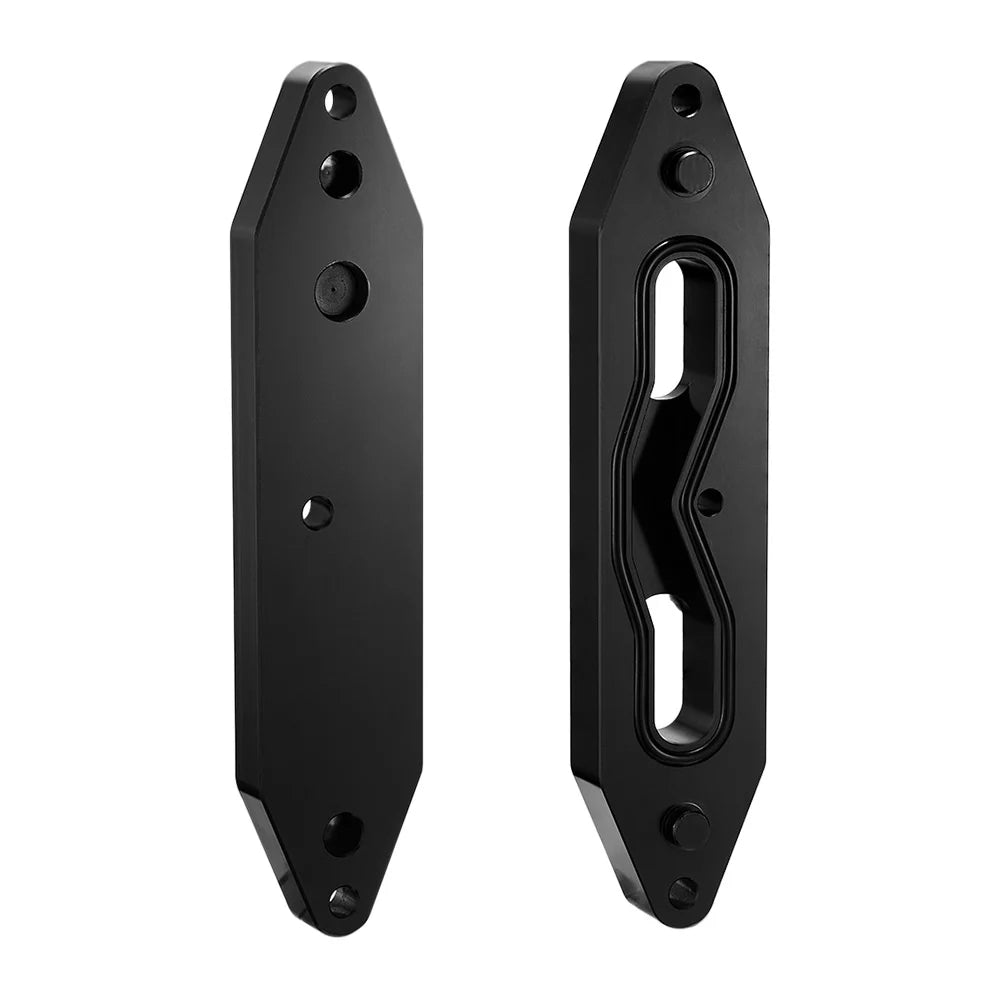
- 1 X Coolant Block-off Plate
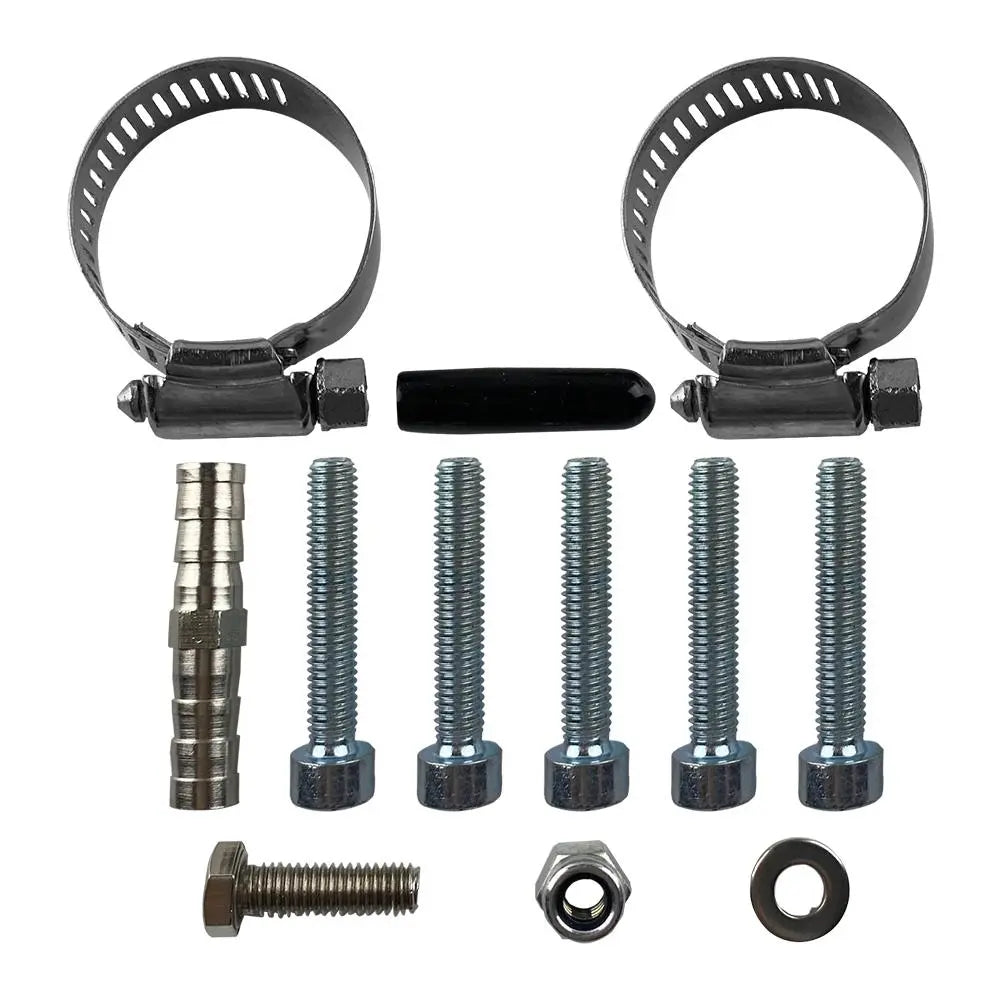
- 1 X Stainless 1" Hose Clamp
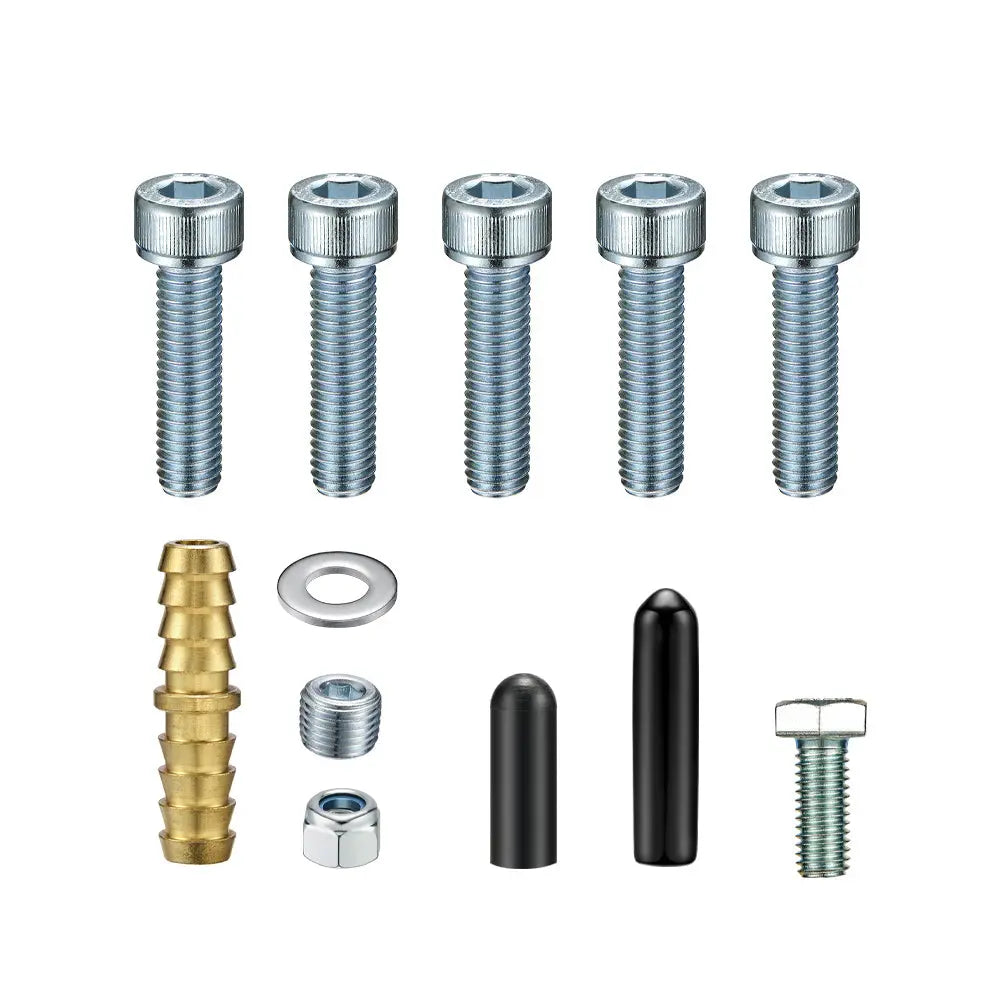
- 1 X Vacuum Cap
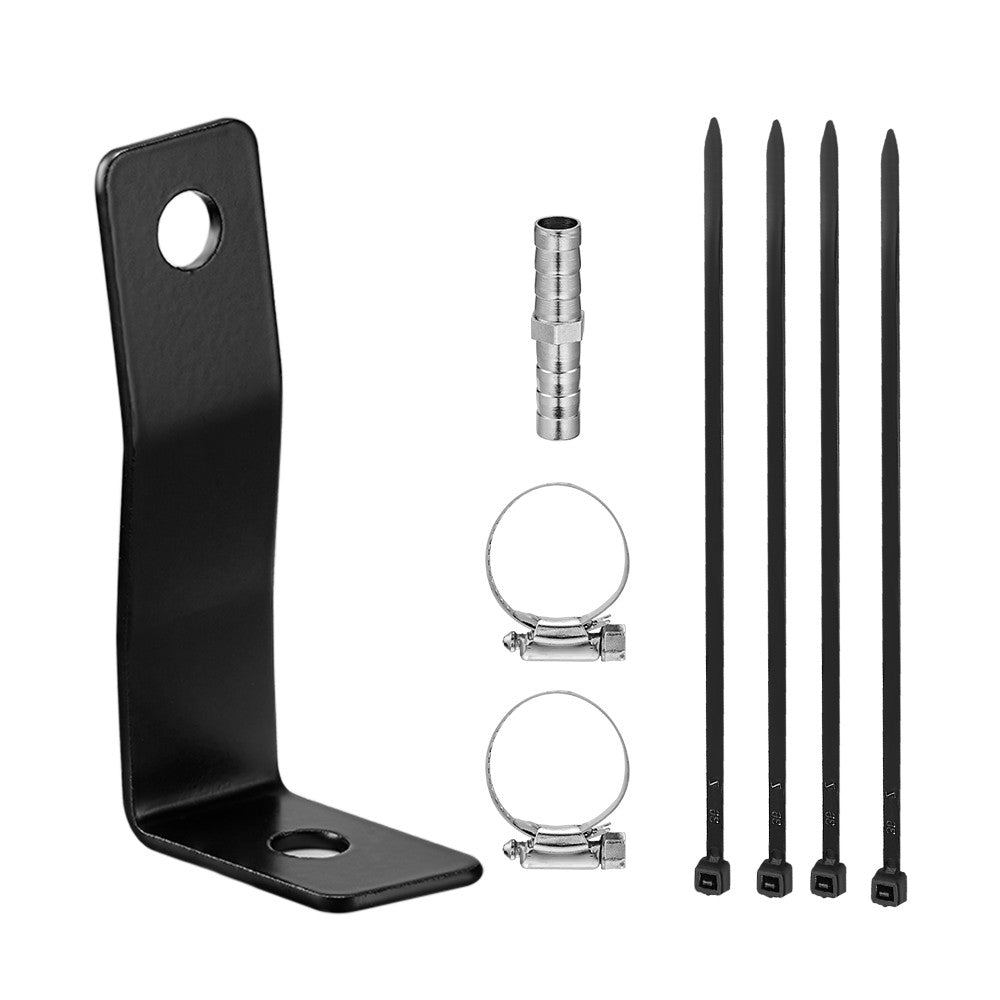
- 1 X Pressure Sensor Bracket
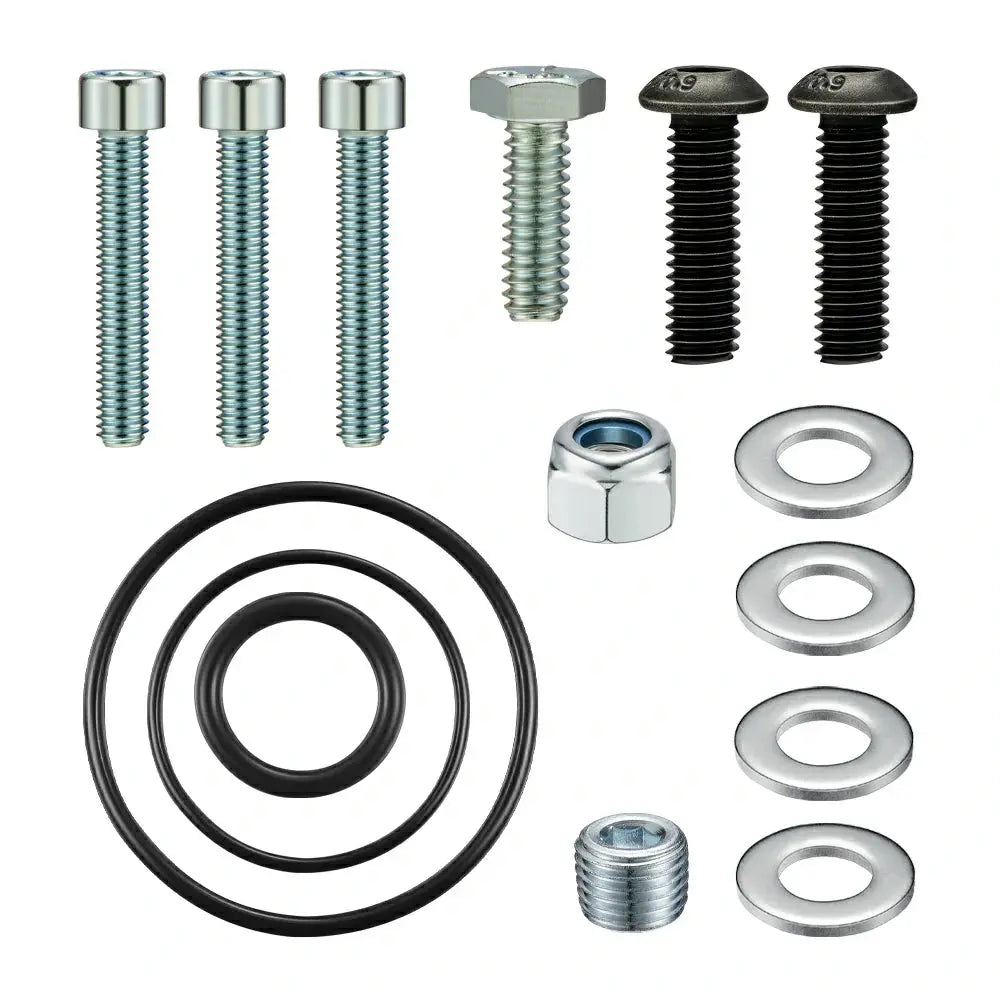
- 1 X Pressure Sensor Bracket Hardware
- 3 X 8mm Bolts
- 3 X 8mm Flat Washers
- 3 X Zip-ties
- (off-road Use Only)
ALL IN ONE KIT
Often, after purchasing the EGR Delete Kit, customers will also purchase other items. DPF Delete Race Pipe, Mini Maxx V2 Delete Tuner. Come on, check out Flashark's all-in-one kits and modify your car to your heart's content!
📔Instruction


year-2011,year-2011-make-ford,year-2011-make-ford-model-f-250-super-duty,year-2011-make-ford-model-f-350-super-duty,year-2011-make-ford-model-f-450-super-duty,year-2011-make-ford-model-f-550-super-duty,year-2012,year-2012-make-ford,year-2012-make-ford-model-f-250-super-duty,year-2012-make-ford-model-f-350-super-duty,year-2012-make-ford-model-f-450-super-duty,year-2012-make-ford-model-f-550-super-duty,year-2013,year-2013-make-ford,year-2013-make-ford-model-f-250-super-duty,year-2013-make-ford-model-f-350-super-duty,year-2013-make-ford-model-f-450-super-duty,year-2013-make-ford-model-f-550-super-duty,year-2014,year-2014-make-ford,year-2014-make-ford-model-f-250-super-duty,year-2014-make-ford-model-f-350-super-duty,year-2014-make-ford-model-f-450-super-duty,year-2014-make-ford-model-f-550-super-duty,year-2015,year-2015-make-ford,year-2015-make-ford-model-f-250-super-duty,year-2015-make-ford-model-f-350-super-duty,year-2015-make-ford-model-f-450-super-duty,year-2015-make-ford-model-f-550-super-duty,year-2016,year-2016-make-ford,year-2016-make-ford-model-f-250-super-duty,year-2016-make-ford-model-f-350-super-duty,year-2016-make-ford-model-f-450-super-duty,year-2016-make-ford-model-f-550-super-duty,year-2017,year-2017-make-ford,year-2017-make-ford-model-f-250-super-duty,year-2017-make-ford-model-f-350-super-duty,year-2017-make-ford-model-f-450-super-duty,year-2017-make-ford-model-f-550-super-duty,year-2018,year-2018-make-ford,year-2018-make-ford-model-f-250-super-duty,year-2018-make-ford-model-f-350-super-duty,year-2018-make-ford-model-f-450-super-duty,year-2018-make-ford-model-f-550-super-duty,year-2019,year-2019-make-ford,year-2019-make-ford-model-f-250-super-duty,year-2019-make-ford-model-f-350-super-duty,year-2019-make-ford-model-f-450-super-duty,year-2019-make-ford-model-f-550-super-duty


