Upgrading your 99-04 Mustang GT with long tube headers is one of the most effective ways to increase horsepower and torque while enhancing the exhaust sound. Whether you’re looking for better performance on the track or a more aggressive exhaust note, installing long tube exhaust headers can transform your Mustang's driving experience. This guide will walk you through the step-by-step installation process, the tools you'll need, and common pitfalls to avoid to ensure a smooth installation.
Tools and Parts Needed for the Installation
Before you begin installing long tube headers on your 99-04 Mustang GT, it's essential to have the right tools and parts. Here's what you’ll need to get started:
Essential Tools
-
Sockets and Wrenches: You'll require 13mm, 15mm, 18mm, and 21mm sockets and wrenches to remove various components, including the exhaust manifold bolts and suspension components.
-
E8 External Torx Socket: This tool is used for disconnecting the ABS sensor during the removal process.
-
Step Drill Bit (7/8 inch): Used for drilling new holes for oxygen sensors, especially if you are modifying your headers to fit the new sensors.
-
Welding Equipment: For fabricating the mid-pipe and making necessary adjustments to the header setup.
-
PB Blaster Rust Remover: This penetrating oil will help loosen stuck bolts, especially after years of wear and rust.
Parts and Preparations
-
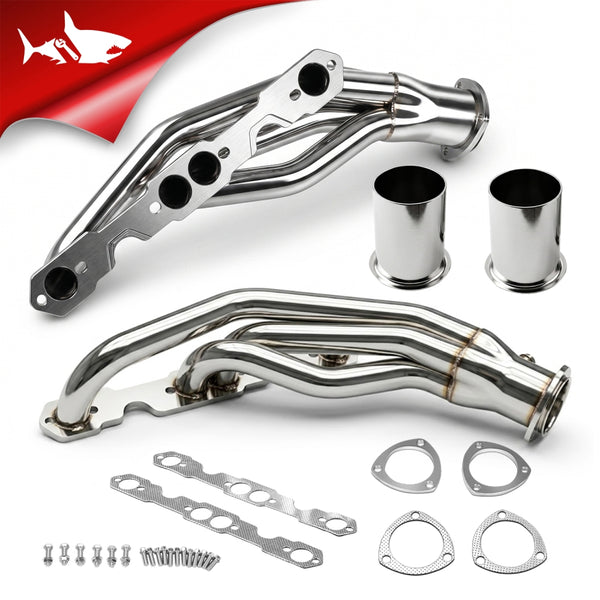
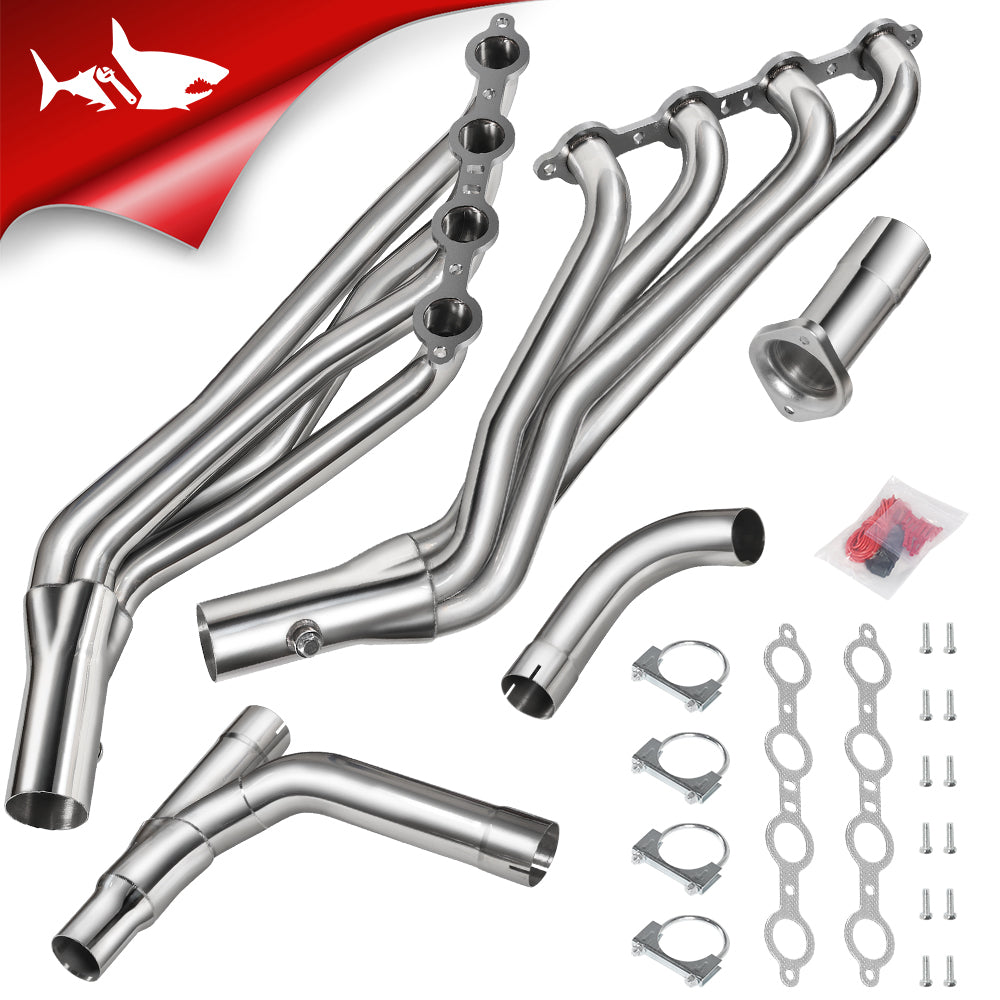
Long Tube Headers: Make sure you use the specially designed 99-04 Mustang GT long tube headers to avoid any fitment issues.
-
Oxygen Sensor Extensions: These are crucial for proper oxygen sensor placement once the headers are installed.
-
Gaskets and Seals: High-quality gaskets will prevent exhaust leaks and ensure proper sealing.
Having all the right tools and parts at your disposal will make your installation process much smoother.

Step-by-Step Installation Process
The installation of long tube headers can be challenging, but with careful preparation and the right steps, you can complete this project in your garage. Here’s a breakdown of the process:
Step 1: Preparing the Vehicle
The first thing you'll want to do is lift your Mustang and secure it.
-
Lift the car: Use a hydraulic jack and secure the vehicle with jack stands. Make sure the car is stable before proceeding.
-
Remove the wheels: This will give you better access to the suspension and exhaust system.
-
Safety First: Always ensure you're wearing gloves and protective eyewear while working under the car.
Step 2: Disassembling Original Components
Now it’s time to remove the parts that are blocking access to the exhaust manifold.
-
Remove the brake calipers: Using a 13mm socket, disconnect the brake calipers, and suspend them safely. This prevents damage to the brake lines.
-
Remove the suspension: Unbolt the shock absorbers using a 13/16-inch socket, and be cautious of the spring tension.
-
Disconnect ABS Sensors: Remove the ABS sensors using the E8 Torx socket to ensure no wires are damaged during the installation process.
-
Lower the Subframe: Carefully lower the K-member (subframe) by unscrewing the 15mm and 18mm bolts. Support the engine to avoid strain on the mounts.
With these parts removed, you'll now have access to the stock exhaust manifold and other components that need to be replaced.
Step 3: Modifying and Removing the Stock Exhaust Manifold
Before installing the new long tube headers, you’ll need to remove the factory exhaust manifold.
-
Rust Removal: Spray PB Blaster on all exhaust manifold bolts and let it sit for at least 15 hours. This will make them easier to remove.
-
Oxygen Sensor Removal: Disconnect the oxygen sensors and carefully remove them from the exhaust manifold.
-
EGR Valve Removal: For those who plan to delete the EGR system, you'll need to remove the EGR valve, cut the pipe, and weld the blockage.
At this point, you should be ready to begin installing the long tube headers.
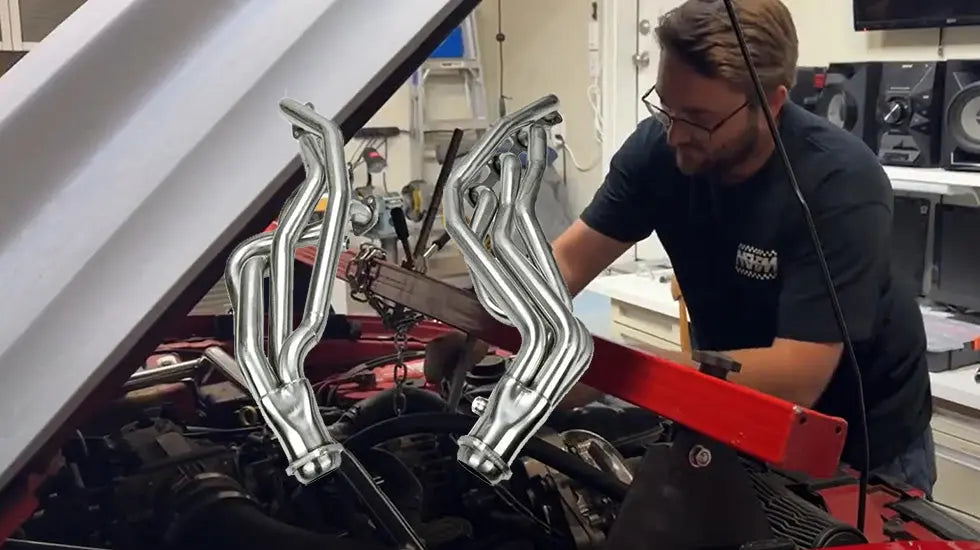
Step 4: Installing the Long Tube Headers
Installing the headers requires some patience and precision. Here's how to do it:
-
Modify the Header Flanges: Ensure the header flanges are smooth by grinding or filing them to remove any imperfections. This ensures a proper seal when installed.
-
Oxygen Sensor Modification: If your headers don’t have the correct mounts for oxygen sensors, use a step drill bit (7/8”) to create new holes and weld the sensor mounts into place.
-
Install the Passenger Side Header: Start with the passenger side by removing the starter motor for better clearance. Once the header is in place, bolt it securely from underneath the vehicle.
-
Install the Driver Side Header: Cut any excess EGR piping and weld the block-off plate. Position the header carefully to avoid any interference with the steering shaft.
Make sure to tighten all bolts evenly to avoid exhaust leaks.
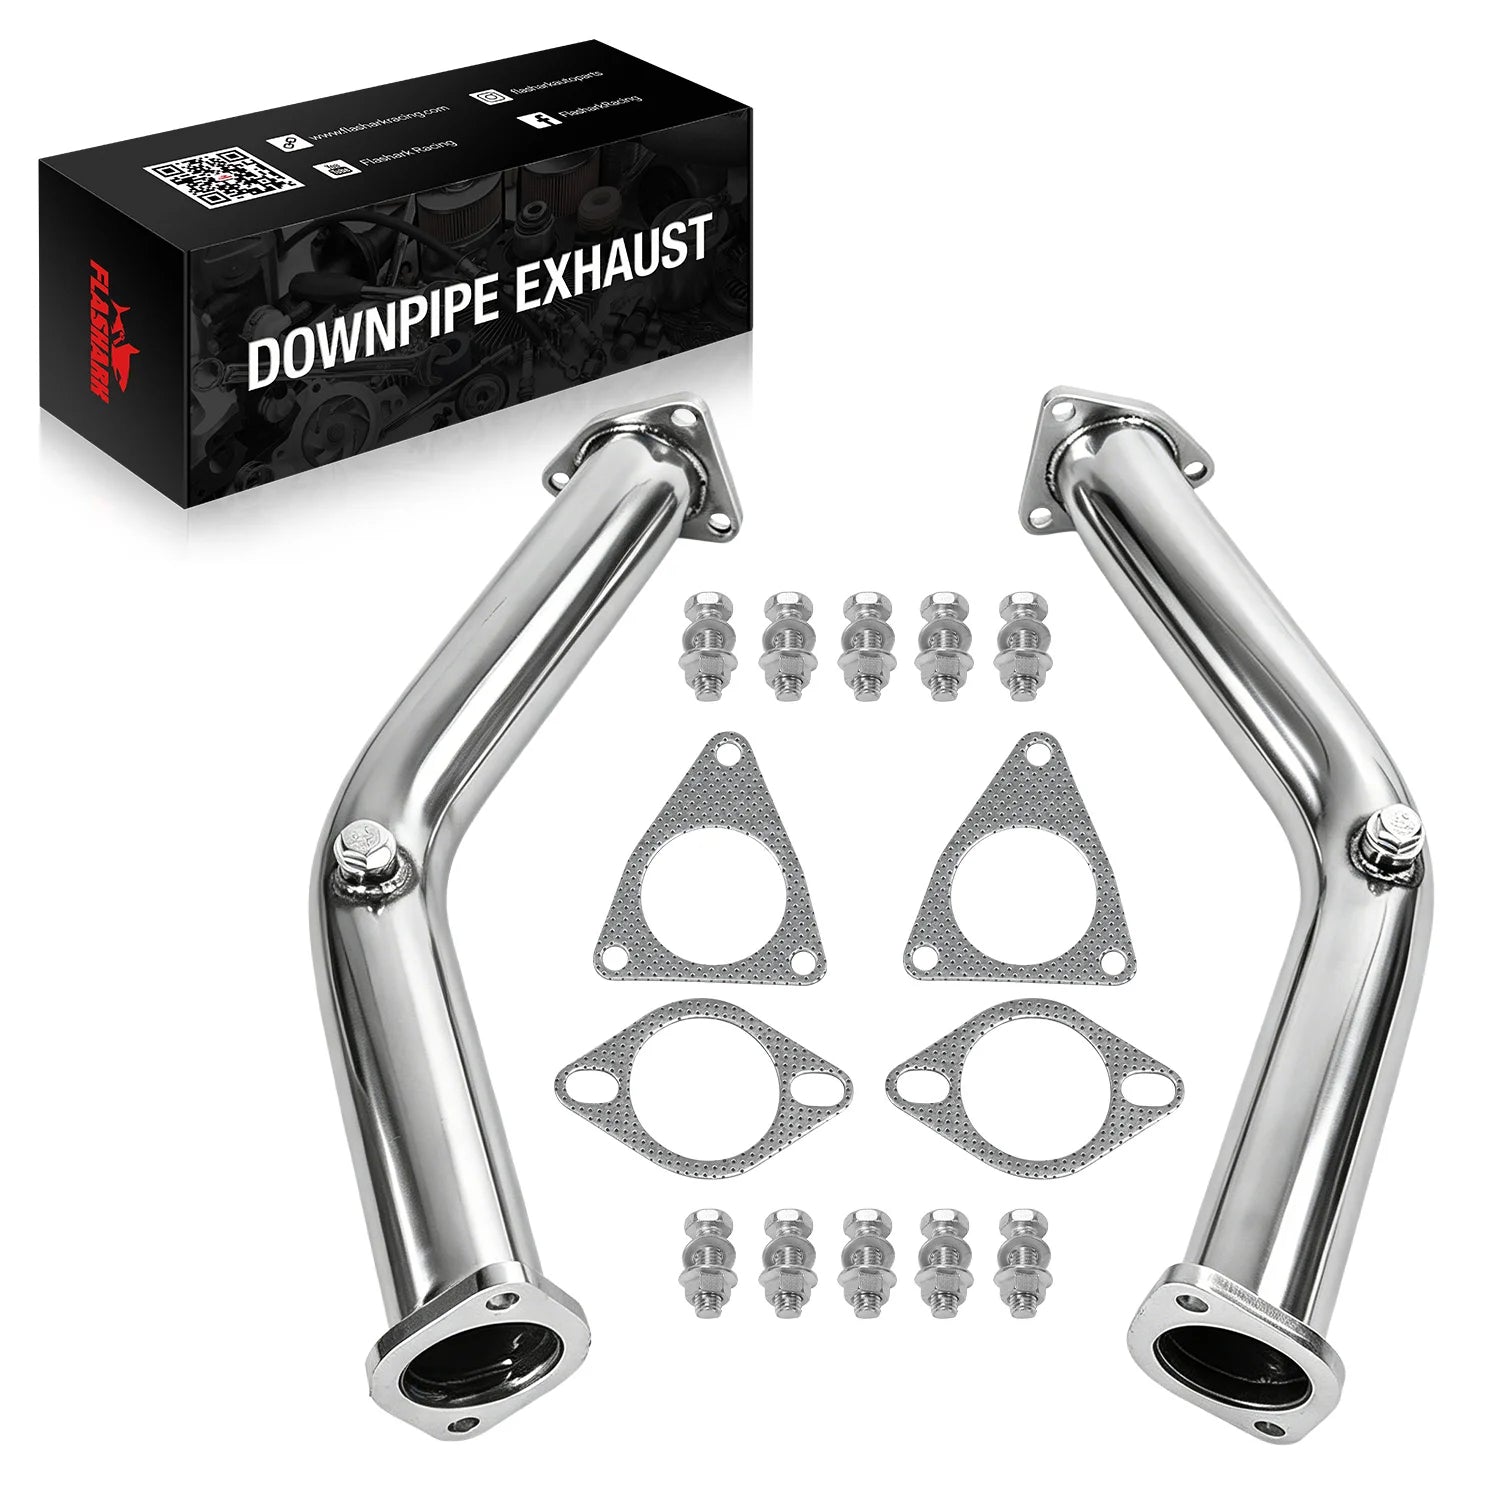
Step 5: Fabricating and Installing the Mid-Pipe
Once the headers are installed, it’s time to connect them to the rest of the exhaust system.
-
Cut the Stock Mid-Pipe: You’ll need to cut the stock mid-pipe to fit your new headers. Be sure to weld the cut sections to the new header pipes to create a seamless connection.
-
Position Oxygen Sensors: Ensure the oxygen sensors are positioned correctly to avoid interference with other components or the undercarriage.
-
Weld All Connections: Make sure all welding is done securely, and check for leaks once the installation is complete.
Step 6: Reassembling the Subframe and Other Components
Now it’s time to put everything back in place:
-
Reinstall the Subframe: Raise the K-member back into position and tighten the bolts using a 21mm socket.
-
Reconnect the Steering Shaft: Carefully align and reconnect the steering shaft to the header.
-
Reassemble Suspension and Brakes: Reinstall the suspension components, brake calipers, and any other parts that were removed.
At this point, you should have a fully reassembled car with your new headers in place.
Step 7: Final Testing and Adjustment
Before you hit the road, it’s crucial to check for any issues:
-
Fill the Power Steering: Make sure the power steering fluid is topped off, especially if you disconnected the lines.
-
Check for Exhaust Leaks: Start the engine and listen for any exhaust leaks. A small leak can reduce the effectiveness of your performance upgrade.
-
Road Test: Take the car for a spin to feel the power gain and notice the difference in the exhaust sound. You should feel a noticeable boost in low-end torque.
Performance Benefits of Long Tube Headers for the 99-04 Mustang GT
The performance boost from installing long tube headers is hard to ignore. Here’s why:
-
Increased Horsepower: Long tube headers enhance exhaust flow, which increases horsepower, especially at high RPMs. Many Mustang owners report a noticeable increase in power after installation.
-
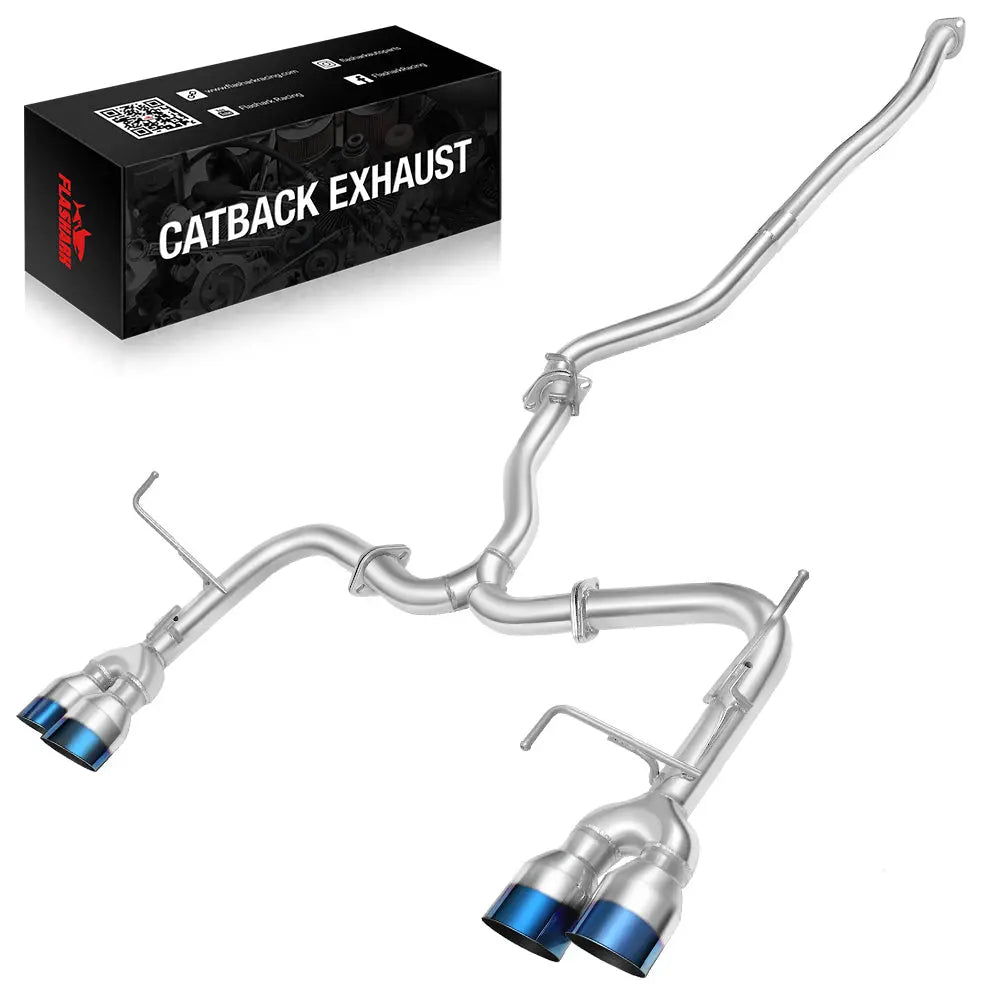
Aggressive Exhaust Note: If you’re looking for that signature deep, throaty Mustang sound, long tube headers are the way to go. The improved exhaust flow results in a more aggressive exhaust note that’s perfect for enthusiasts.
-
Better Throttle Response: With improved exhaust flow and efficiency, your car will feel more responsive, particularly in the mid-to-high RPM range.
Post-Installation Maintenance and Adjustments
After installing your long tube headers, there are a few things you’ll need to maintain for long-term performance:
-
Check for Leaks Regularly: Exhaust leaks can severely impact performance, so it's essential to periodically check your header connections.
-
Monitor Oxygen Sensor Readings: Ensure your oxygen sensors are functioning properly to avoid any potential engine management issues.
-
EGR System Check: If you’ve deleted the EGR system, make sure the block-off plate remains secure and that no leaks develop.
Proper maintenance ensures that your Mustang continues to perform at its best.
Conclusion
Installing long tube headers on your 99-04 Mustang GT is one of the best upgrades you can make for increased performance and a more aggressive exhaust sound. The process can be a bit complex, but with the right tools, a clear step-by-step approach, and some patience, you’ll be able to tackle it yourself. Whether you're a seasoned DIY enthusiast or a first-time installer, following the guide above will help you achieve a successful installation and unlock the full potential of your Mustang.