
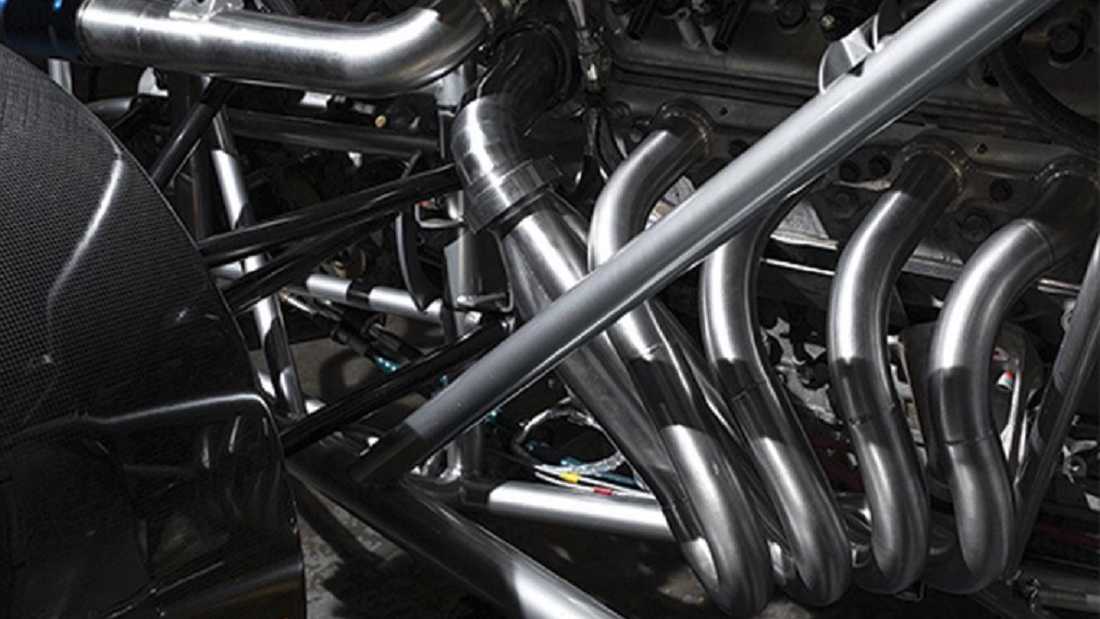
Upgrading your car's exhaust header can lead to significant improvements in power, with increases in torque and horsepower. Larger-capacity pipes help direct exhaust gases away from your engine more efficiently. The improved flow keeps your engine temperature under control, preventing overheating and optimizing engine performance. When installed properly, the headers work in coordination with the engine's cylinders to ensure peak performance.
While installing a performance exhaust header on your car is labor-intensive, it's a task that is entirely feasible with some mechanical knowledge and the right tools. Having a partner to assist with certain aspects of the process is highly recommended. Keep in mind that these instructions focus solely on installing the exhaust header and are not intended to guide a full overhaul of your exhaust system from front to rear. The aim is to reconnect your new headers to the existing mid-pipe.

How to Install Exhaust Headers
Unpack and Prepare
Unbox your new exhaust header and organize all the necessary tools and components. Before beginning, double-check that you have all the required hardware and tools.
Disconnect the Battery
Disconnect the negative terminal of the battery to eliminate any potential electrical charge as you work around the engine. Unplug any electrical oxygen sensors, and for some models, you may need to remove the airbox.
Remove the Mid-Pipe
Begin by removing the exhaust's mid-pipe from the factory manifold underneath the car. It may be quite heavy, so use caution when handling it.
Unplug Obstructions
Disconnect any equipment that could obstruct access to the manifold. This might include alternators or spark plugs. Be sure to keep track of where each component was located and how it connects.
Remove the Manifold
Unbolt the exhaust manifold, which may require access from both above and below the engine. You may need to unbolt from both the driver's and passenger's sides, depending on your engine configuration.
Install New Exhaust Headers
Inspect the manifold for any necessary studs that need replacing or additional studs to be added. Once everything is in place, hang the new headers from the studs before securing them tightly. Bolt everything into place as tightly as possible to ensure a firm connection.
Reattach Components
Reinstall any components you removed or moved to the side, such as airboxes or sensors, ensuring everything is properly connected and aligned.
Reinstall the Mid-Pipe
Reattach the mid-pipe and gaskets to the rear of the manifold, ensuring a solid and secure connection, similar to the original setup.
Reconnect the Battery
Reconnect the negative terminal of the battery, start the engine, and enjoy the improved sound and performance. After driving for a few hundred miles, it’s a good idea to check that all bolts and fasteners remain tightly secured.
Crucial Note: It's important to keep in mind that not all installed applications will be identical. These instructions will give you a rough concept of how to do this project, but you must precisely follow the installation instructions provided with your specific exhaust header, which are customized for your specific vehicle.

What to Consider Before Installing Exhaust Headers
Before you begin installing your exhaust headers, there are a few things to consider to ensure a smooth and successful installation:
-
Vehicle Compatibility: Ensure the exhaust headers are compatible with your car model. Some headers may only fit certain engine types or configurations.
-
Required Tools: You'll need specific tools like a deep socket wrench, impact driver, and possibly an air compressor for some vehicles.
-
Potential Modifications: Depending on your car, you might need to make slight modifications to the existing exhaust system or relocate components to allow for proper fitment.
-
Safety: Always prioritize safety by disconnecting the battery and wearing protective gear. Additionally, ensure your car is securely lifted and supported before working underneath.
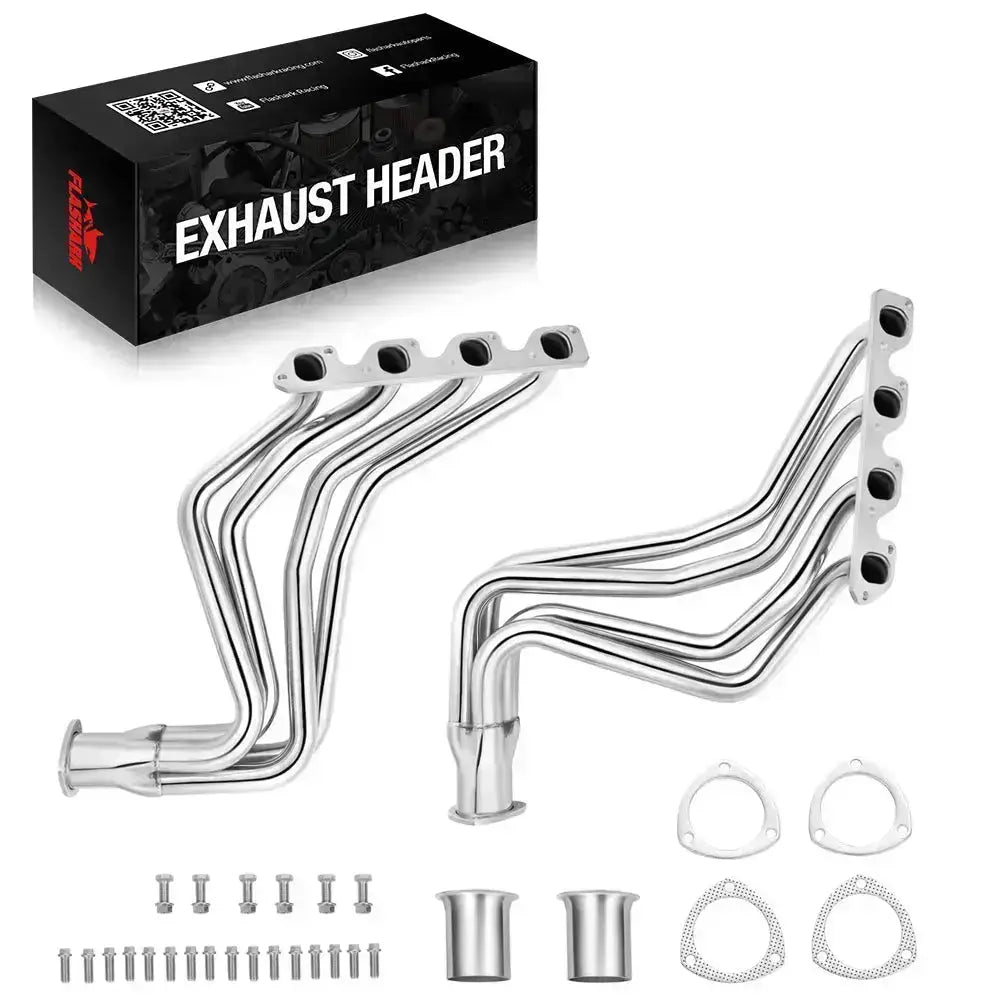
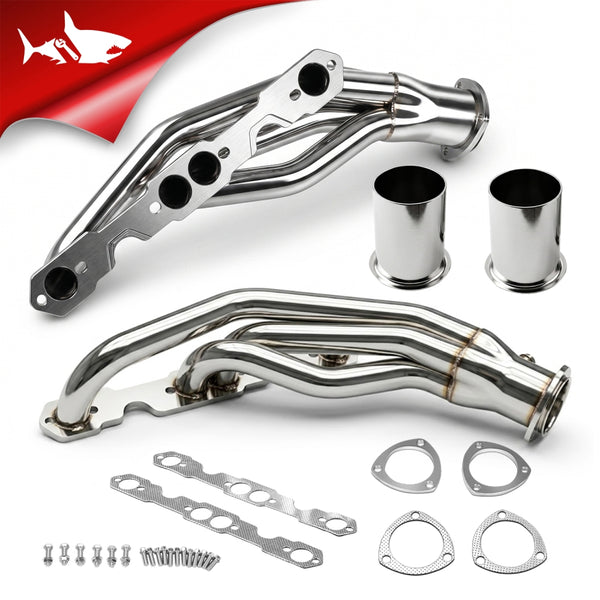
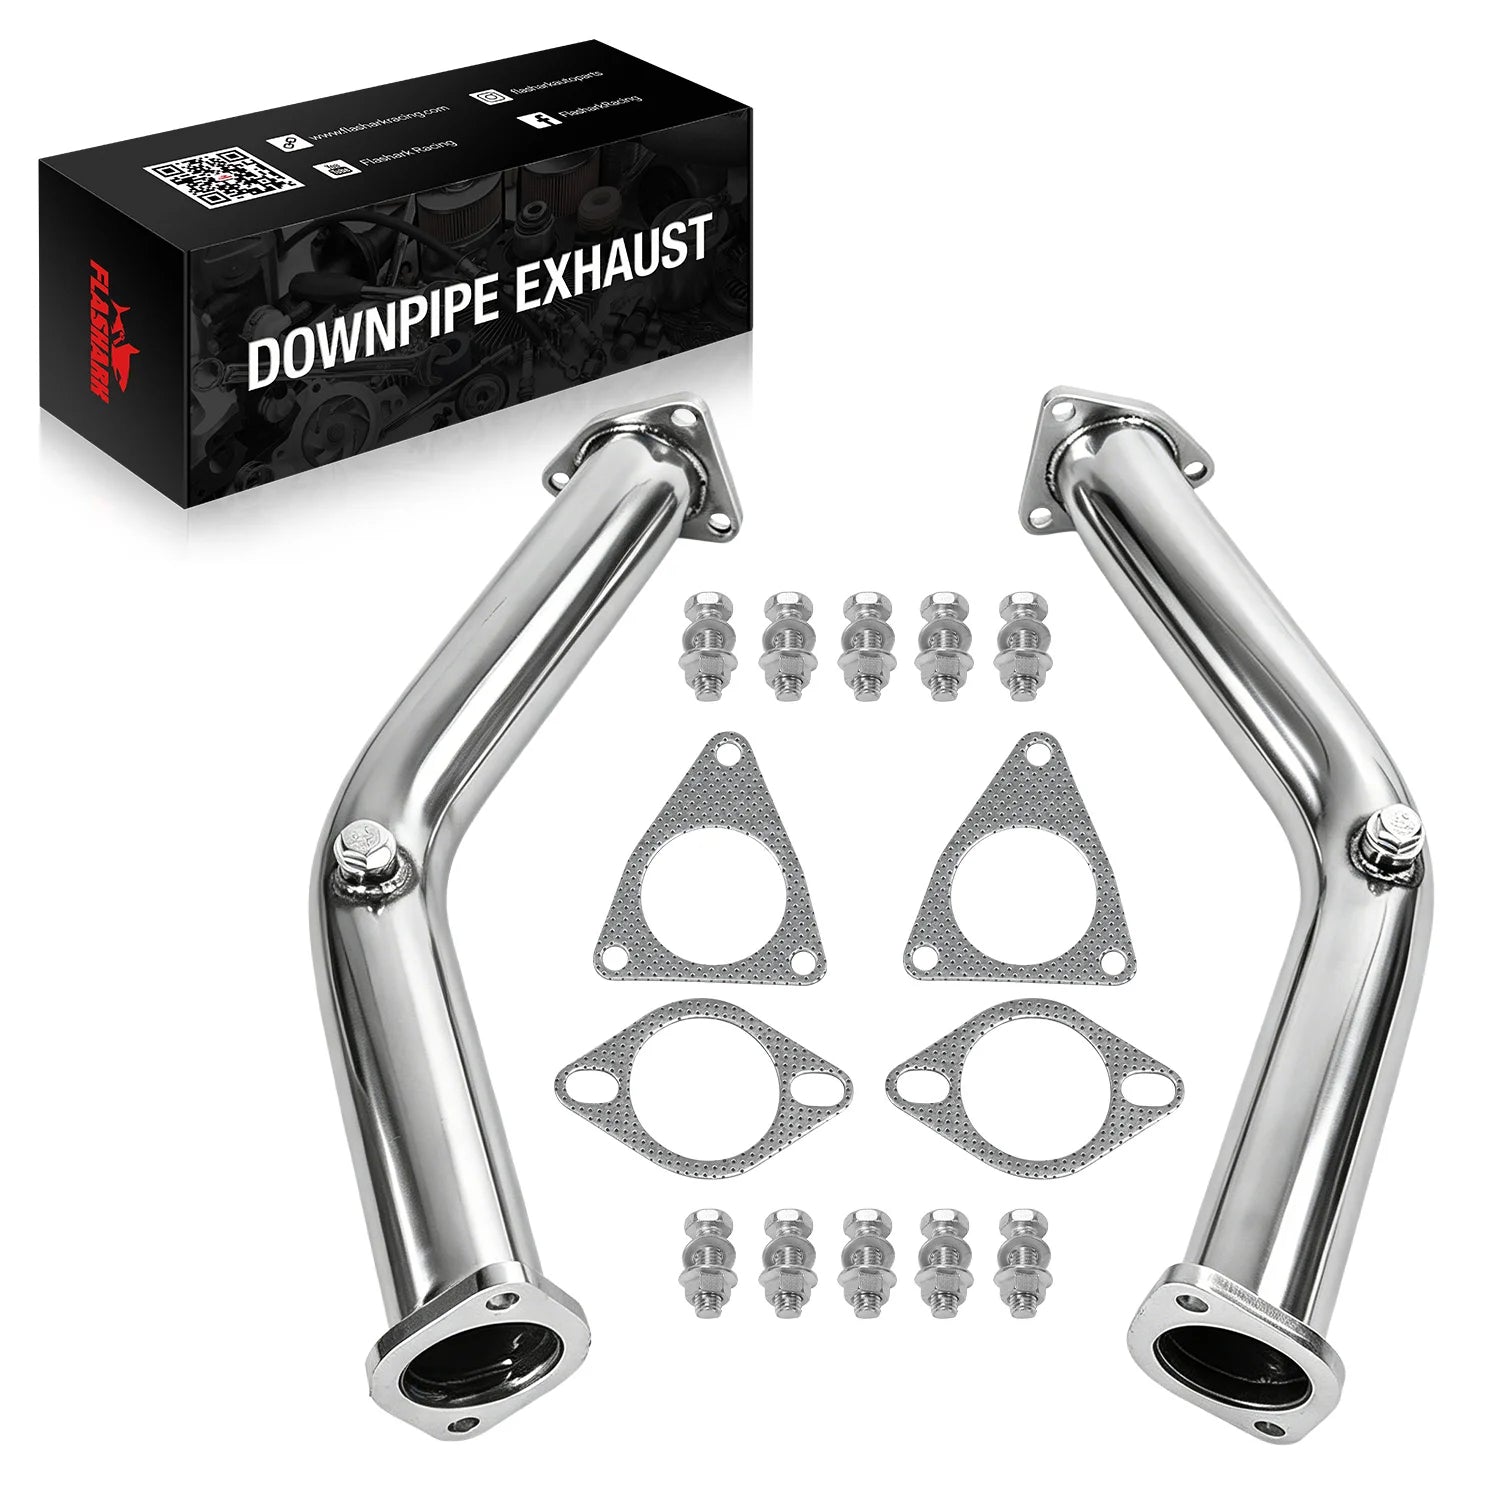
Long Tube Header for 1977-1979 Ford Bronco F100 F150 F250 F350 4WD 351M/400M 5.8L 6.6L
FLASHARK long tube headers for 1977–1979 Ford 4WD 351M/400M trucks boost power, reduce back pressure & improve flow. T304 stainless, 1-5/8" tubes, 3" collector.
Price: $209.99
Buy NowCommon Issues When Installing Exhaust Headers
Although installing exhaust headers is straightforward, you may encounter a few challenges along the way. Here are some common issues to look out for:
-
Exhaust Leaks: A common problem after installing headers is exhaust leaks at the gasket connections. Make sure to use high-quality gaskets and tighten all bolts evenly to prevent leaks.
-
Alignment Issues: Sometimes, the exhaust headers don’t align perfectly with the existing exhaust system. This can cause vibrations or rattling. Ensure that the collector meets the mid-pipe properly and that all components are securely fastened.
-
Rust and Corrosion: If you live in an area with harsh weather conditions, rust can become an issue. Ensure that all parts are treated or coated to prevent corrosion, which can shorten the lifespan of your exhaust system.
-
Difficulty Removing Old Parts: Depending on the age and condition of your car, removing the old manifold or mid-pipe can be challenging. In these cases, patience and the right tools are key.
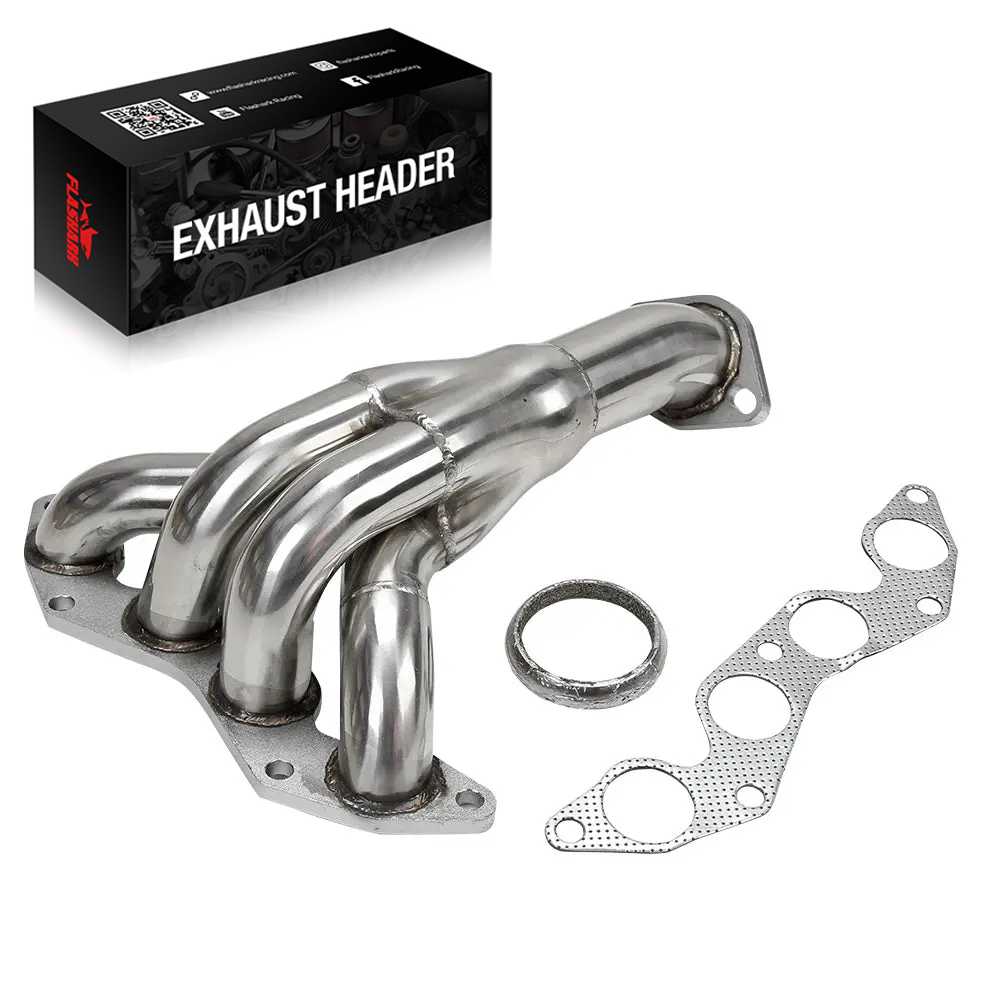
2001-2005 Honda Civic DX/LX EX 1.7L Short/Long Tube Headers 4CYL
Boost your 2001–2005 Honda Civic DX/LX/EX 1.7L with Flashark headers—easy bolt-on install, no mods needed. Gain power, torque, and better throttle response.
Price: $109
Buy NowPerformance Gains After Installing Exhaust Headers
Upgrading to a performance exhaust header can result in substantial improvements in engine efficiency and power output. Here’s how headers help:
-
Increased Horsepower and Torque: By reducing back pressure and allowing exhaust gases to exit more freely, headers can significantly boost your engine’s horsepower and torque, especially at higher RPMs.
-
Improved Fuel Efficiency: A well-designed exhaust header improves the overall efficiency of your engine, which may result in better fuel economy, particularly at higher speeds.
-
Better Engine Cooling: By directing exhaust gases away more efficiently, headers can help regulate engine temperature, preventing overheating and reducing strain on the engine.
-
Enhanced Sound: Headers can also give your car a more aggressive and distinct exhaust note, adding to the overall driving experience.
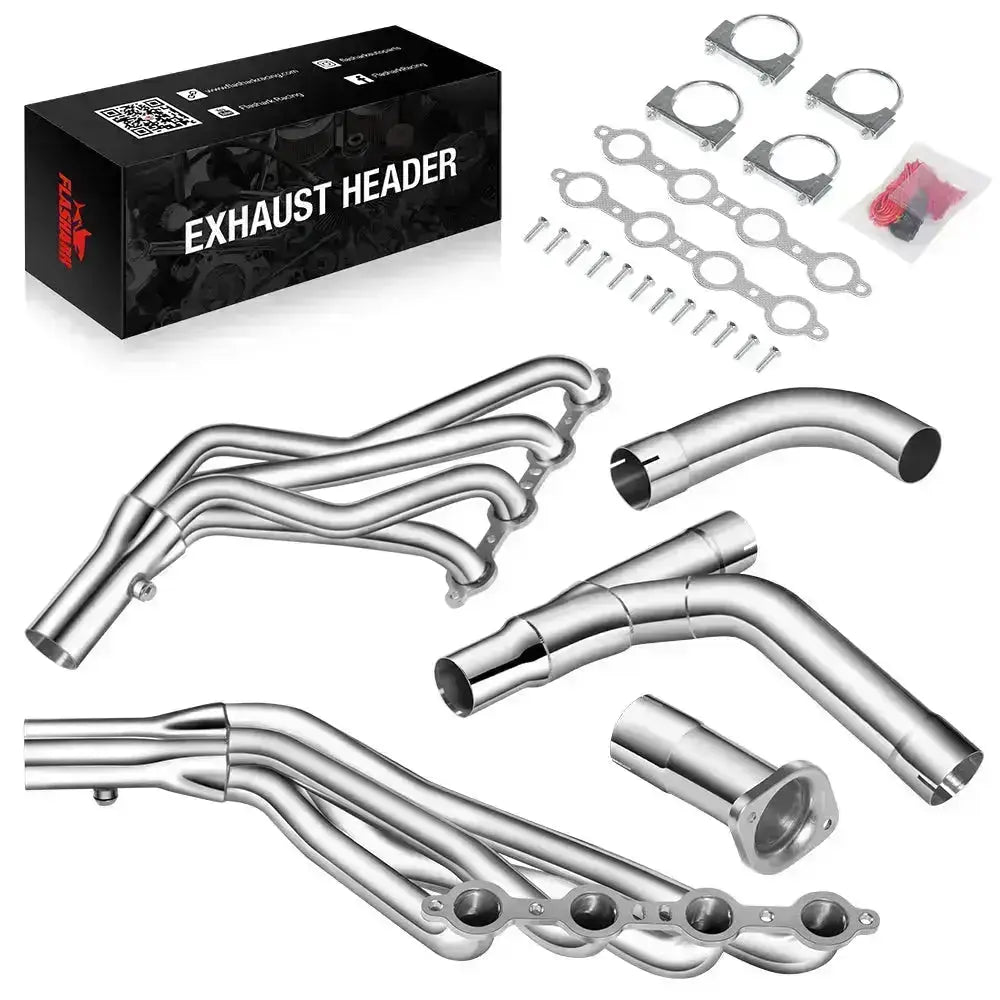
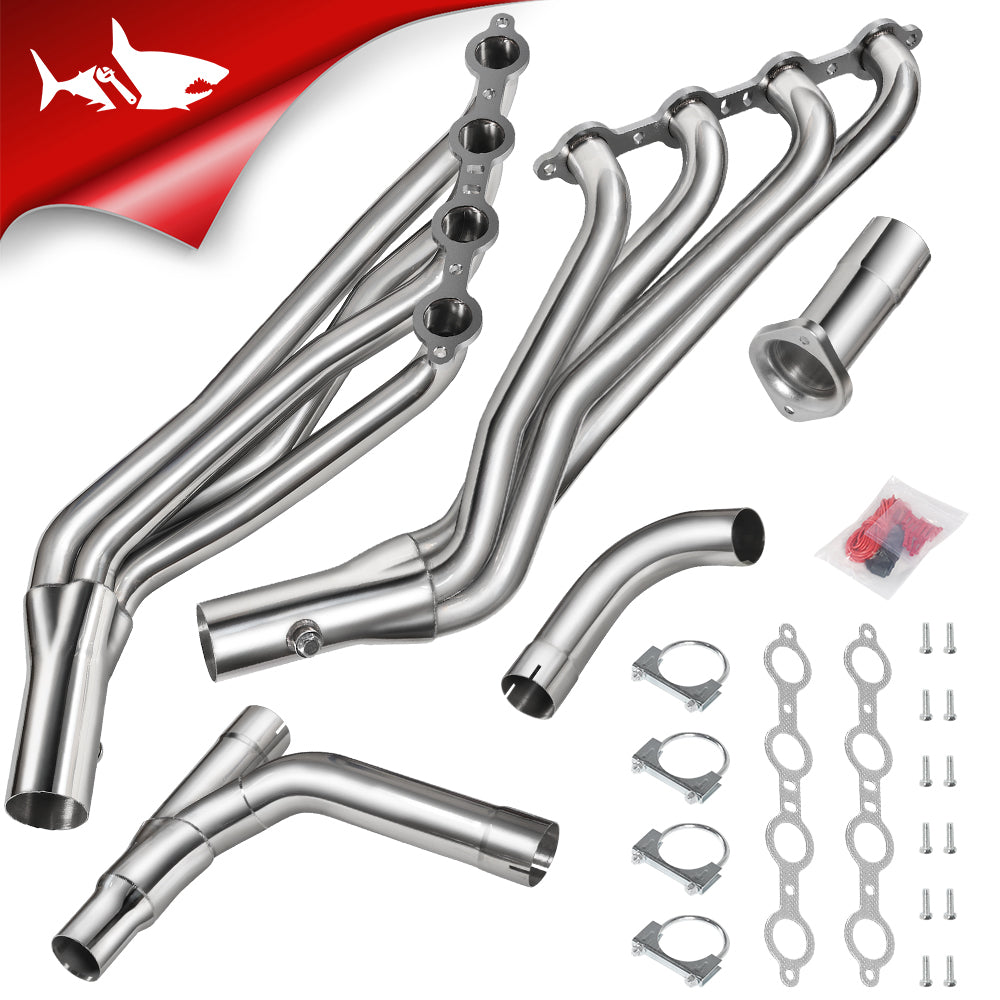
Long Tube Headers 4.8L 5.3L 6.0L for 1999-2006 Chevy/GMC GMT800 Silverado/Sierra/Avalanche 1500 Y-Pipe 2WD
Boost horsepower and sound on your 1999–2006 5.3L Silverado with FLASHARK long tube headers. Built from stainless steel, TIG-welded, and designed for max exhaust flow in 2WD models.
Price: $299
Buy Now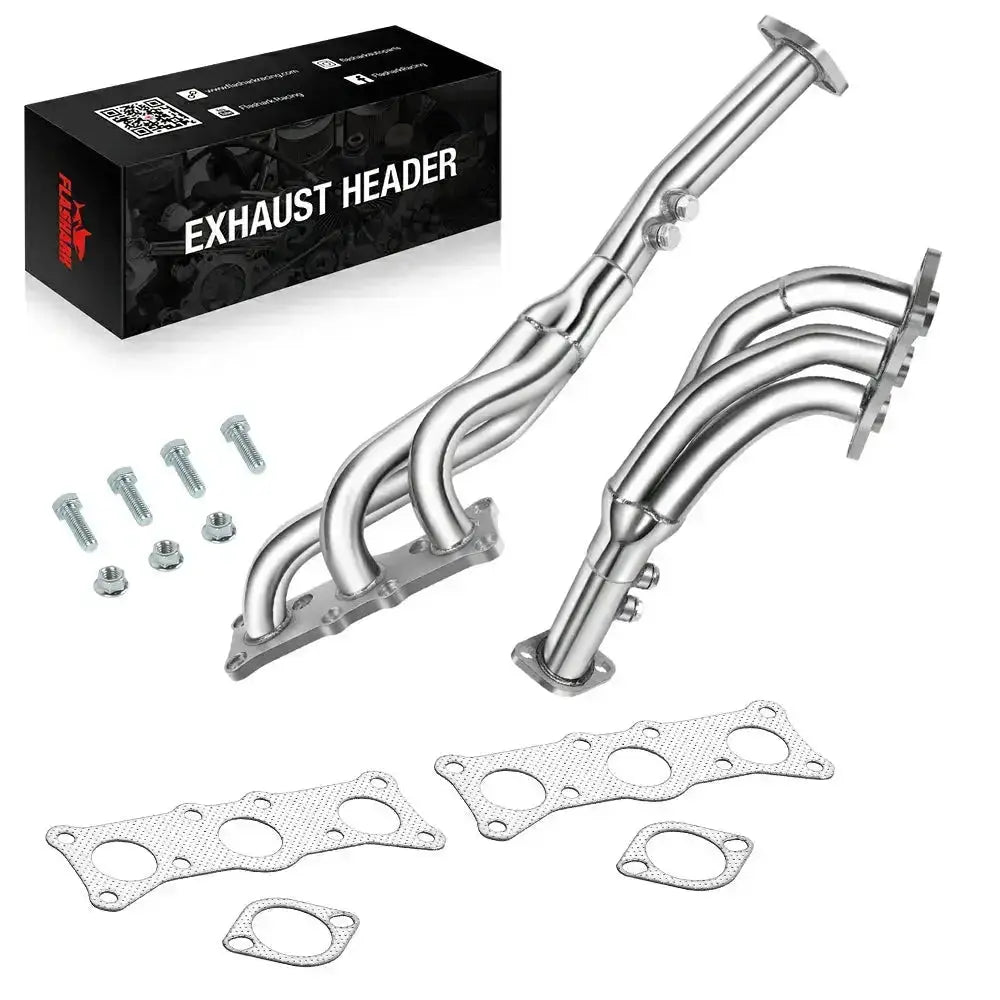
2006-2013 BMW N52 N51 | E90 E91 E92 E93 E82 | 128i 325i 328i 330i Long Tube Header
FLASHARK headers for BMW N52/N51 E90–E93, E82 offer power gains & sporty sound. Direct bolt-on install with no mods—precision-fit for easy upgrade.
Price: $229
Buy NowMaintaining Your Exhaust Header for Longevity
To ensure that your exhaust header lasts and continues to perform efficiently, regular maintenance is essential:
-
Regular Inspections: Periodically check your exhaust system for signs of wear and tear, such as cracks or leaks. Address these issues early to prevent further damage.
-
Cleaning: Clean the exhaust headers regularly to remove carbon buildup and debris, which can negatively affect performance.
-
Tighten Fasteners: Over time, the bolts securing the exhaust system may loosen. After the first few hundred kilometers, check all fasteners to ensure they are tight.
-
Replace Worn Gaskets: If you notice any exhaust leaks, replace the gaskets to restore a proper seal.
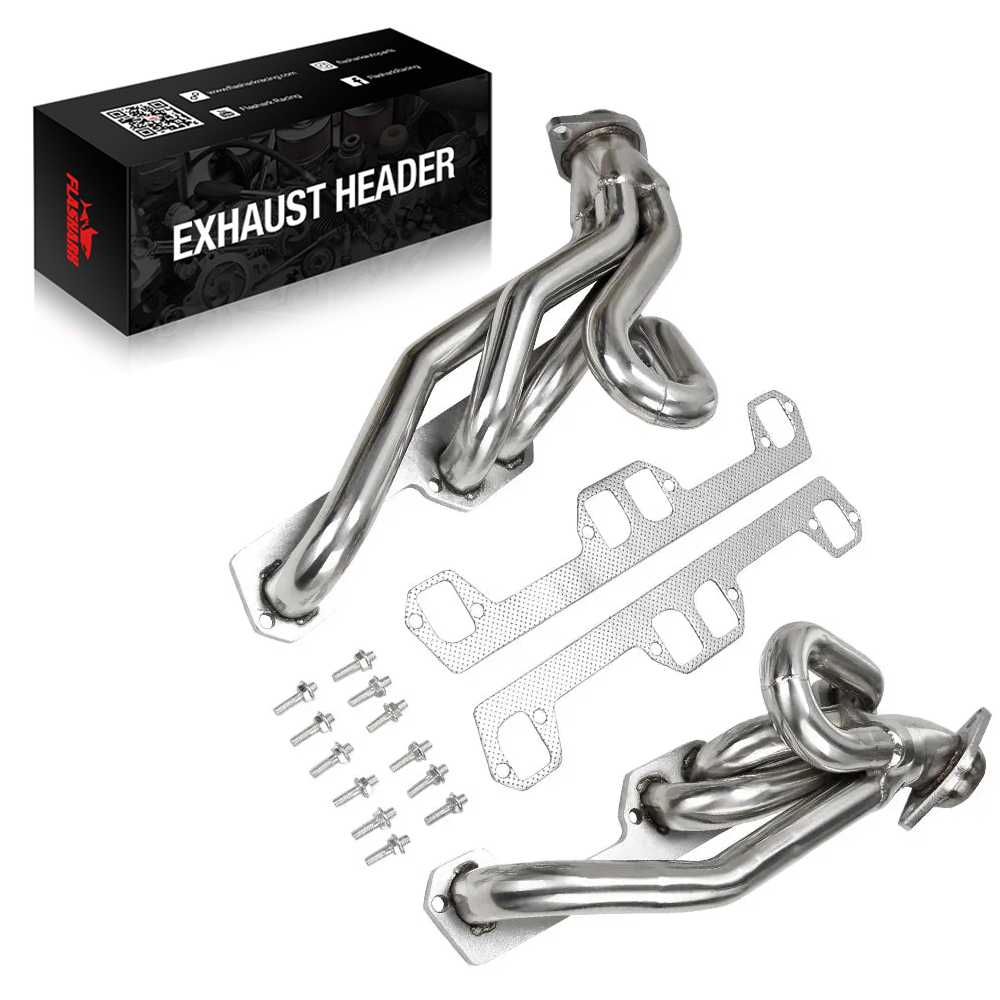
Exhaust Header for 1992-2004 Dodge Dakota Ram 1500 2500 3500 Pickup 5.2L 5.9L Magnum V8
Boost power and sound with Flashark headers for 5.2L/5.9L Magnum V8. Easy bolt-on fit for Dodge Ram, Dakota & Durango. Stainless steel, no mods needed.
Price: $165
Buy NowConclusion
The performance of your engine is enhanced by upgrading the exhaust system with a performance exhaust header. It all functions more effectively as a result of enhanced exhaust ejection. Although installing one yourself (ideally with a friend's assistance) might be satisfying, it is by no means an easy task.


1 comment
calvin brownlow
I have order 23419 and I am having problems bolting up the header to the provided exhaust pipe. The flange on the header is flat and the exhaust pipe has a bevealed end like it need a donut gasket. Also, the bolts aren’t long enough to connect the two. Do you have any recommendations to making it work.