
If you're a car enthusiast or someone who loves to experiment with their vehicle, you've probably heard about the benefits of installing long tube headers for the 5.7 Hemi engine. Long tube headers can significantly enhance the performance of your engine by improving exhaust flow and increasing horsepower. In this comprehensive guide, we'll walk you through the process of installing long tube headers on a 5.7 Hemi engine, providing you with step-by-step instructions and essential tips.
Why Choose Long Tube Headers for Your 5.7 Hemi?
Long tube headers have gained popularity among car enthusiasts for good reason. These aftermarket components offer several advantages that can transform your driving experience:
Improved Exhaust Flow
5.7 hemi Long tube headers are designed to replace the restrictive stock exhaust manifolds. Their primary function is to expel exhaust gases from the engine cylinders more efficiently. The extended length of these headers allows for smoother airflow, reducing backpressure and enhancing overall engine performance.
Increased Horsepower and Torque
By enabling better exhaust flow, long tube headers contribute to increased horsepower and torque figures. This improvement is particularly noticeable in high-performance engines like the 5.7 Hemi, where even small enhancements can make a significant difference in power output.
Enhanced Engine Sound
Apart from the performance benefits, long tube headers can also give your 5.7 Hemi a more aggressive and pleasing exhaust note. The distinct rumble will surely turn heads as you rev your engine.
Optimized Fuel Efficiency
Surprisingly, installing long tube headers can lead to better fuel efficiency. The improved scavenging effect they create helps the engine breathe more efficiently, which can translate into improved miles per gallon (MPG) under certain driving conditions.

Factors to Consider Before Installation
Before you dive into the installation process, there are a few key factors to consider:
Compatibility
Ensure that the long tube headers 5.7 hemi you're purchasing are compatible with your 5.7 Hemi engine model. Manufacturers often provide compatibility information, so double-check before making a purchase.
Emissions Regulations
Keep in mind that modifying your exhaust system with aftermarket headers might impact emissions regulations in your area. Research local laws and regulations to ensure compliance.

Necessary Precautions for a Successful Installation
Before you start wrenching on your long tube headers 5.7 Hemi engine to install those exciting long tube headers, it's important to take some precautions to ensure a smooth and successful installation process.
Disconnect the Battery
Before you get your hands dirty, disconnect the negative terminal of the battery. This step ensures your safety by preventing any accidental electrical mishaps during the installation process.
Allow the Engine to Cool
Working on a hot engine can be not only uncomfortable but also risky. Allow your vehicle's engine to cool down before you start the installation. This prevents burns and makes the process much more manageable.
Tools You'll Need for the Job
Gathering the right tools is a crucial part of any DIY project. Here's a list of tools you'll need to install long tube headers on your 5.7 Hemi engine:
- Socket and Wrench Set
A quality socket and wrench set will be your best friend throughout the installation process. Having a variety of sizes on hand will ensure you're ready for any bolt or nut.
- Torque Wrench
A torque wrench is essential to ensure that all bolts are tightened to the manufacturer's specifications. Proper torque is crucial for preventing leaks and ensuring a secure fit.
- Penetrating Oil
If your vehicle has seen its fair share of miles, some bolts might be stubborn. Penetrating oil helps loosen these bolts, making removal easier and preventing unnecessary frustration.
- Gaskets
Don't forget to purchase new gaskets that are compatible with your long tube headers. Proper gaskets ensure a tight seal and prevent exhaust leaks.
- Jack and Jack Stands
Safety is essential. A jack and jack stand will help you lift your vehicle securely, allowing you to work underneath it with confidence.
- Safety Gear
Gloves and safety glasses are a must to protect your hands and eyes from any potential hazards or debris.
Preparing for Header Installation
Before beginning the long tube header installation, it's essential to prepare your vehicle and workspace properly. This section will guide you through the necessary steps to ensure everything goes smoothly, from setting up your vehicle for safe access to confirming compatibility between your headers and your 5.7 HEMI engine.

Draining Fluids (If Necessary)
In some cases, draining fluids such as oil or coolant may be necessary to prevent spills and ensure clear access to the exhaust system. Although it’s not always required, it’s a good idea to inspect the engine bay and determine if any fluid lines or components need to be moved or removed. Taking this extra step helps you avoid messes and ensures you have full access to the area you're working on.
Inspecting Header Compatibility
Not all long tube headers fit every model-year HEMI engine, so checking compatibility is crucial. Verify that the headers you’ve purchased are designed to fit your specific 5.7 HEMI engine model. Ensure that the header gaskets are the correct size and that the O2 sensor locations align with the new headers. This step ensures that you won’t run into any unexpected issues during installation and that everything is ready for a smooth fit.
Step-by-Step Installation of 5.7 hemi Long Tube Headers
Now that your vehicle is prepared and the headers are compatible, you’re ready to begin the installation. This section will walk you through each step of the process, from removing the existing exhaust system to securing the new headers and reconnecting everything.
Step 1: Preparing the Vehicle
Lift your vehicle using a jack and secure it with jack stands. Ensure you have plenty of room to work underneath. Disconnect the battery and remove any heat shields or components blocking access to the exhaust system. This might include the factory air intake and steering shaft.

Step 2: Removing the Factory Exhaust System
-
Remove the factory intake air box, throttle body tube, and the oil dipstick bolt.
-
For easier access, remove the inner fender liner on the passenger side.
-
Disconnect the heater hose brackets on the passenger side and wrap them with the provided heat wrap for extra protection.
-
Unbolt the transmission crossmember and remove it temporarily to gain access to the exhaust system.

-
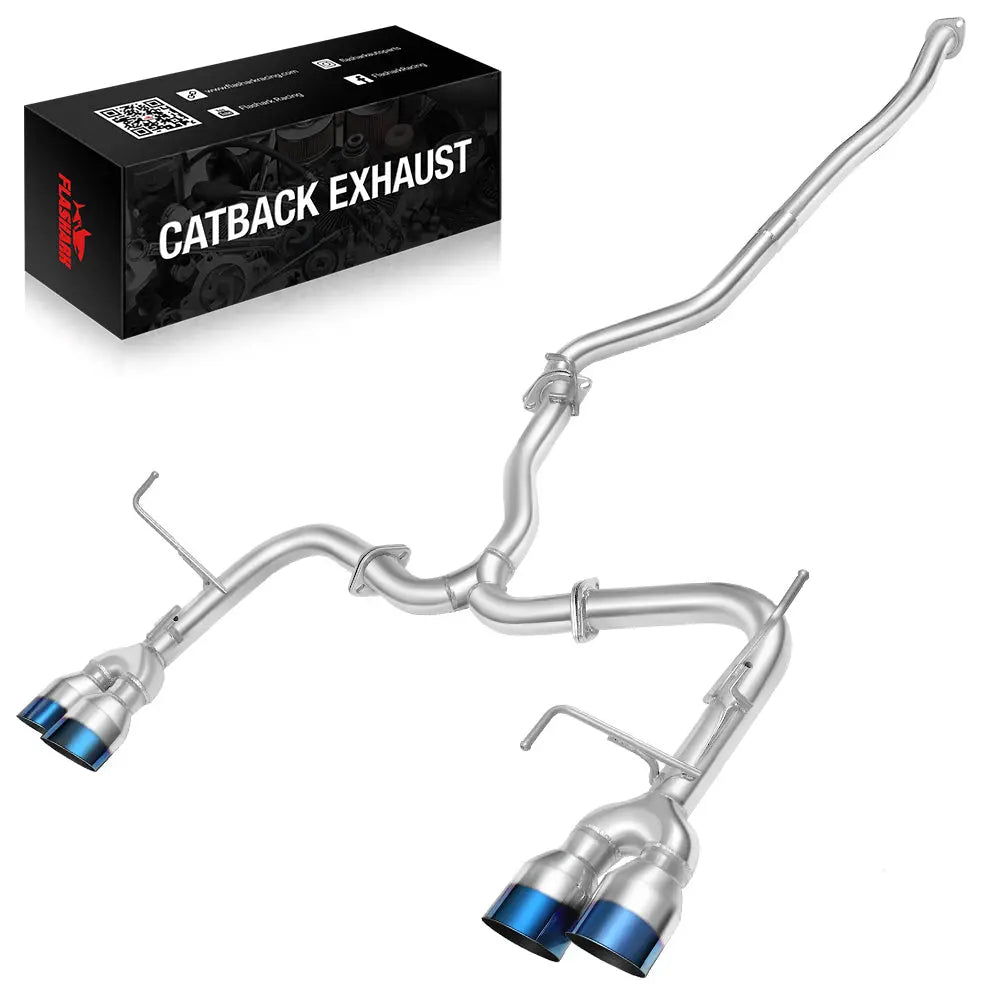
Loosen and remove the bolts connecting the cat-back exhaust to the Y-pipe. Use a crowbar to gently push the Y-pipe back.
-
Disconnect the O2 sensors and unbolt the Y-pipe from the factory manifolds.

Step 3: Removing the Factory Exhaust Manifolds
-
Remove all bolts securing the factory exhaust manifolds to the engine block. Be sure to clean the head and manifold surfaces with a degreaser to remove any oil or debris.
-
Use a small putty knife to remove any carbon build-up carefully, ensuring the head surface is not scratched.

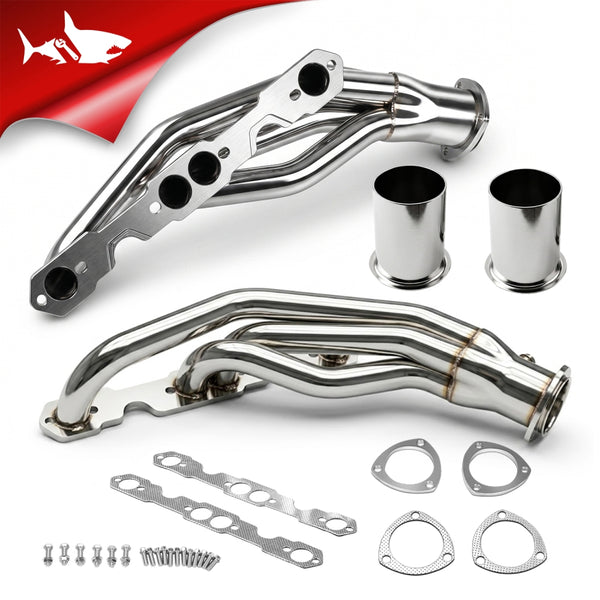
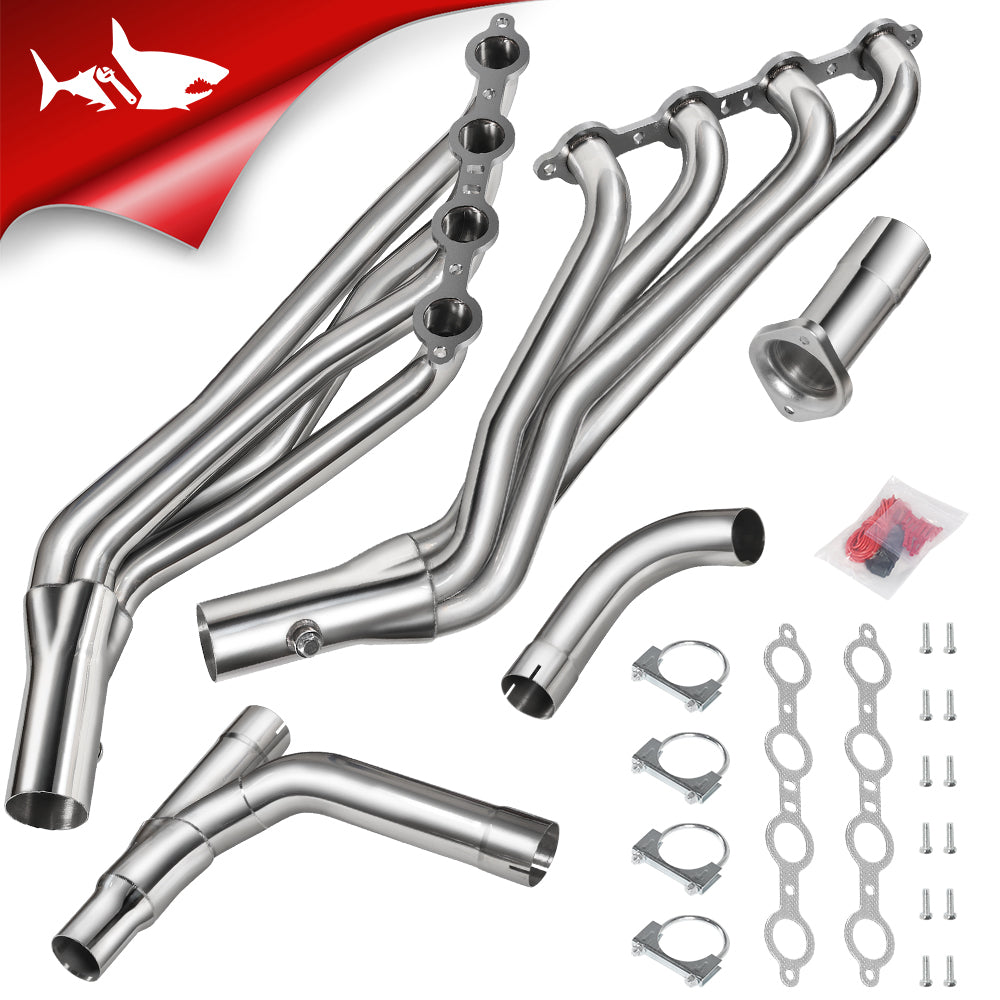
Step 4: Installing the New Headers
-
Before installing the headers, tape the gaskets in place with electrical tape to make the installation easier.

-
Position the new headers into place, ensuring they align correctly with the engine block.
-
Tighten the header bolts using a torque wrench, aiming for a torque of around 18-20 ft-lbs (tight, but not over-tight).
-
Don’t forget to reinstall the dipstick tube and secure it with the supplied 8mm long bolt and spacer.

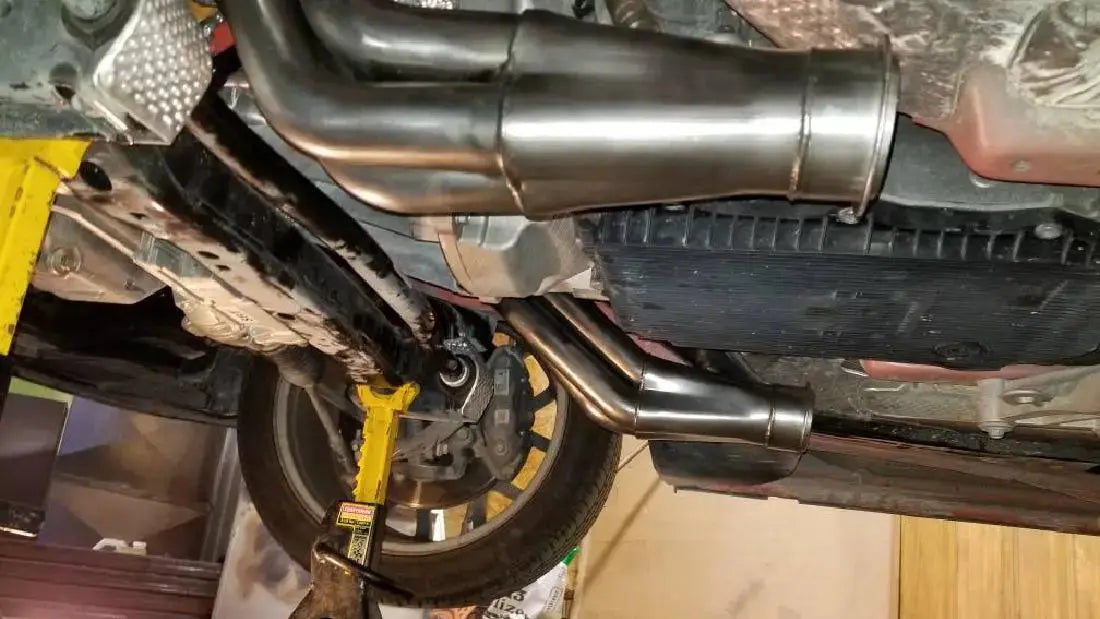
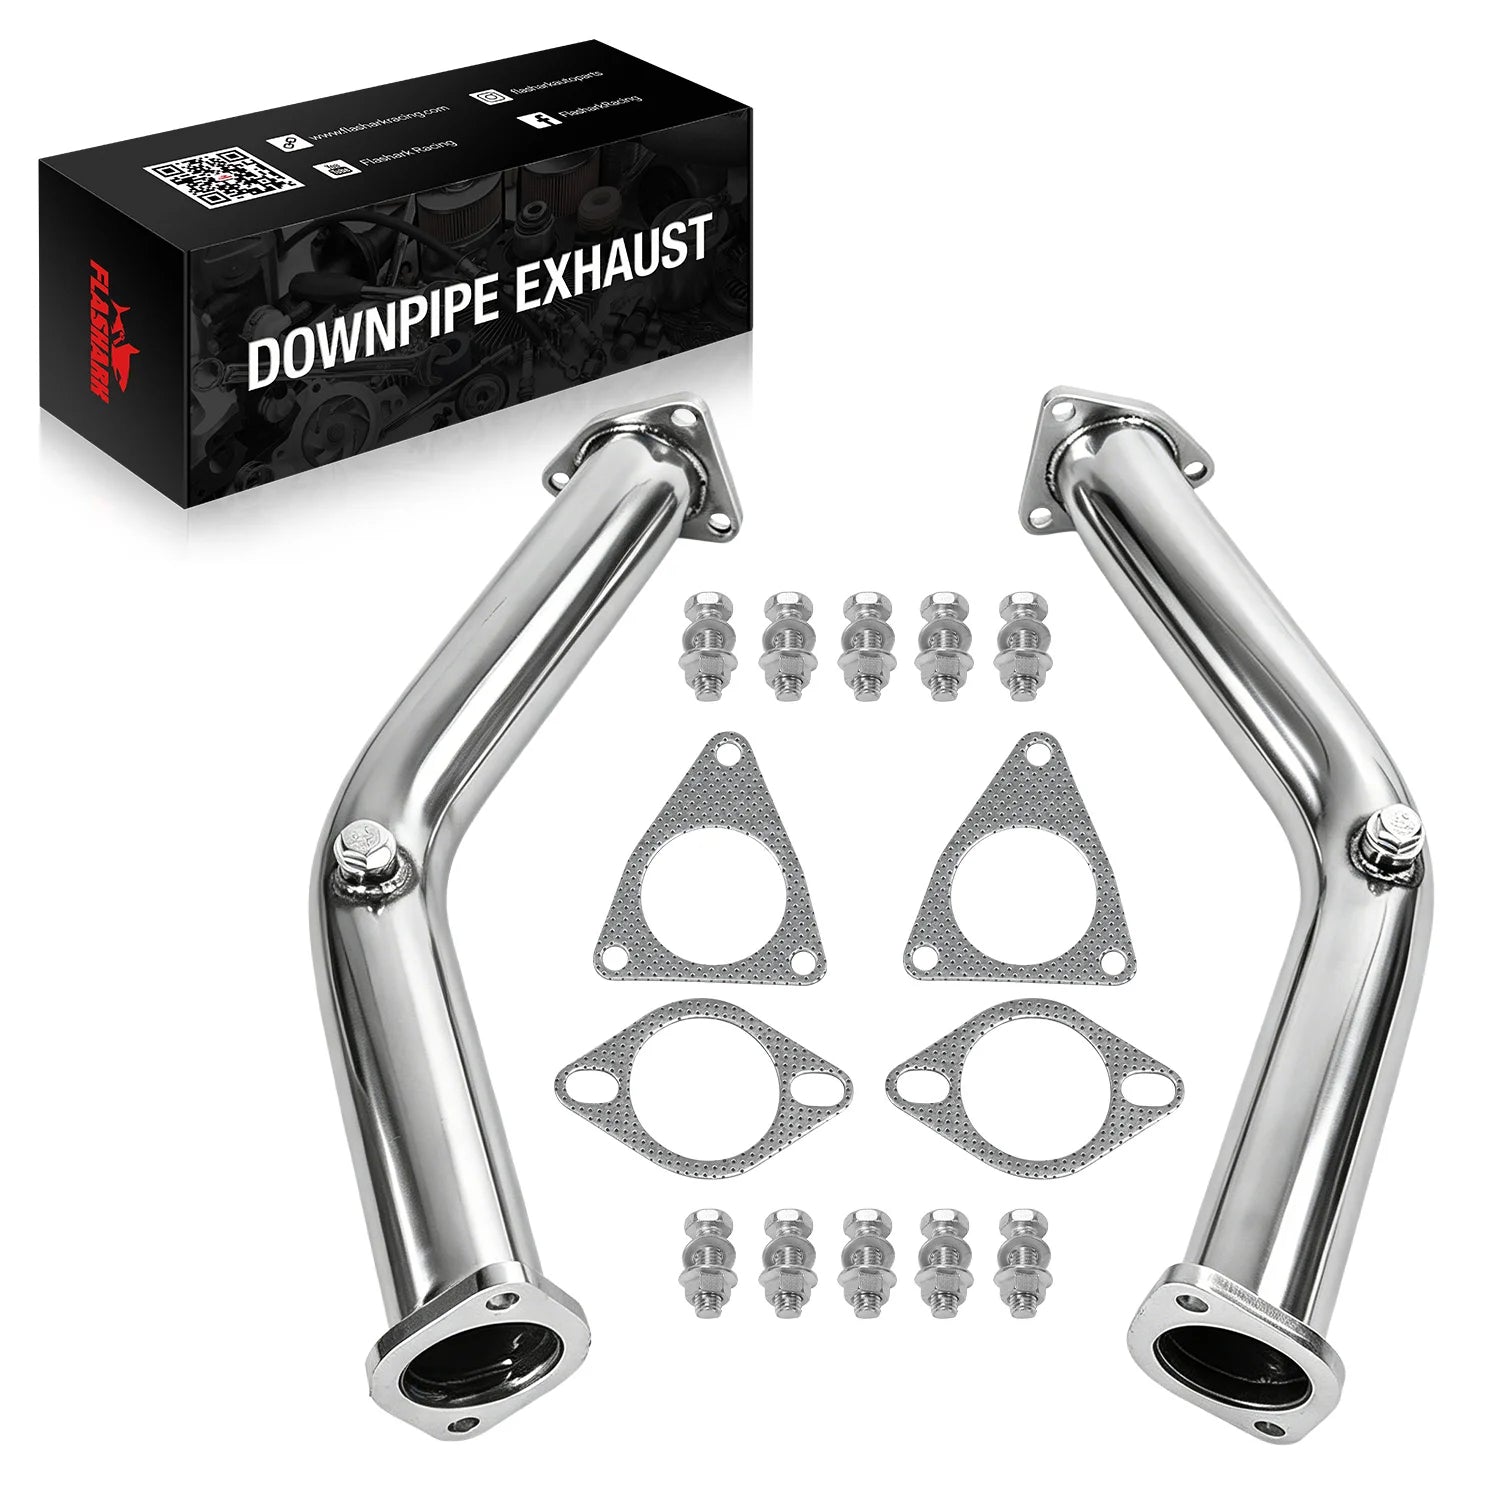
Step 5: Reconnecting the Exhaust System
-
Reinstall the Y-pipe, ensuring it aligns correctly with the new headers.
-
Reconnect the cat-back exhaust, ensuring all connections are secure to prevent exhaust leaks.
-
Don’t forget to reconnect the O2 sensors to the factory harness.
Step 6: Final Adjustments
-
Double-check the header alignment for sufficient clearance around suspension, firewall, and other engine components.
-
Tighten all bolts properly and retorque after a few heat cycles or 100-200 miles to ensure they stay secure and prevent gasket leaks.
Step 7: Lower the Vehicle
Once everything is installed and tightened, lower the vehicle carefully. Reconnect the battery and fire up your engine to enjoy the new sound and improved performance.
Final Thoughts
Installing long tube headers on your 5.7 Hemi engine can be a rewarding endeavor that enhances both the performance and sound of your vehicle. With the right tools, a bit of patience, and this comprehensive guide, you can successfully tackle the installation process. Remember to prioritize safety, follow the manufacturer's instructions, and enjoy the improved driving experience that comes with these aftermarket upgrades. Whether you're hitting the open road or simply cruising around town, your modified 5.7 Hemi will undoubtedly turn heads and deliver a thrilling ride.


1 comment
Christian Lozano
What about oem mid pipe?