Headers play a crucial role in enhancing the performance of a vehicle by improving exhaust flow and increasing power output. If you own a 2004 Chevy Silverado and want to maximize its potential, changing the headers is a great upgrade. In this step-by-step guide, we'll walk you through the process of changing headers on your 2004 Chevy Silverado, helping you achieve better performance and efficiency.
Tools and Materials Needed for Header Installation
Before starting your header installation, ensure you have the right tools and materials. This will save you time and frustration during the process.
Essential Tools:
-
Socket Wrench Set: A complete socket set will be necessary to remove bolts from the old exhaust manifold and to install the new headers.
-
Torque Wrench: For proper tightening of bolts to the manufacturer's specifications.
-
Oxygen Sensor Socket: Required for disconnecting and reconnecting your O2 sensors.
-
Gasket Scraper: To clean the surface where the new headers will be installed.
-
Jack and Jack Stands: To lift your Silverado and provide access to the exhaust system.
-
Thread Sealant: Ensures a tight and leak-free connection between components.
Header Materials:
-
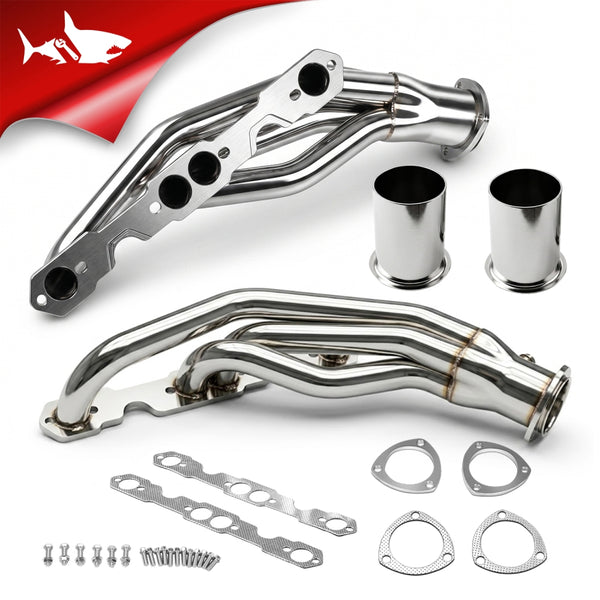
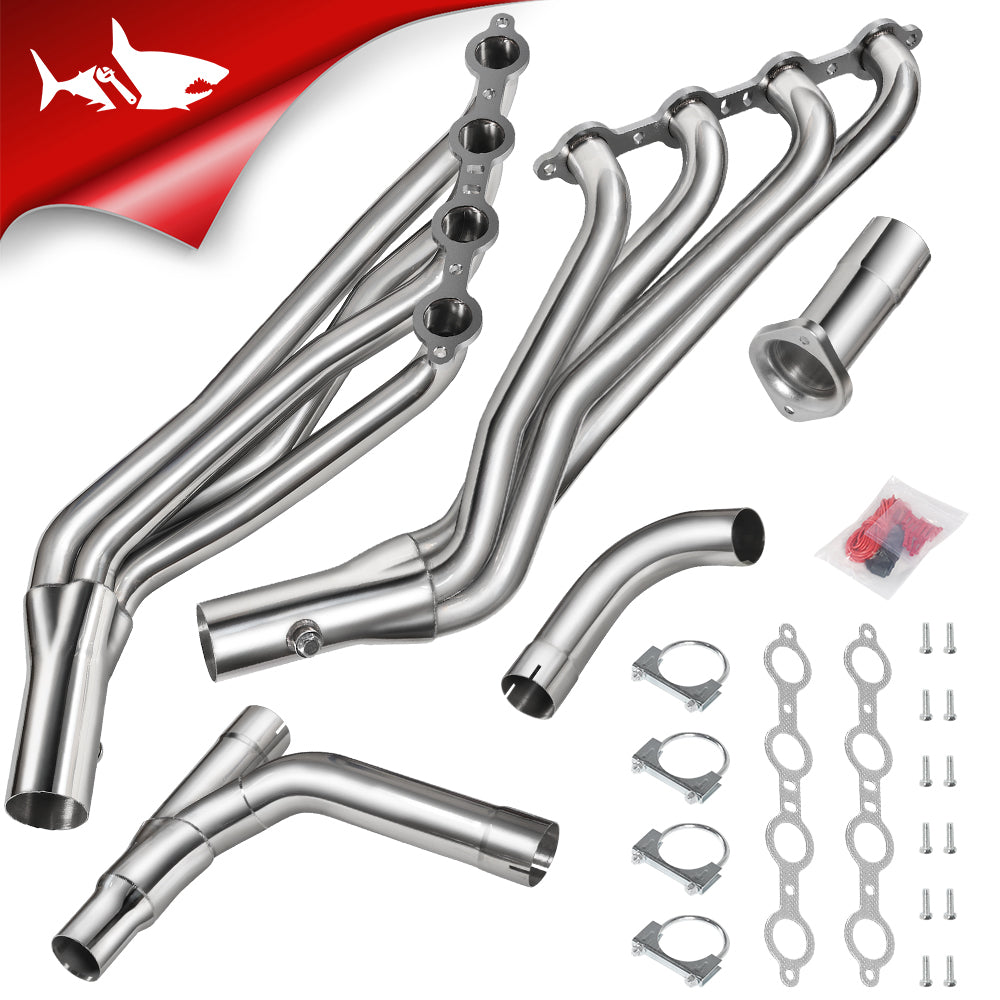
Long Tube Headers: Choose Silverado headers that are specifically designed for your truck’s model and configuration..
-
Exhaust Gaskets: New gaskets are essential for a proper seal between the header and engine block.
-
O2 Sensor Extension Wires: Necessary for extending the wiring of your oxygen sensors if they don’t reach after the header swap.

Removing the Old Headers
- Safely lift the front of your Silverado using a jack and secure it on jack stands to provide ample space to work underneath the vehicle.
- Disconnect the negative battery terminal to prevent any electrical accidents during the installation process.
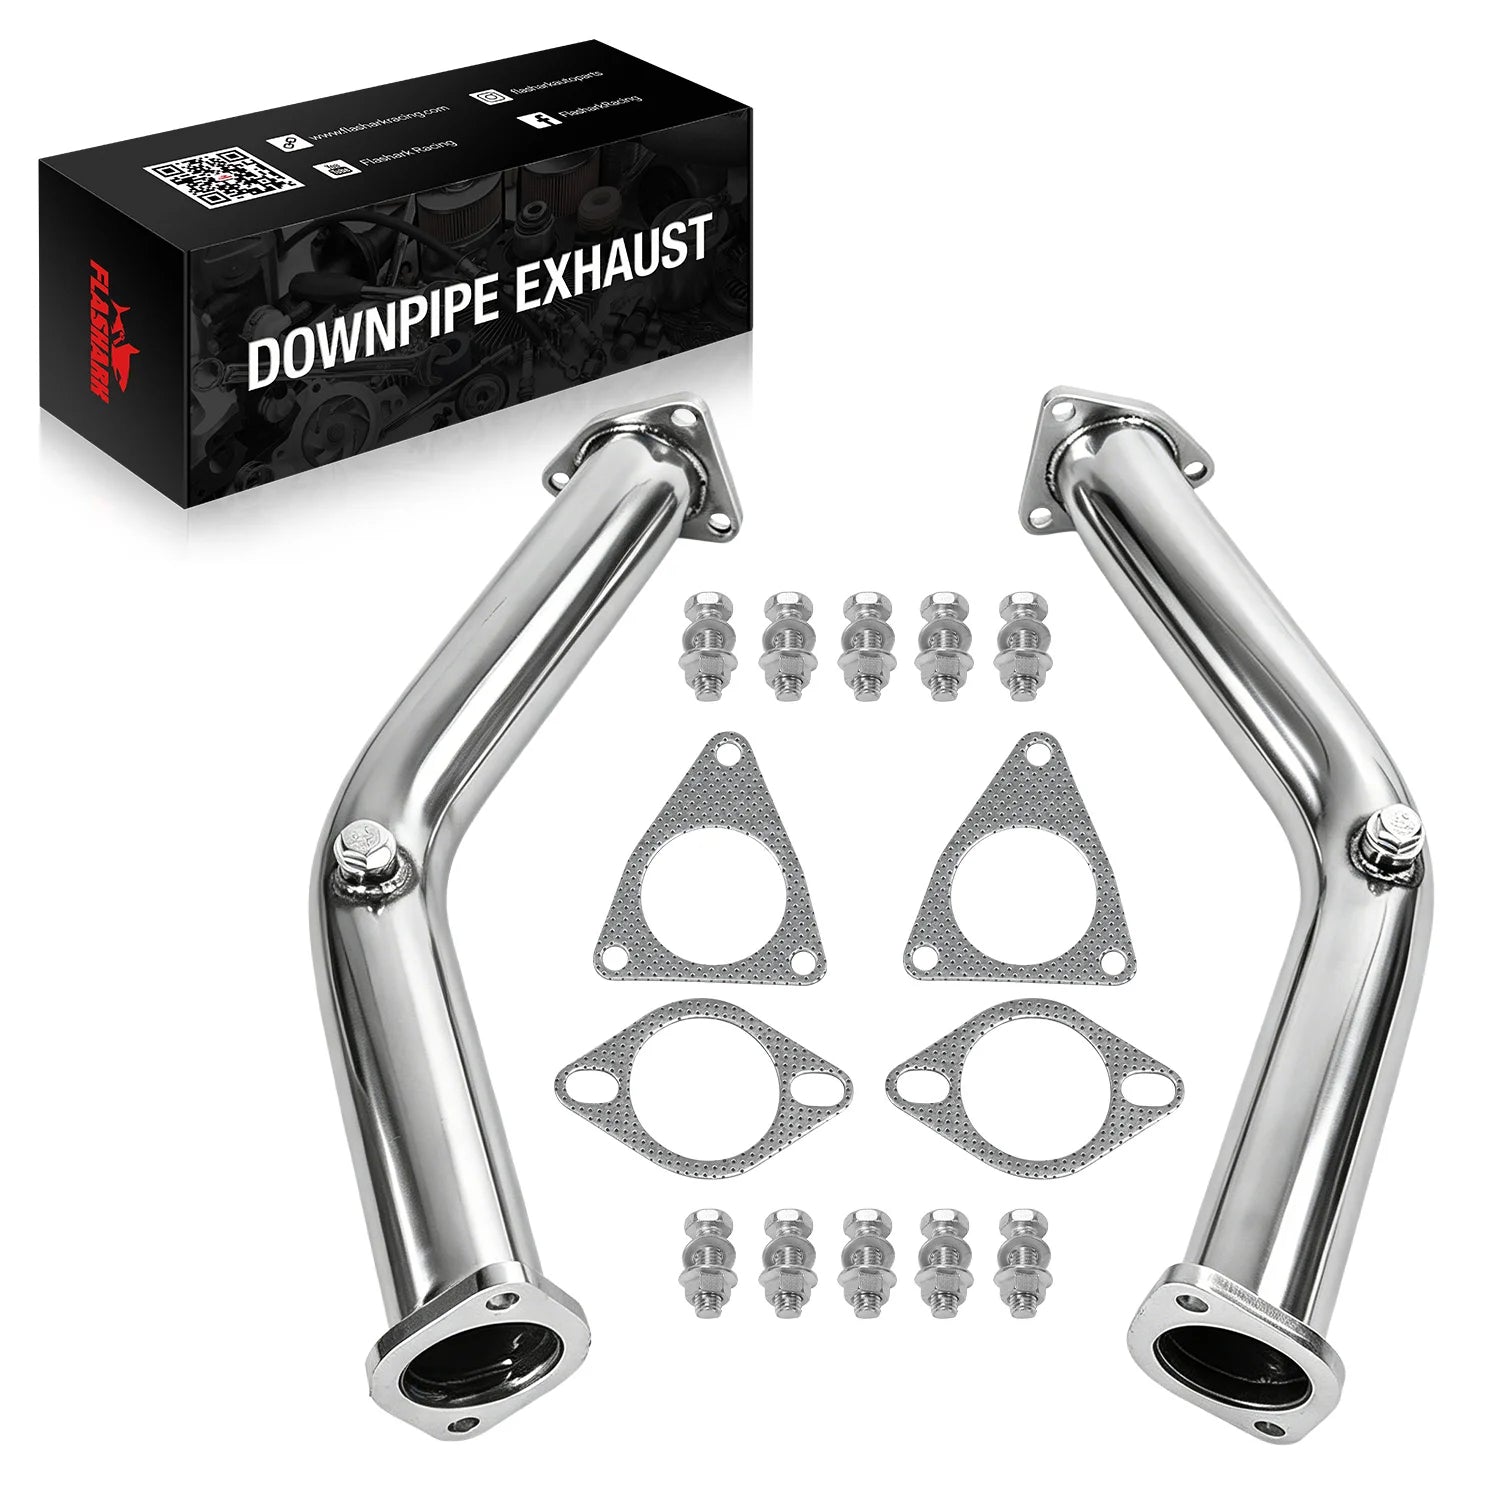
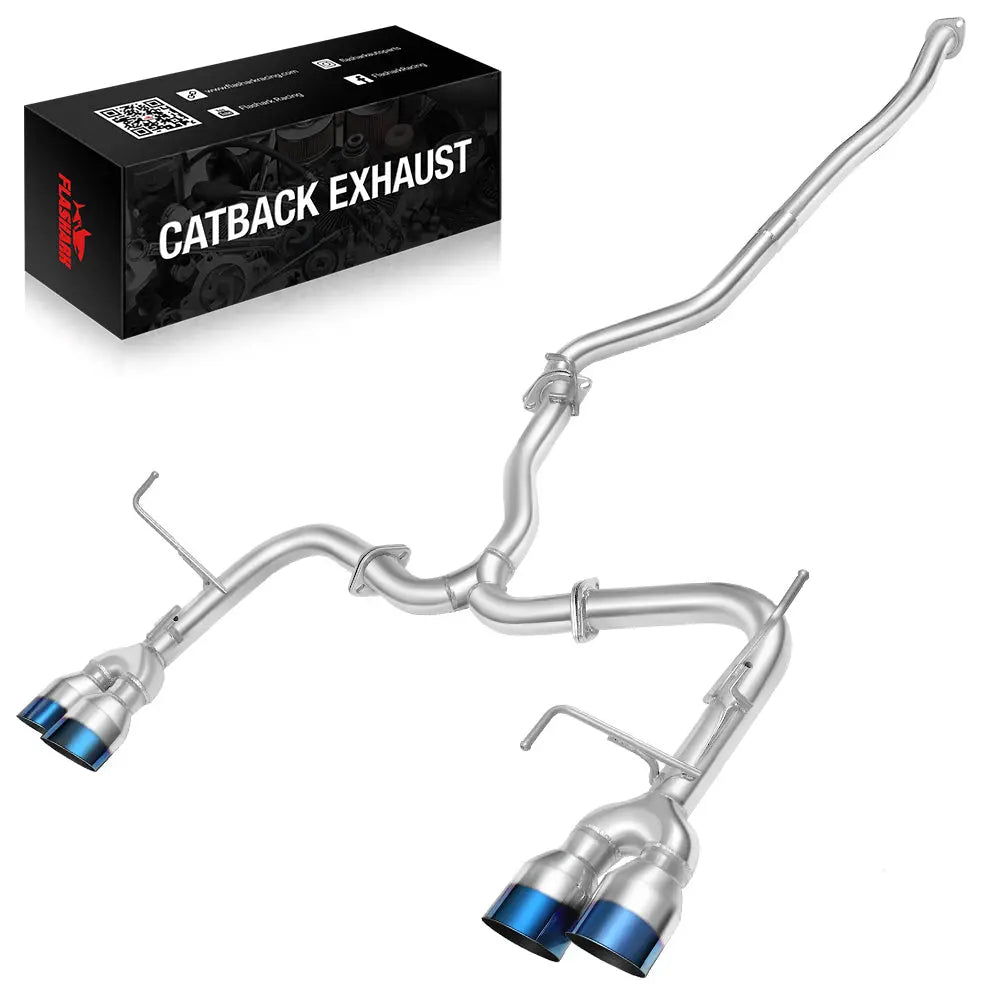
- Next, unbolt the exhaust header components that connect to the headers. Start by removing the oxygen sensors (if any), then proceed to detach the exhaust pipes from the old headers.
- With the exhaust system disconnected, carefully unbolt the old headers from the engine block. Some of the bolts may be hard to reach due to limited space, so be patient and use appropriate tools to avoid stripping the bolts.
Choosing and Preparing the New Headers
- Select aftermarket headers that are specifically designed to fit the 2004 Chevy Silverado. Check the header's compatibility with your vehicle's make and model before purchasing.
- Inspect the new headers for any signs of damage or defects before installation. If you notice any issues, contact the supplier or manufacturer for a replacement.
- To prevent future bolt seizing, apply anti-seize compound to the threads of the new headers. This will make future maintenance or replacements easier.
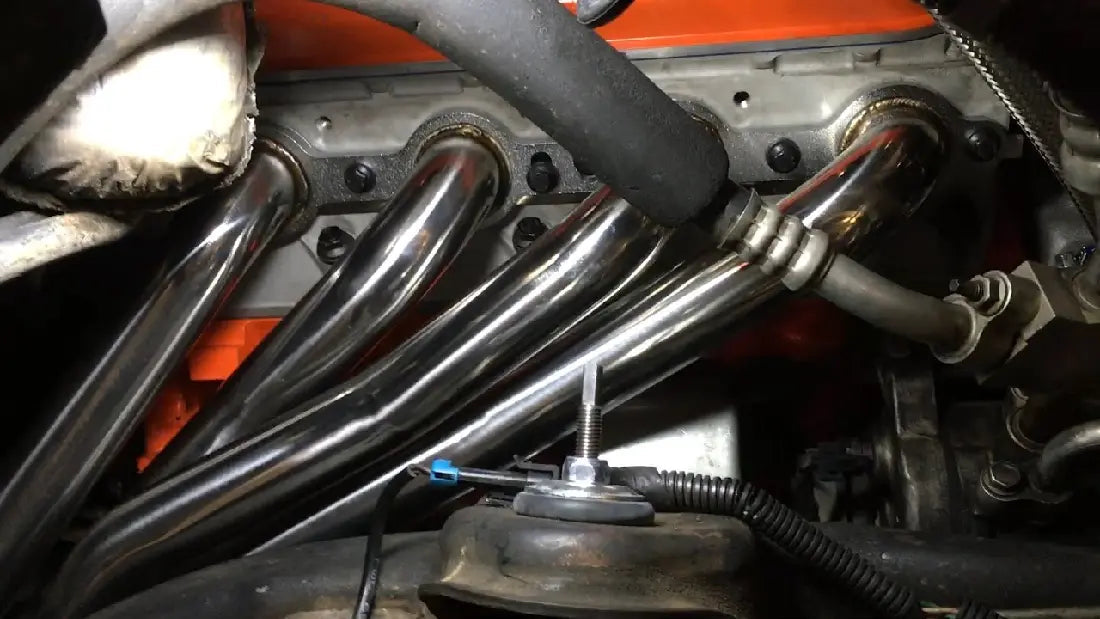
For a reliable and performance-driven option, we highly recommend considering Flashark's 2004 Chevy Silverado headers. Flashark is renowned for producing high-quality aftermarket parts, and their headers are specifically engineered to fit the 2004 Chevy Silverado perfectly. With their superior craftsmanship and attention to detail, Flashark headers can significantly improve exhaust flow and unleash the full potential of your truck's engine. These headers are constructed using durable materials, ensuring longevity and resistance to heat and corrosion. Moreover, Flashark's headers have garnered positive reviews from many satisfied customers who have experienced noticeable gains in horsepower and torque. If you're seeking a top-notch upgrade for your 2004 Chevy Silverado, Flashark's headers are undoubtedly worth considering for their performance, reliability, and excellent build quality. Of course, if you have any other good suggestions, please leave a message in the comment area below to tell us. We can share our experiences together.

Installing the New Headers
- Carefully position the new headers on the engine block, ensuring they are aligned correctly. It may require some maneuvering to get the headers in place due to limited space.
- Begin hand-tightening the exhaust header bolts to secure them in place. Do not fully tighten the bolts at this stage; leave them slightly loose to allow for adjustment.
- Gradually and evenly torque down the header bolts to the manufacturer's specifications, using a criss-cross pattern for even distribution of pressure. Over-tightening may damage the gasket or cause leaks, so be mindful of the torque settings.
- Reconnect the exhaust system components back to the new headers in the reverse order of removal, starting with the exhaust pipes and then the oxygen sensors.

Reconnecting and Testing
- Reattach the negative battery terminal to restore power to the vehicle.
- Double-check all connections and bolts to ensure everything is properly secured.
- Lower the vehicle from the jack stands safely.
- With the installation complete, start the engine and carefully listen for any unusual noises or exhaust leaks. If you notice any issues, turn off the engine immediately and recheck the installation.
- Take your 2004 Chevy Silverado for a test drive to assess the performance improvements resulting from the header change. Pay attention to any changes in exhaust note, acceleration, and overall responsiveness.
Troubleshooting Tips
- If you encounter exhaust leaks, check the header bolts for proper torque and the exhaust system connections for any misalignment. Rectify any issues found during inspection.
- Rattling noises may indicate loose components or exhaust parts hitting against the frame. Tighten the bolts and ensure all parts are securely fastened.
- Regularly inspect the header installation, especially during routine vehicle maintenance, to detect any signs of wear, leaks, or loose components. Address any issues promptly to maintain optimal performance and longevity.
- After installing the exhaust headers, check for adequate ground clearance to avoid scraping or damaging the headers on uneven roads or speed bumps. Verify that the headers do not hang too low, and make any necessary adjustments to ensure proper clearance.

Conclusion
Upgrading to long tube headers on your 2004 Chevy Silverado can be a great decision if you’re looking to enhance performance. The increased exhaust flow can result in better throttle response, improved horsepower, and more efficient engine operation. While the installation can be a bit challenging, especially for 4WD models, the benefits in performance often outweigh the effort.
If you have the right tools and a bit of patience, installing headers yourself can be a rewarding project. If not, don’t hesitate to take your truck to a professional to ensure a proper installation.