Upgrading to performance headers is one of the best bolt-on modifications for the Chevy 350 small block. Whether you're restoring a classic or building a street machine, headers can significantly improve exhaust flow, throttle response, and horsepower. But installing headers can be tricky, especially in tight engine bays. This guide walks you through the process step by step.
Tools and Materials You’ll Need
Before you begin, gather all necessary tools and materials. This will save time and prevent unnecessary delays.
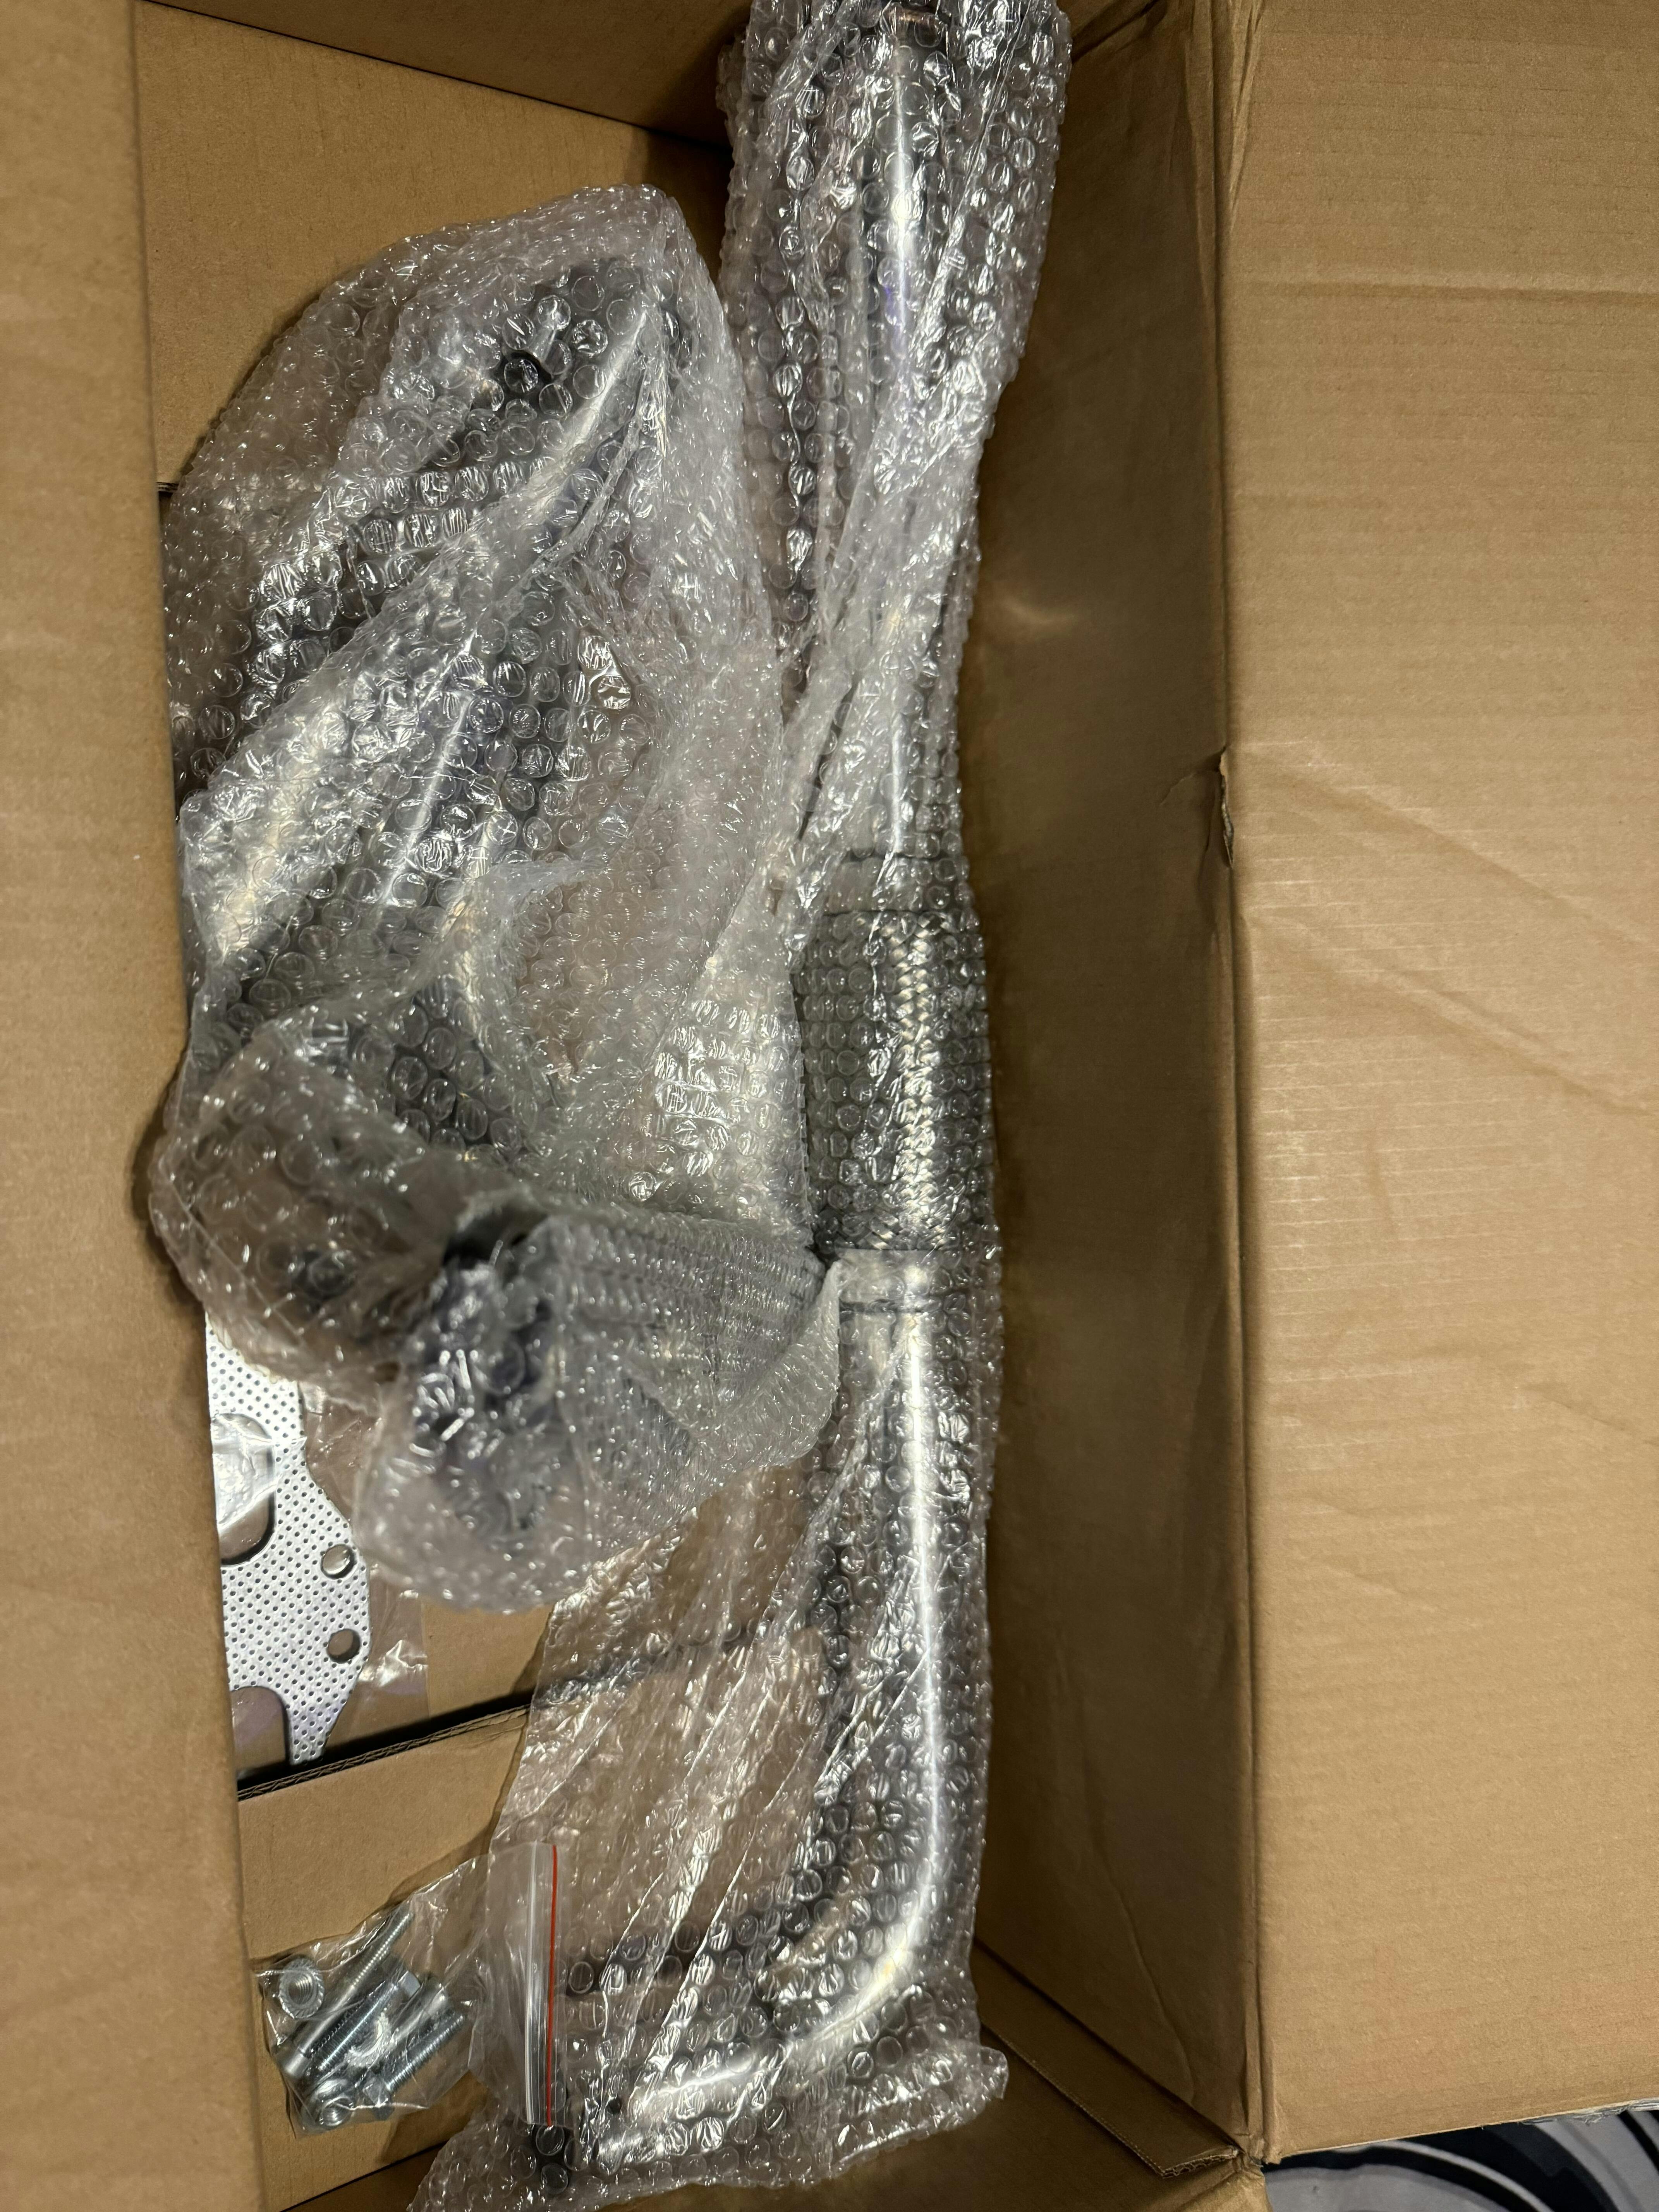
You will need a socket set, open-end wrenches, penetrating oil, a torque wrench, header bolts, gaskets (preferably high-quality multi-layer steel or copper), and jack stands. A creeper or mechanic's mat can make working underneath the vehicle more comfortable.
Optional but helpful tools include an engine hoist (especially for tight-fit headers), spark plug socket with swivel, and a dead blow hammer. Don’t forget safety glasses and gloves.

Pre-Installation Checklist
Proper preparation makes installation smoother and reduces the risk of damaging components.
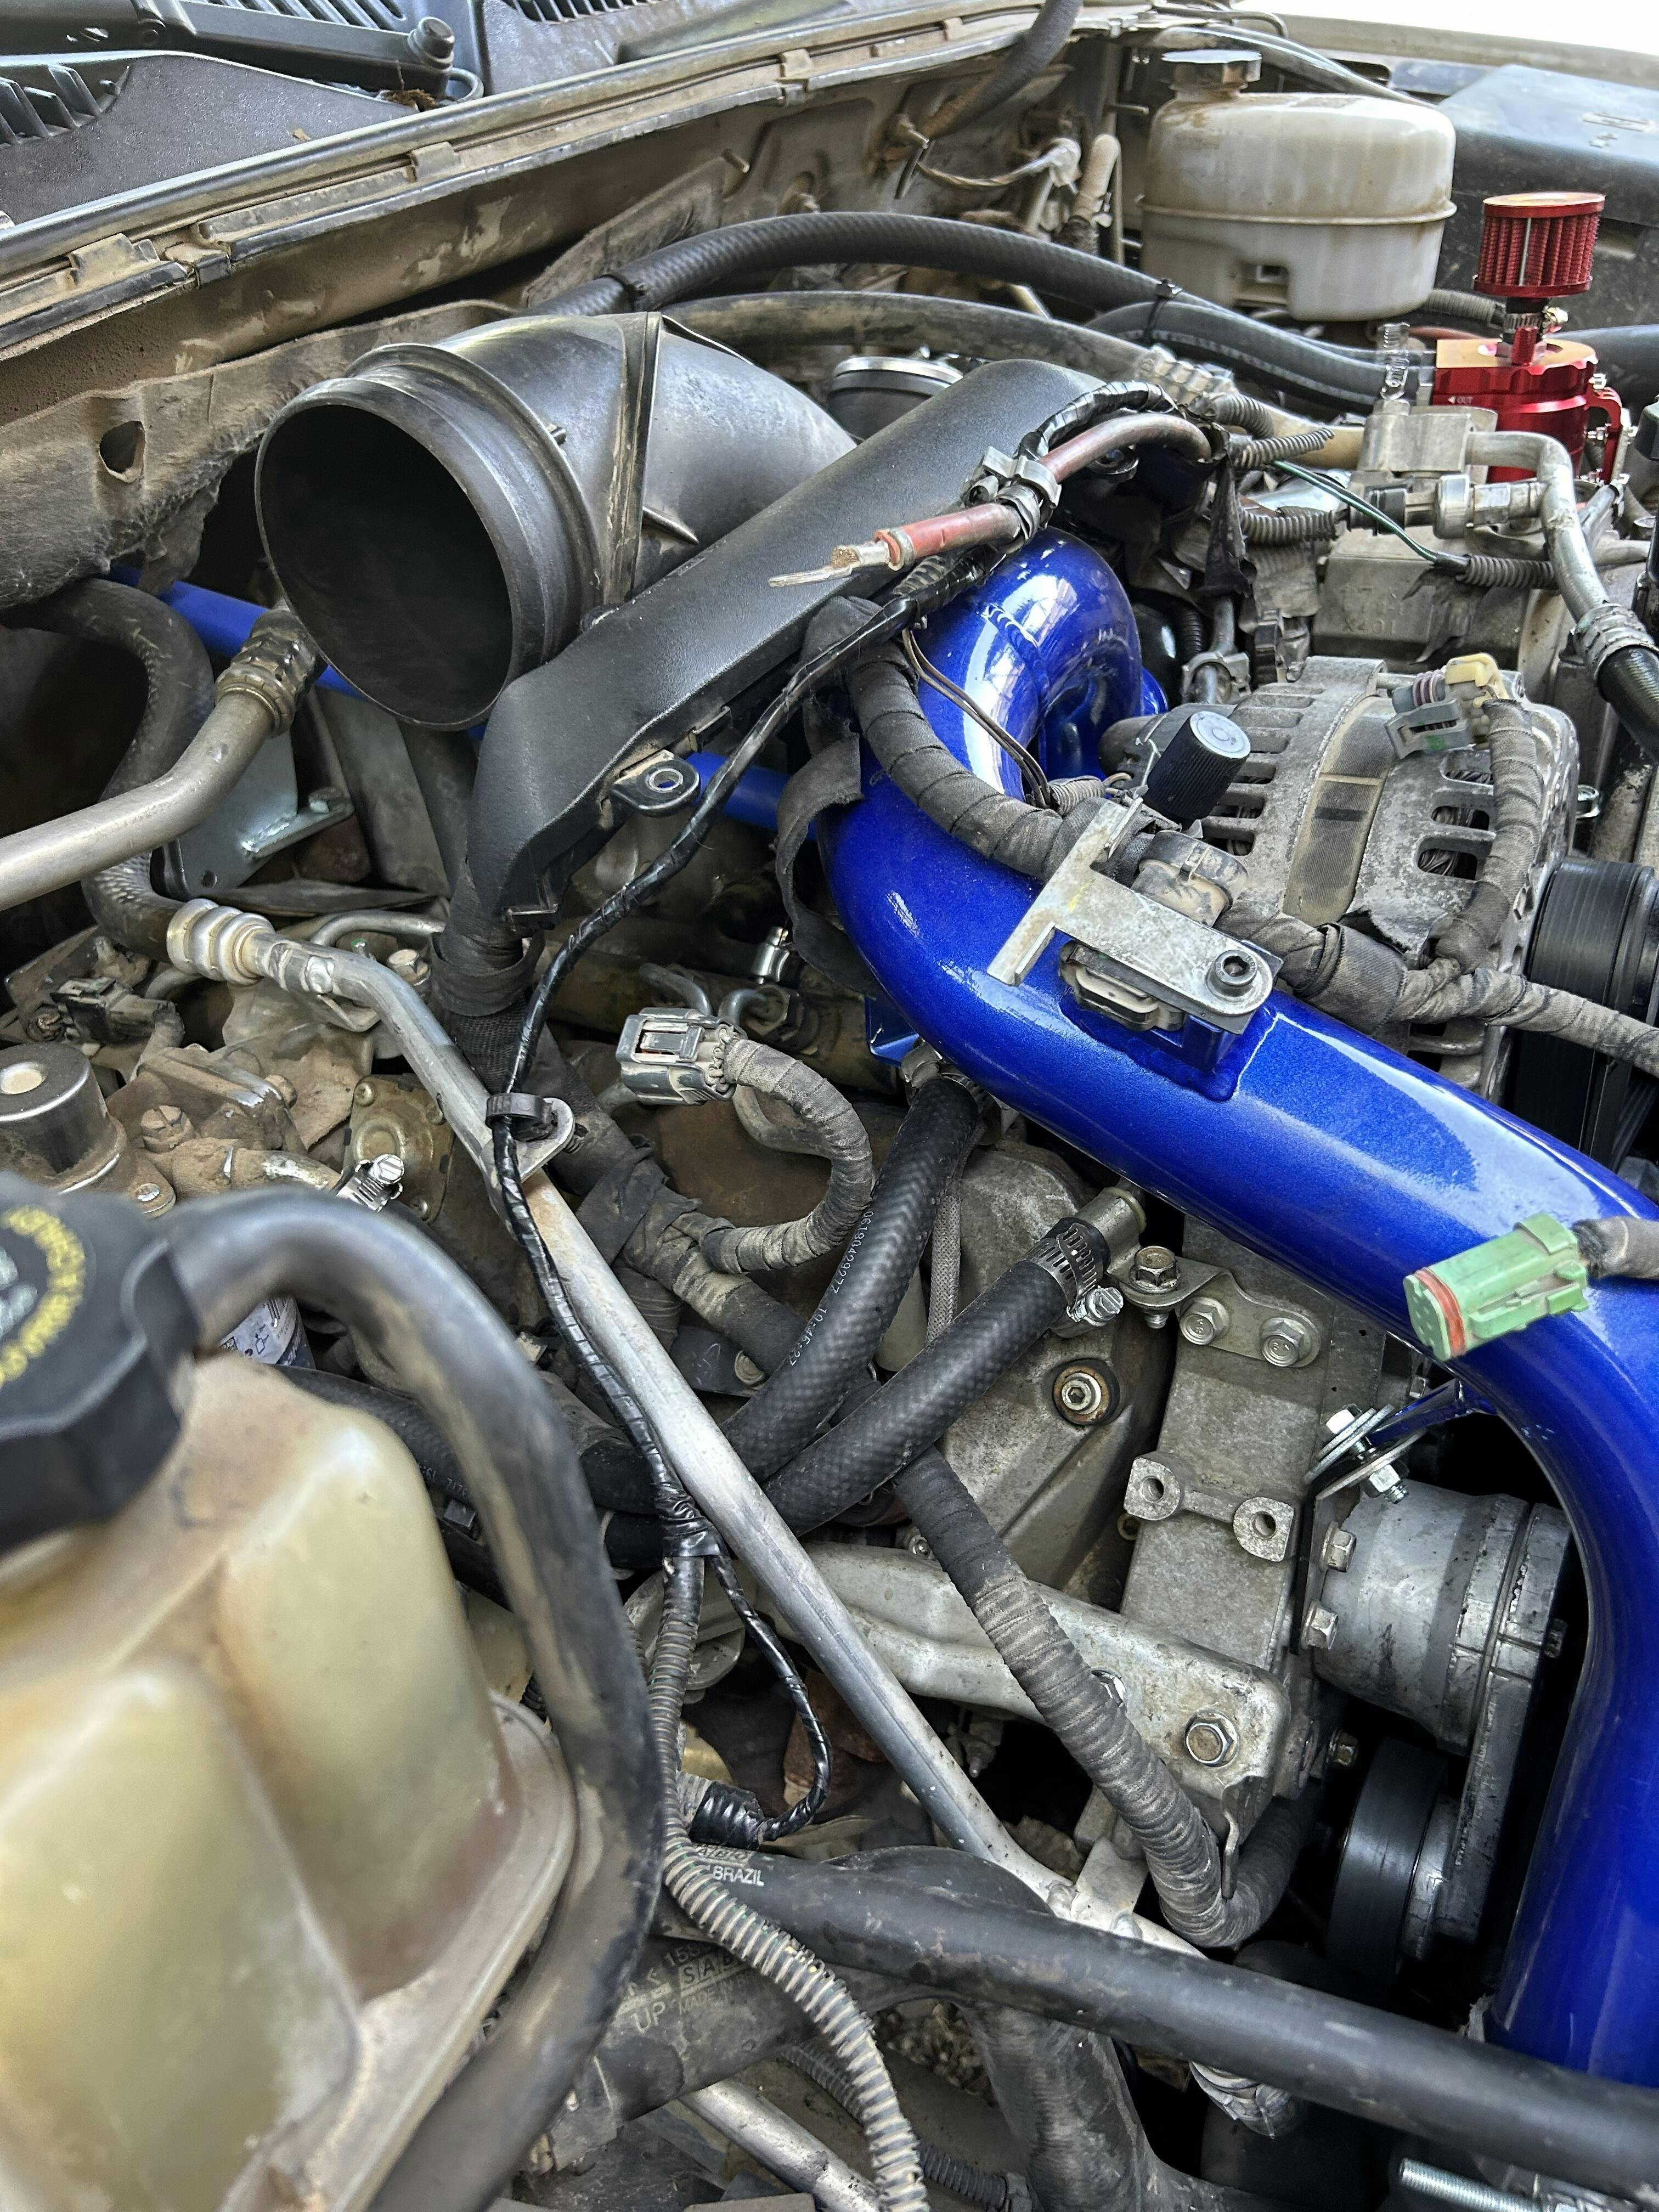
First, verify header compatibility with your specific Chevy 350 setup. Chevy 350 Long tube headers often require more clearance than shorty headers. Know your vehicle’s frame and engine bay constraints. For example, on GMT400 trucks, the engine may need to be lifted slightly to fit long tube headers.
Check if your vehicle has power steering, air conditioning, or emission components that may interfere. Remove spark plugs and the starter motor to gain better access. Inspect motor mounts to ensure they’re in good condition. Damaged mounts can affect header alignment.

Step-by-Step Installation Process
Installing headers on a Chevy 350 requires patience and attention to detail. Follow these steps carefully.
Step 1: Disconnect the Battery and Raise the Vehicle
Safety first. Disconnect the negative battery cable. Use jack stands to raise and support the vehicle securely. Allow the engine to cool completely.
Step 2: Remove the Old Exhaust Manifolds
Spray penetrating oil on the manifold bolts. Remove the heat shields, O2 sensors, and any emission lines. Then, remove the old manifolds. Be careful not to strip bolts or damage threads.
Step 3: Test-Fit the Headers
Test fit the headers on both sides to identify potential interference points. Many forum users report that the driver’s side is tighter, especially in cars like the Firebird or C3 Corvette.
Step 4: Begin Installation
Start with the side that offers more clearance, usually the passenger side. Slide the headers in from the bottom. On the tighter side, consider loosening the motor mounts and jacking up the engine slightly.
Use high-quality gaskets and thread locker on the bolts. Start all bolts loosely before tightening to ensure even gasket compression.
Step 5: Tighten Bolts to Spec
Using a torque wrench, tighten the header bolts to the manufacturer’s recommended specification. Usually, it ranges from 20 to 25 lb-ft. Start from the center bolts and work outward to avoid leaks.
Step 6: Reconnect the Exhaust System
Attach the headers to the collector or Y-pipe. Use new gaskets and ensure tight connections to avoid leaks. Reinstall O2 sensors if applicable.
Step 7: Lower the Vehicle and Reconnect Battery
Once everything is tight and secure, lower the vehicle. Reconnect the battery and start the engine. Listen for any leaks or unusual noises.
Post-Installation Tips and Best Practices
Installation doesn’t end once the engine is running. A few follow-up steps are essential to ensure long-term performance.
After a few heat cycles, retorque the header bolts. As metal expands and contracts, bolts may loosen. This is one of the most common causes of header leaks.
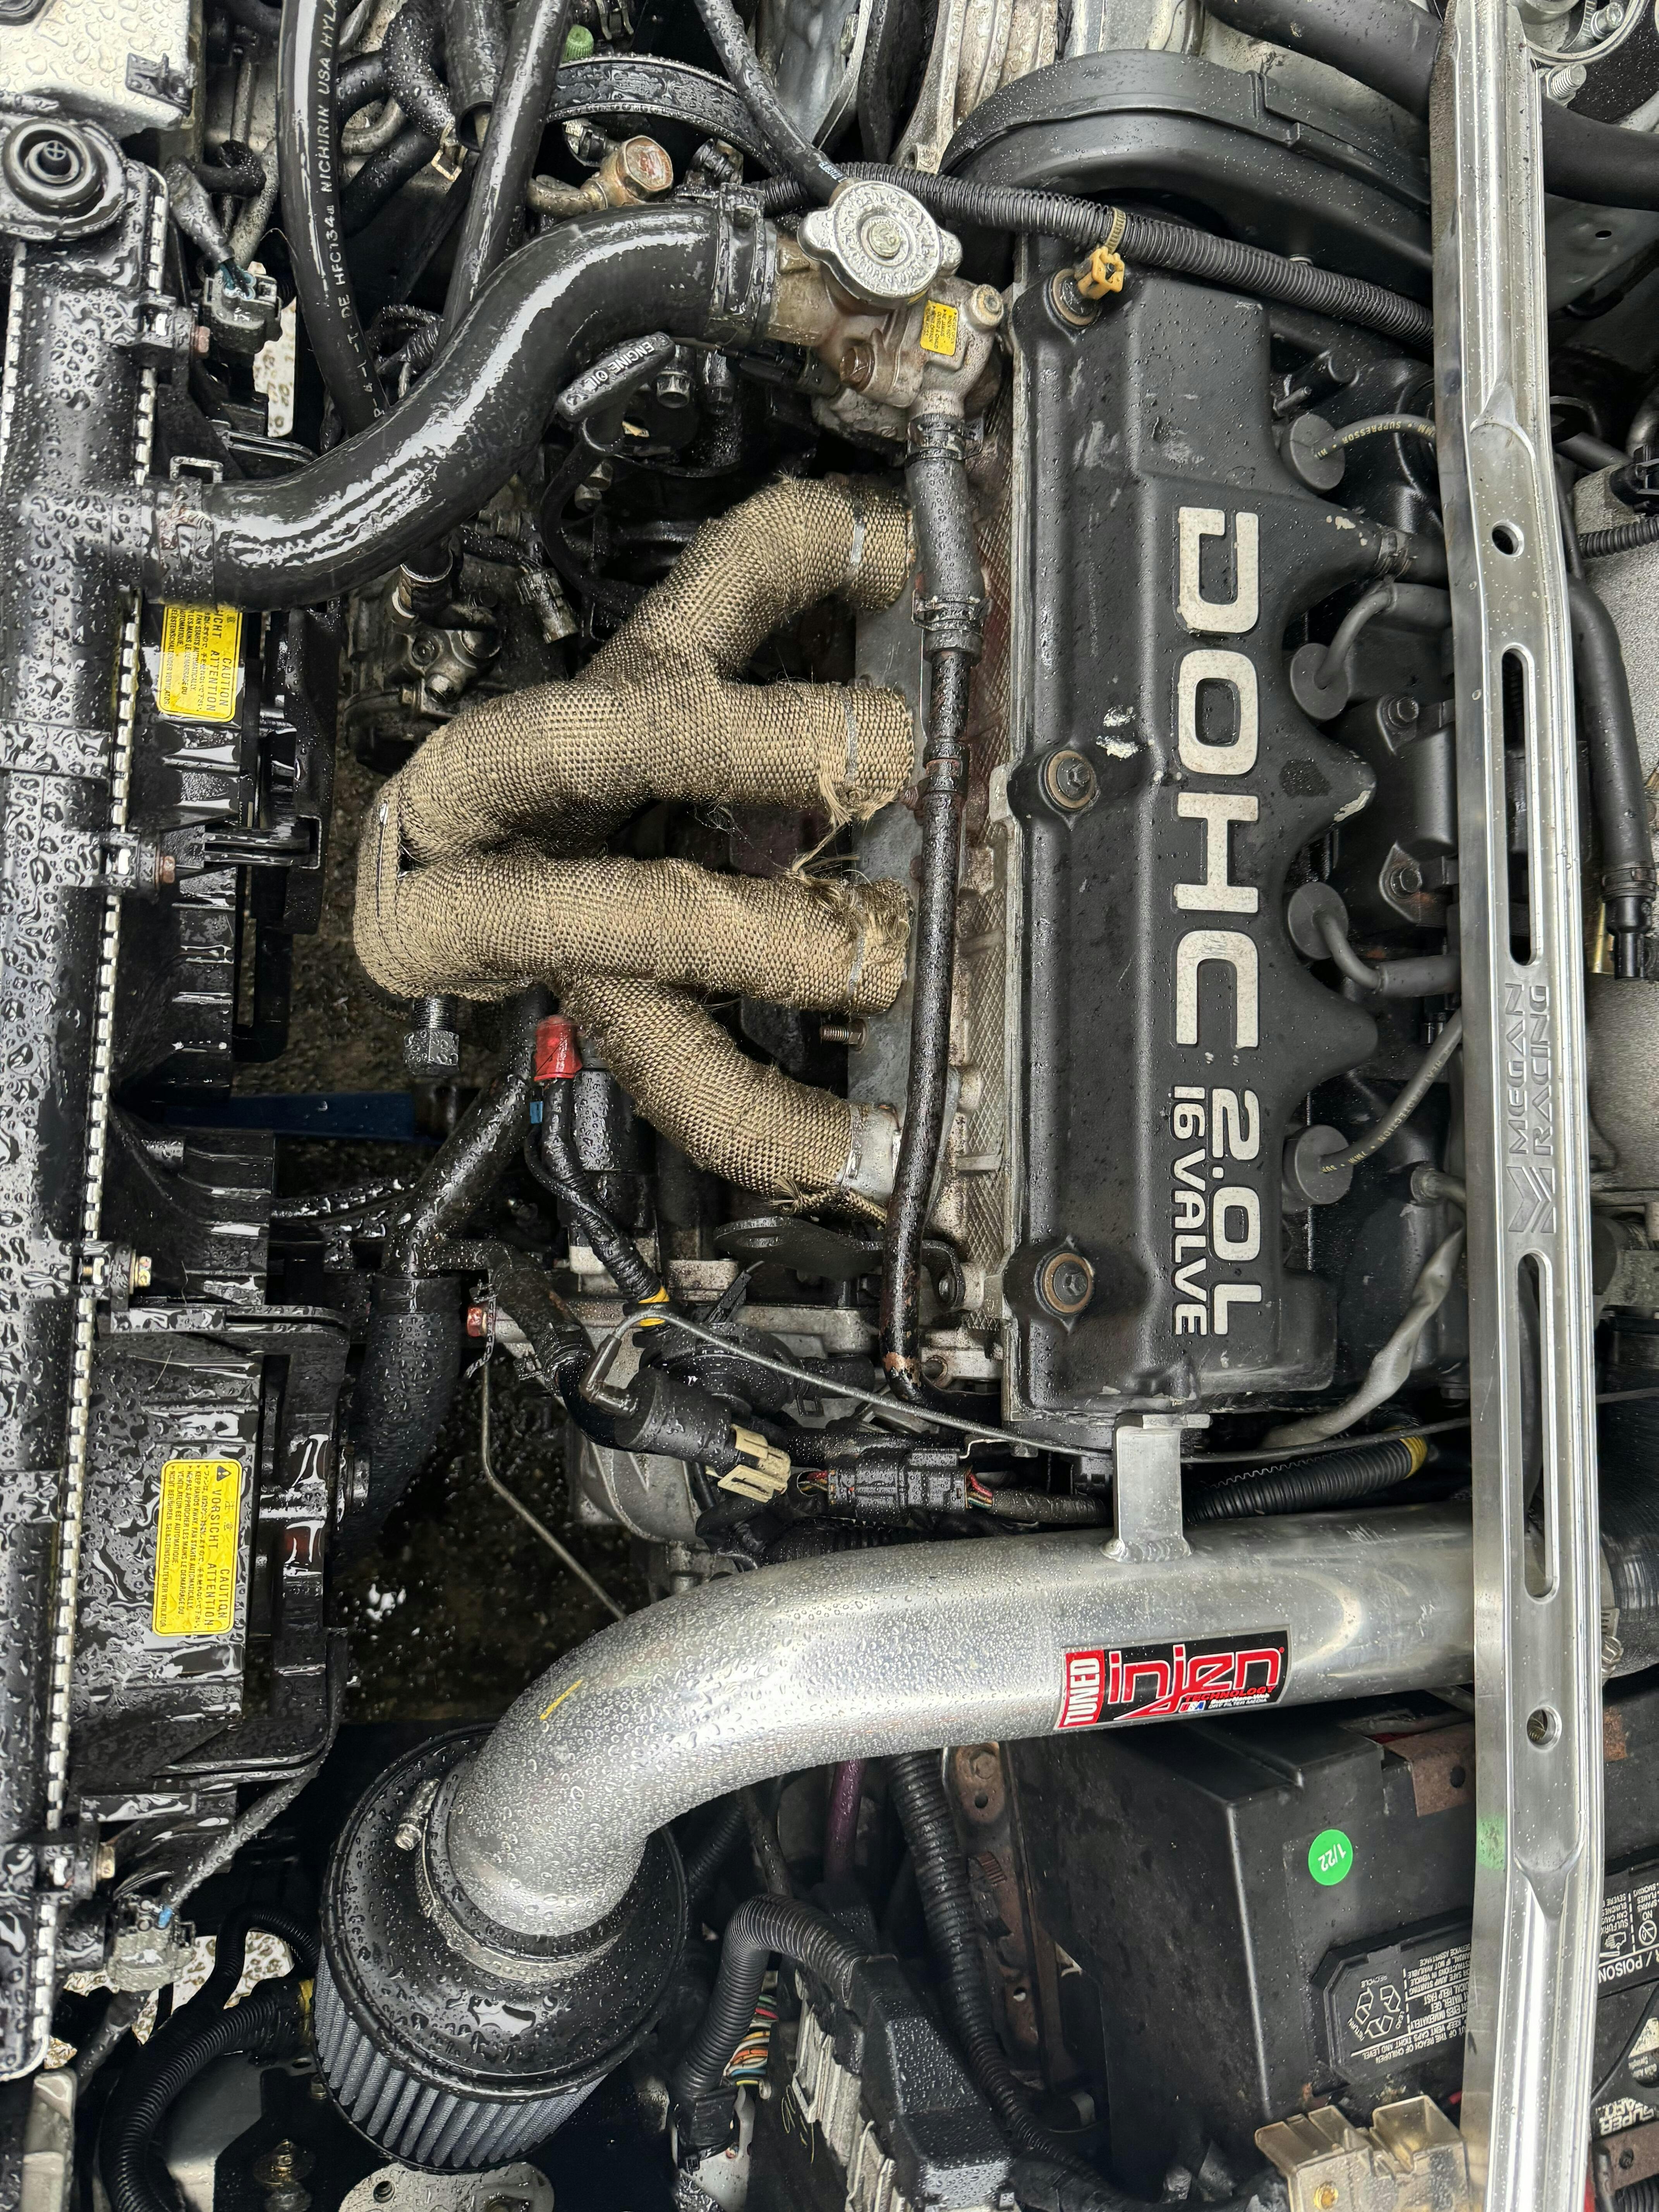
Inspect all connections for clearance. Look for signs of rubbing near the starter, oil filter, or spark plug wires. Consider using ceramic coating or heat wrap to manage under-hood temperatures.
Common Fitment Challenges and How to Overcome Them
Even with perfect planning, headers can be frustrating to install. Here are some common problems and how to fix them.
Clearance issues with the starter motor are frequent, especially with long tube headers. Some users on forums recommend using a mini starter for more room.
Oil filter access can be blocked. In some cases, using a relocation kit may be necessary. If your dipstick won't reinstall easily, try inserting it before final bolt tightening.
Vehicles like the second-gen Firebird or 1971 Corvette often have tight bays. In these cases, you may need to lift the engine slightly or remove the valve covers for added room.
Performance Benefits of Upgrading to Headers on a 350 SBC
Headers aren’t just about sound. They offer real performance gains that justify the effort.
By improving exhaust scavenging and reducing backpressure, headers can unlock 10-25 horsepower depending on your build. According to data from Engine Builder Magazine, long tube headers often outperform stock manifolds significantly at mid-to-high RPM.
You’ll notice quicker throttle response, better torque delivery, and a more aggressive exhaust note. Headers also complement other upgrades like performance intakes, cams, and fuel delivery systems.
In summary, with the right tools, preparation, and some persistence, installing headers on a Chevy 350 can be a rewarding project that improves both performance and driving enjoyment.